REMOVAL
PROCEDURE
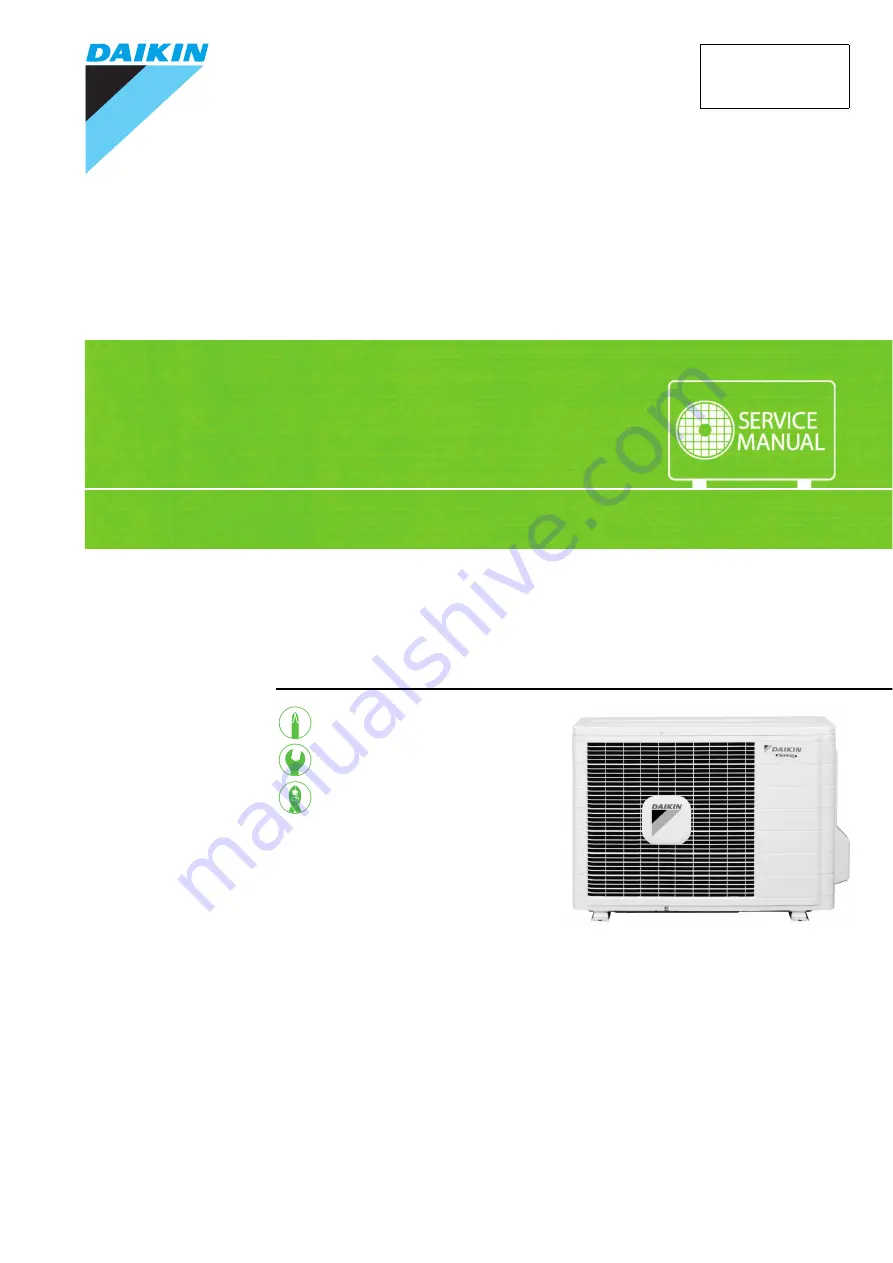
S E R V I C E M A N U A L
Outdoor Unit
Non-Inverter
Pair Type
1.5 HP Class
Si241320
Page 1: ...REMOVAL PROCEDURE S E R V I C E M A N U A L Outdoor Unit Non Inverter Pair Type 1 5 HP Class Si241320...
Page 2: ...Service Manual Removal Procedure Outdoor Unit Applicable Models zCooling Only R13NUV2S...
Page 3: ...i241320 Removal Procedure 1 Table of Contents 1 Procedure to Remove Panels and Fan Motor 2 2 Procedure to Remove El Compo Box 8 3 Procedure to Remove Sound Blanket 9 4 Procedure to Remove Compressor 1...
Page 4: ...er supplies before disassembling work Step Procedure Points 1 Features Take care not to cut your finger by the fins of the heat exchanger The stop valve cover is united with the shelter When reassembl...
Page 5: ...he top panel 2 Disconnect the connector for fan motor The fan motor is united with the front panel 3 Loosen the 6 screws of the front panel 4 Undo the hooks Pull and remove the front panel The front p...
Page 6: ...screw the washer fitted nut M10 of the propeller fan with a spanner 2 Remove the propeller fan Align mark of the propeller fan with D cut section of the motor shaft when reassembling 3 Loosen the 2 sc...
Page 7: ...the fixing hooks and release the lead wire Put the lead wire through the back of the motor when reassembling so as not to be entangled with the propeller fan 5 Loosen the 4 screws to remove the fan mo...
Page 8: ...6 Removal Procedure 6 Loosen the 2 screws to remove the fan motor fixing frame 4 Remove the right side panel 1 Loosen the 2 screws on the rear side 2 Loosen the 4 screws on the right side Step Procedu...
Page 9: ...Si241320 Procedure to Remove Panels and Fan Motor Removal Procedure 7 3 Loosen the screw and lift the connection port to remove When reassembling make sure to fit the hook Step Procedure Points...
Page 10: ...inutes or more after turning off all power supplies before disassembling work Step Procedure Points Remove the top panel Disconnect the connector for fan motor 1 Remove the el compo box 1 Remove the t...
Page 11: ...turning off all power supplies before disassembling work Step Procedure Points Remove the outer panels Remove the el compo box 1 Remove the sound blanket 1 Untie the strings and open the sound blanke...
Page 12: ...ger fin Warning Since it may happen that refrigeration oil in the compressor will catch fire prepare wet cloth so as to extinguish fire immediately In case of the difficulty with gas brazing machine 1...
Page 13: ...Si241320 Procedure to Remove Compressor Removal Procedure 11 4 Lift the compressor up and remove it Step Procedure Points...
Page 14: ...Revision History Month Year Version Revised contents 01 2013 Si241320 First edition...
Page 15: ...duct The User s Manual provides important safety instructions and warnings Be sure to follow these instructions and warnings If you have any enquiries please contact your local importer distributor an...