REMOVAL
PROCEDURE
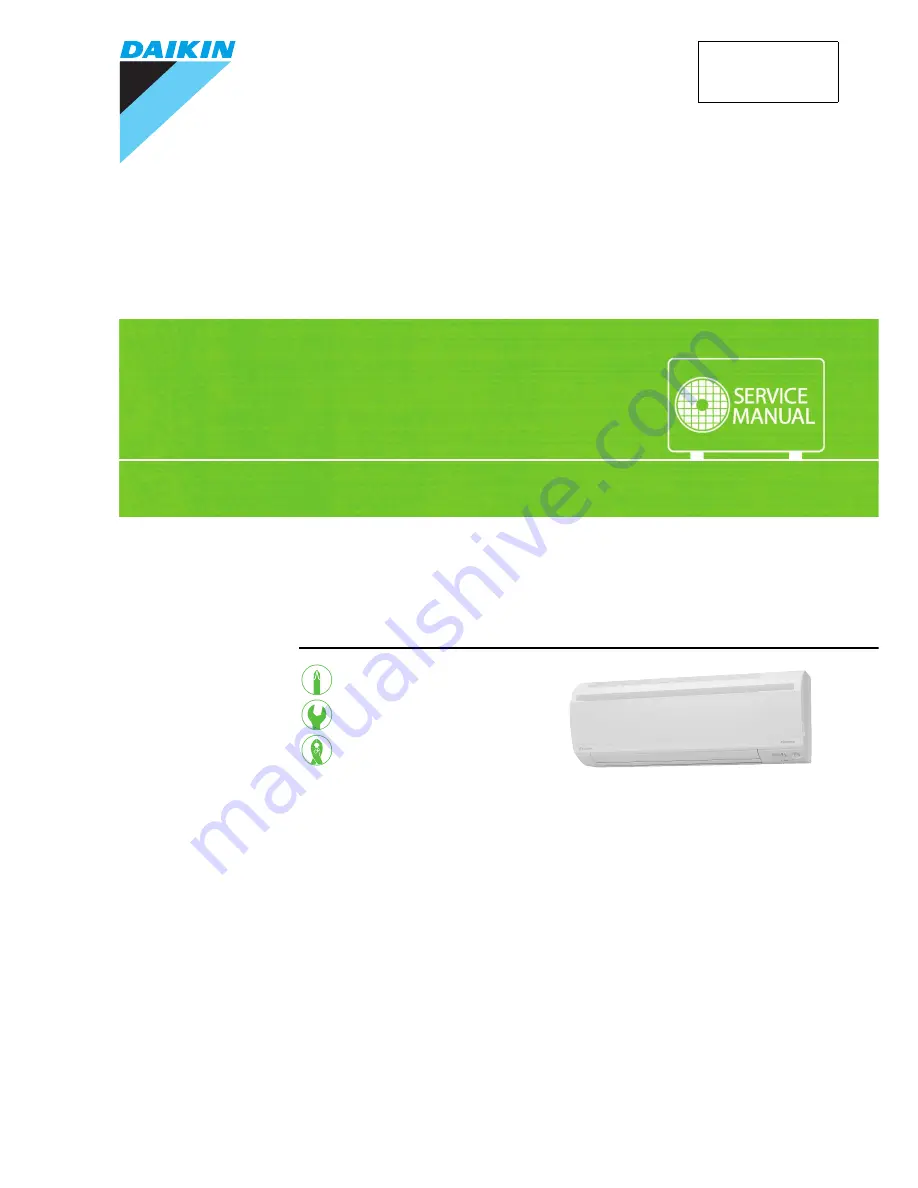
S E R V I C E M A N U A L
Indoor Unit
Inverter/Hybrid
Wall Mounted Type
2.0/2.5/3.5/4.6 kW Class9000/12000 Btu/h Class
Si041137
Page 1: ...REMOVAL PROCEDURE S E R V I C E M A N U A L Indoor Unit Inverter Hybrid Wall Mounted Type 2 0 2 5 3 5 4 6 kW Class 9000 12000 Btu h Class Si041137...
Page 2: ...KVMA FTKS12HV2S FTXS25KVMA FTXS35KVMA FTKS20KVMA FTXS46KVMA FTKS25KVMA FTKS35KVMA FTYN25KV1A FTYN35KV1A FTN25KV1A FTYN35KAV1A FTN35KV1A FTN35KAV1A FTXF125KC W FTXF125KC R FTKS20LVMA FTXF135KC W FTKS25...
Page 3: ...orizontal Blades Vertical Blades 7 5 Removal of Electrical Box 11 6 Removal of PCBs Pattern 1 14 7 Removal of PCBs Pattern 2 20 8 Removal of Swing Motors Pattern 1 24 9 Removal of Swing Motors Pattern...
Page 4: ...tton is kept pressed for 5 seconds the forced cooling operation is performed for about 15 minutes 2 Remove the air filters 1 Open the front panel to the position where it stops 2 Slightly push up the...
Page 5: ...lter The right and left filters are interchangeable 2 Remove the Titanium apatite photocatalytic air purifying filter ASSY by unfastening the projections from the back of the air filter frame 3 Unfast...
Page 6: ...cedure Points 1 Open the front panel over the position where it stops 2 Slide the left rotary shaft to the right and release it When reassembling the front panel fit the right and left rotary shafts o...
Page 7: ...ff all power supplies before disassembling work Step Procedure Points 1 Remove the service cover 1 Remove the screw of the service cover Preparation Remove the front panel according to the Removal of...
Page 8: ...ks at the top The convex marks on the front panel indicate the position of the hooks 3 Pull the upper part of the front grille out and lift the lower part up and then remove the front grille When reas...
Page 9: ...ge horizontal blade to the upper position and the small horizontal blade to the lower position Do not put them in the wrong place 2 Unfasten the center shaft while bending the horizontal blade large s...
Page 10: ...t There is a key alignment at the right shaft When reassembling insert the right shaft first while turning After inserting the right shaft first mount the horizontal blade to the center shaft and then...
Page 11: ...blade ASSYs 1 Detach the pivot from the interlock shaft for vertical blades with a flat screwdriver 2 Remove the interlock rod 3 Unfasten the hooks at the upper 3 positions by pressing them with a fla...
Page 12: ...10 Removal Procedure 4 Remove the vertical blade ASSY A vertical blade ASSY has 5 fins It is impossible to replace only one fin The vertical blade ASSY is not marked for difference between right and...
Page 13: ...Procedure Points 1 The figure shows the connections of the wire harnesses Preparation Remove the front grille according to the Removal of Front Grille 2 Remove the screw of the wire retainer 3 Remove...
Page 14: ...amp near the indoor heat exchanger thermistor Some models have no clamp near the indoor heat exchanger thermistor 8 Pull out the indoor heat exchanger thermistor The position of the indoor heat exchan...
Page 15: ...box 11 Unfasten the hook at the upper far side by pressing it from above and pulling the electrical box 12 Lift up the electrical box and pull it out There is a hook also at the lower part of the back...
Page 16: ...shows the appearance of the electrical box Preparation Remove the electrical box according to the Removal of Electrical Box 2 Unfasten the hooks at the upper 2 positions of the shield plate 3 Unfasten...
Page 17: ...inal board 1 Remove the screw and remove the terminal board 3 Remove the signal receiver unit 1 Unfasten the 3 hooks 2 Unfasten the hook on the opposite side and lift up the signal receiver unit Step...
Page 18: ...r unit 4 Remove the INTELLIGENT EYE sensor PCB 1 Unfasten the 3 hooks and remove the INTELLIGENT EYE sensor PCB 2 Disconnect the connector S26 from the INTELLIGENT EYE sensor PCB Step Procedure Points...
Page 19: ...ignal receiver PCB 2 Disconnect the connector S48 from the signal receiver PCB 6 Remove the display PCB The display PCB is positioned on the rear side of the signal receiver unit 1 The figure shows th...
Page 20: ...display PCB 7 Remove the control PCB 1 Unfasten the lower 2 hooks of the control PCB 2 Lift up the bottom of the control PCB and pull it out The control PCB is also fixed by 2 upper hooks When reassem...
Page 21: ...ent parts S1 DC fan motor S25 INTELLIGENT EYE sensor PCB S26 control PCB S32 indoor heat exchanger thermistor S41 swing motors S46 display PCB S47 signal receiver PCB S48 control PCB S49 control PCB S...
Page 22: ...it for 10 minutes or more after turning off all power supplies before disassembling work Step Procedure Points 1 Appearance of the electrical box 2 Remove the screw 3 Remove the terminal board 4 Cut t...
Page 23: ...21 5 Pull out the terminals 6 Unfasten the hooks and remove the shield plate 7 Remove the signal receiver PCB 3 hooks 8 Disconnect the connector S48 S48 control PCB Step Procedure Points R13111 R1311...
Page 24: ...ach the signal receiver unit 10 Reverse the signal receiver unit 11 Detach the display PCB 4 hooks 12 Reverse the display PCB and disconnect the connector S49 S49 control PCB Step Procedure Points R13...
Page 25: ...of the control PCB The control PCB is also fixed by upper 2 hooks When reassembling be sure to fit all the 4 hooks 16 Remove the control PCB S1 DC fan motor S32 indoor heat exchanger thermistor S41 s...
Page 26: ...fore disassembling work Step Procedure Points 1 Remove the swing motor for vertical blades 1 Lift the indoor unit with a wooden base 2 Remove the screw behind the drain hose and disconnect the drain h...
Page 27: ...th a flat screwdriver 5 Remove the swing motor unit 6 Detach the interlock shaft from the swing motor with a flat screwdriver 7 Remove the vertical blade interlock with a flat screwdriver Step Procedu...
Page 28: ...wing Motors Pattern 1 Si041137 26 Removal Procedure 8 Remove the 2 screws 9 Remove the swing motor for vertical blades 10 Disconnect the connector Connector green Step Procedure Points R13573 Screw R1...
Page 29: ...opposite the horizontal blades do not move smoothly or noise may be heard 1 Set the swing motor for the upper blade first connector white 2 Then set the swing motor for the lower blade connector red...
Page 30: ...des do not move smoothly or the noise may be heard 1 Set the motor for the upper blade first connector white 2 Then set the motor for the lower blade connector red 3 Fix the both motors with a screw 1...
Page 31: ...a flat screwdriver 4 Remove the swing motor unit for vertical blades 5 Detach the interlock shaft from the swing motor with a flat screwdriver 6 Remove the vertical blade interlock with a flat screwdr...
Page 32: ...Swing Motors Pattern 2 Si041137 30 Removal Procedure 7 Remove the 2 screws 8 Remove the swing motor for vertical blades 9 Disconnect the connector Connector green Step Procedure Points R13128 Screw R1...
Page 33: ...connecting the refrigerant piping If the refrigerant piping is disconnected with the compressor operating and the stop valve open air may be sucked in to generate an over pressure in refrigeration cyc...
Page 34: ...the piping fixture at the back of the indoor unit Remove the piping fixture 3 Slightly widen the auxiliary piping 4 Remove the 2 screws on the left side Caution When removing or reassembling the indoo...
Page 35: ...ewdriver 6 After unfastening the lower hooks lift up the indoor heat exchanger by its right side When reassembling the indoor heat exchanger make sure that the right hooks upper and lower are fastened...
Page 36: ...g off all power supplies before disassembling work Step Procedure Points 1 Remove the right side plate Preparation Remove the indoor heat exchanger according to the Removal of Indoor Heat Exchanger 1...
Page 37: ...2 screws of the fan motor fixing plate 4 Unfasten the hook of the fan motor fixing plate and remove the plate 2 Remove the fan motor 1 Dislocate the fan rotor by sliding it to the right Step Procedure...
Page 38: ...motor with approx 5 mm left 2 Tighten the screw until it stops Then give the screw one more turn 3 Rotate the fan rotor and confirm the fan motor and the fan rotor are installed appropriately 4 Tight...
Page 39: ...Revision History Month Year Version Revised contents 08 2012 Si041137 First edition...
Page 40: ...ries supplied or specified by Daikin Ask a qualified installer or contractor to install those parts and accessories Use of unauthorised parts and accessories or improper installation of parts and acce...