REMOVAL
PROCEDURE
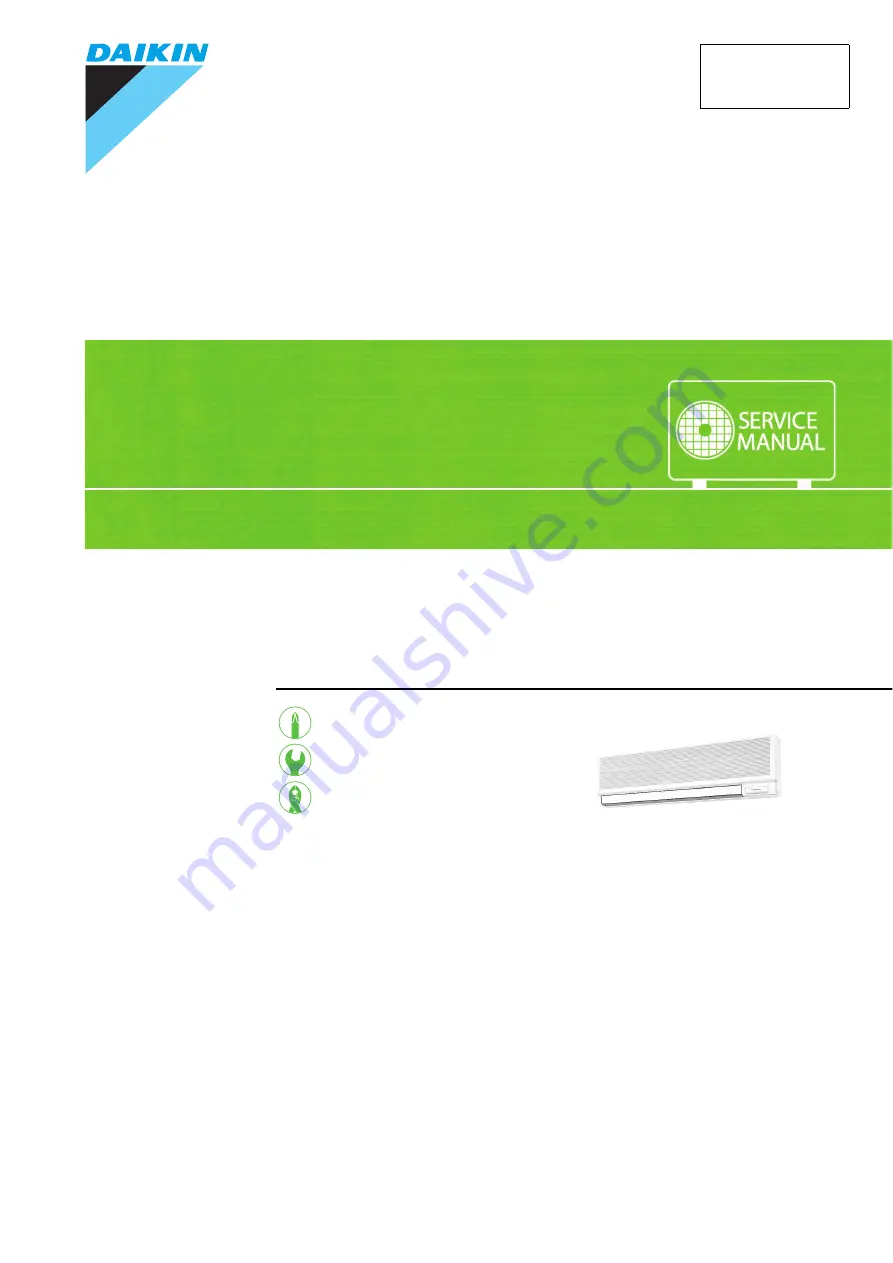
S E R V I C E M A N U A L
Indoor Unit
Non-Inverter
Pair Type
3 HP Class
Si211309E
Page 1: ...REMOVAL PROCEDURE S E R V I C E M A N U A L Indoor Unit Non Inverter Pair Type 3 HP Class Si211309E...
Page 2: ...Service Manual Removal Procedure Indoor Unit Applicable Models zHeat Pump FAY71F A VE...
Page 3: ...e Panel Operation Display Cover and Front Grille 3 3 Procedure to Remove Electrical Parts Box 4 4 Procedure to Remove PCB 5 5 Procedure to Remove Swing Louvre Unit 6 6 Procedure to Remove Fan Motor 7...
Page 4: ...e 1 Procedure to Remove Air Filter Procedure Warning Be sure to wait for 10 minutes or more after turning off all power supplies before disassembling work Step Procedure Points 1 Hold the air filter t...
Page 5: ...fore disassembling work Step Procedure Points 1 Remove the left and right side panels 1 white screw each on left and right The wiring diagram is applied to the right side panel and troubleshooting lis...
Page 6: ...els operation display cover and front grille according to the procedures for their removal 1 Remove the 1 thermistor 2 heater connector and 3 rubber clip connected to the PCB 2 Remove the 2 screws fas...
Page 7: ...anels according to the procedure for removing the electrical parts box 1 Disconnect the front side wiring connector connected to the PCB 2 Disconnect the PCB from the tabs by pushing it inward Draw th...
Page 8: ...s or more after turning off all power supplies before disassembling work Step Procedure Points Remove the electrical parts box according to its removal procedure 1 Remove the horizontal blade 2 Remove...
Page 9: ...sembling work Step Procedure Points Remove side panels and other external casing and electrical parts box according to their removal procedures Use 2 5 mm hexagon nut driver 1 Loosen the hexagon set s...
Page 10: ...Carry out pump down disconnect the transmission piping and wiring and remove the main unit Remove side panels operation display cover and front cover according to their removal procedures 1 Remove the...
Page 11: ...moval Procedure 9 3 Remove the air discharge unit 7 screws Center of air discharge section also screw fastened 4 Remove the drain pan 1 Pull left side toward yourself 2 Move the drain hose to the righ...
Page 12: ...ore disassembling work Step Procedure Points Before dismounting a heat exchanger make sure to proceed pump down refrigerant to outdoor unit and disconnect the connection pipe and wiring then remove th...
Page 13: ...cedure Points Remove the heat exchanger according to its removal procedure You can also remove the auxiliary electric heater without removing the heat exchanger 1 Remove the 2 screws of the left side...
Page 14: ...Revision History Month Year Version Revised contents 06 2013 Si211309E First edition...
Page 15: ...oduct The User s Manual provides important safety instructions and warnings Be sure to follow these instructions and warnings If you have any enquiries please contact your local importer distributor a...