REMOVAL
PROCEDURE
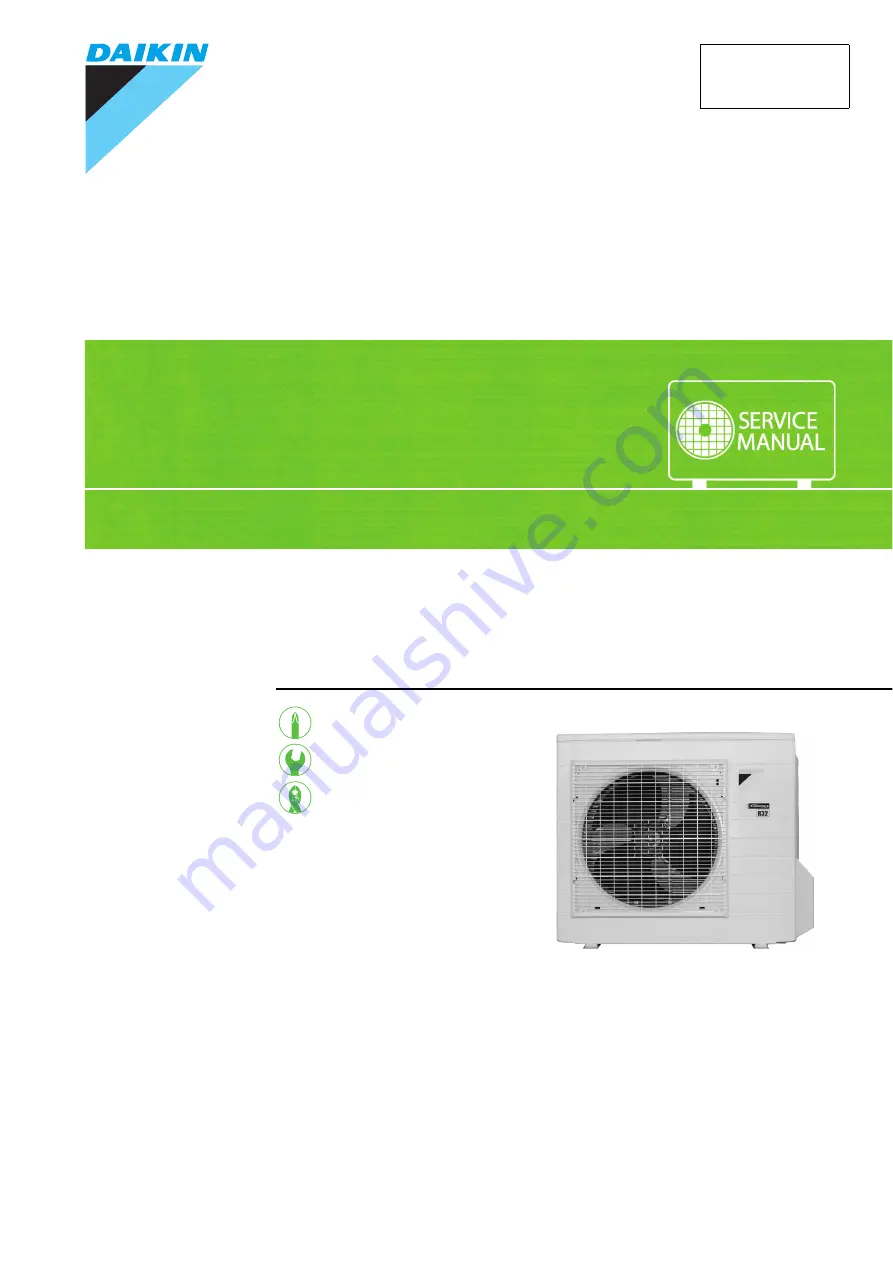
S E R V I C E M A N U A L
4.2/5.0/6.0 kW Class18000/24000 Btu/h Class
Outdoor Unit
Inverter
Pair Type
Si001413EB
Page 1: ...REMOVAL PROCEDURE S E R V I C E M A N U A L 4 2 5 0 6 0 kW Class 18000 24000 Btu h Class Outdoor Unit Inverter Pair Type Si001413EB ...
Page 2: ...ng Only ARKC18RV2S ARKC24RV2S RKC18NV2S RKC24NV2S RKC50NVM RKC60NVM RKC50NVM4 RKC60NVM4 RKC50NVMV RKC60NVMV RKJ18NV1S RKJ42NVMG RKJ50NVM RKJ50NVM4 RKJ50NVMV RKM18NV2S RKM24NV2S RKM50PVMG RKM60PVMG RKV50NVM RKV60NVM RKV50NVM4 RKV60NVM4 RKV50NVMV RKV60NVMV ...
Page 3: ...of Contents 1 Outer Panels 2 2 Outdoor Fan Fan Motor 4 3 Electrical Box 6 4 PCB 10 5 Partition Plate Sound Blankets 12 6 Electronic Expansion Valve 14 7 Compressor 16 Note The illustrations may be slightly different depending on the model ...
Page 4: ...lies before disassembling work Step Procedure Points 1 2 Remove the 4 screws and remove the top panel Remove the 4 screws of the discharge grille 3 Slide the discharge grille upward and remove it The discharge grille has 6 hooks 4 Remove the 6 screws of the front panel Discharge grille Top panel R20302 R20303 Hook Hook Front panel R20304 ...
Page 5: ...de hook Unfasten the 3 left side hooks and remove the front panel 7 8 Remove the screw of the stop valve cover Pull down the stop valve cover to unfasten the hooks and remove it The stop valve cover has 6 hooks Step Procedure Points R20305 Stop valve cover R20306 R20307 ...
Page 6: ...inutes or more after turning off all power supplies before disassembling work Step Procedure Points 1 Remove the top shield plate 2 3 Cut the clamp Disconnect the connector S70 and release the fan motor lead wire from the groove S70 fan motor Top shield plate R23351 R20540 Clamp S70 Groove Fan motor lead wire ...
Page 7: ...2 hooks at the bottom Remove the fan motor fixing frame When reassembling fit the 2 lower hooks into the bottom frame 8 Unfasten the 2 hooks and release the fan motor lead wire 9 Remove the 4 screws and remove the fan motor When reassembling put the fan motor lead wire through the back of the fan motor so as not to be entangled with the outdoor fan Step Procedure Points Nut Outdoor fan R20312 10 m...
Page 8: ...1 Remove the 2 screws and remove the side shield plate 2 3 Remove the 3 screws and remove the wire fixture Remove the 7 screws on the terminal board and disconnect the connecting wire and power supply wire 4 Remove the earth ground screw on the right side panel Side shield plate R23352 Wire fixture Connecting wire Power supply wire R20318 Terminal board Earth ground wire Right side panel R20670 ...
Page 9: ...or temperature thermistor from the protection net 6 Remove the 4 screws of the right side panel 7 Unfasten the 3 hooks and remove the right side panel Step Procedure Points Outdoor temperature thermistor Protection net R20671 Right side panel R20321 Hook Hook R20322 ...
Page 10: ...l not to lose the clip for the thermistor 10 Disconnect the connector S40 and pull out the clamp S40 overload protector 11 Disconnect the connector S20 and remove the clamp S20 electronic expansion valve coil Step Procedure Points Outdoor heat exchanger thermistor Clamp R20543 Clip R3264 S40 Clamp R20544 S20 Clamp R20545 ...
Page 11: ...ound blanket top upper and detach the discharge pipe thermistor Be careful not to lose the fixture for the thermistor 14 Remove the 2 screws and remove the electrical box Step Procedure Points Relay connector R20652 Sound blanket top upper Discharge pipe thermistor R20546 Fixture R20665 Electrical box R20547 ...
Page 12: ...ing work Step Procedure Points 1 2 Remove the screw and release the earth ground wire Pull out the 3 clamps 3 4 Cut the clamp Pull out the terminals from the terminal board Before pulling out the terminals confirm the terminal locations 1 black back 2 white back 3 red front Earth ground screw Clamp Clamp Clamp R20672 Clamp R22020 Clamp R20332 ...
Page 13: ...al Procedure 11 5 Remove the 2 screws and remove the electrical component mounting plate 6 Remove the 7 screws 7 Lift up and remove the PCB Step Procedure Points R20674 Electrical component mounting plate R20675 PCB R20676 ...
Page 14: ...ocedure Points 1 Remove the 2 screws and remove the partition plate When reassembling fit the lower hook into the bottom frame 2 Remove the sound blanket top upper and sound blanket top lower Since the piping ports are torn easily remove the sound blankets carefully 3 Remove the sound blanket back Partition plate R20548 Hook R20677 Sound blanket top lower Sound blanket top upper R20549 Sound blank...
Page 15: ...i001413EB Partition Plate Sound Blankets Removal Procedure 13 4 Remove the sound blanket outer 5 Remove the sound blanket inner Step Procedure Points Sound blanket outer R22021 R20552 Sound blanket inner ...
Page 16: ...ion brazing Note Before working make sure that the refrigerant gas is empty in the circuit Be sure to apply nitrogen replacement when heating up the brazed part Do not use a metal saw for cutting pipes by all means because the sawdust comes into the circuit When withdrawing the pipes be careful not to pinch them firmly with pliers The pipes may get deformed Provide a protective sheet or a steel pl...
Page 17: ...shing This is the view from the back side 5 Pull out the electronic expansion valve coil 6 7 Remove the putty Heat up the 2 brazed parts and remove the electronic expansion valve Step Procedure Points U red Overload protector V yellow W blue Protection bushing R23353 Electronic expansion valve coil R20555 Putty Electronic expansion valve Brazed part R20556 ...
Page 18: ...e refrigerant gas Restore the piping by non oxidation brazing Note Before working make sure that the refrigerant gas is empty in the circuit Be sure to apply nitrogen replacement when heating up the brazed part Do not use a metal saw for cutting pipes by all means because the sawdust comes into the circuit When withdrawing the pipes be careful not to pinch them firmly with pliers The pipes may get...
Page 19: ...view from the back side 5 6 7 8 9 Remove the putty Heat up the brazed part of the discharge side and disconnect it Heat up the brazed part of the suction side and disconnect it Remove the 2 nuts Lift up the compressor and remove it Step Procedure Points U red Overload protector V yellow W blue Protection bushing R23353 Nut Brazed part Putty Compressor R23399 ...
Page 20: ...ory Month Year Version Revised contents 08 2014 Si001413E First edition 05 2015 Si001413EA Model addition RKJ18NV1S RKJ42NVMG RKJ50NVM RKJ50NVM4 RKJ50NVMV RKM50 60PVMG 04 2016 Si001413EB Model addition ARKC18 24RV2S ...
Page 21: ...ories supplied or specified by Daikin Ask a qualified installer or contractor to install those parts and accessories Use of unauthorised parts and accessories or improper installation of parts and accessories can result in water or refrigerant leakage electrical shock fire or explosion z Read the user s manual carefully before using this product The user s manual provides important safety instruct...