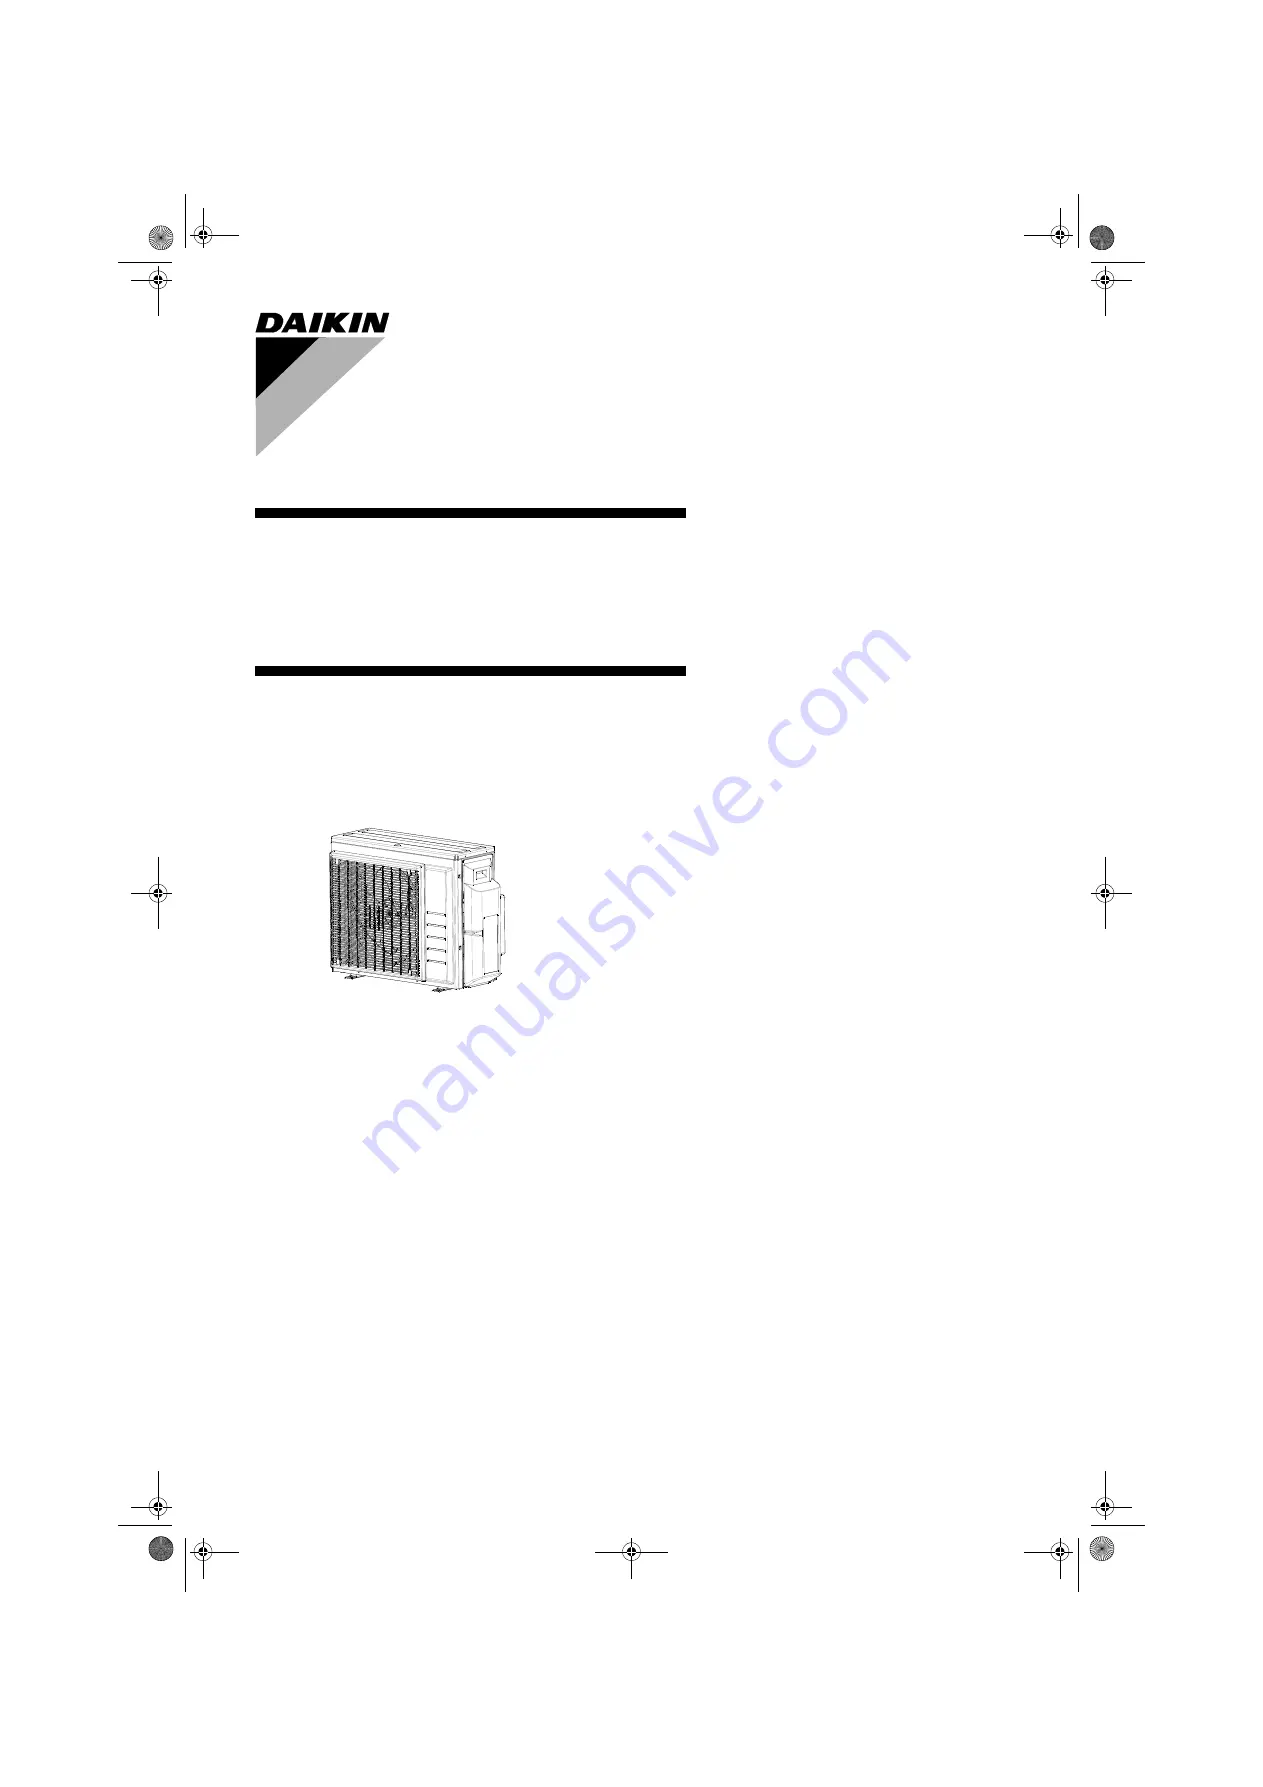
background image

INSTALLATION 
MANUAL

R32 Split Series

Models 
3MXM40N2V1B
3MXM52N2V1B
3AMXM52M3V1B
3MXM68N2V1B
4MXM68N2V1B
4MXM80N2V1B
5MXM90N2V1B

Deutsch

Français

Nederlands

Español

Italiano

Ελληνικά

Portugues

Русский

Türkçe

3PEN417620-3N.book  Page 1  Friday, June 21, 2019  9:50 AM

Summary of Contents for 3AMXM52M3V1B

Page 1: ...Series Models 3MXM40N2V1B 3MXM52N2V1B 3AMXM52M3V1B 3MXM68N2V1B 4MXM68N2V1B 4MXM80N2V1B 5MXM90N2V1B Deutsch Français Nederlands Español Italiano Ελληνικά Portugues Русский Türkçe 3PEN417620 3N book Page 1 Friday June 21 2019 9 50 AM ...

Page 2: ...rtifikat G Risikoklasse H Se også næste side 11 enligt A och godkänts av B enligt Certifikatet C i enlighet med den Tekniska Konstruktionsfilen D som positivt intygats av E Fastsatt modul F vilket också framgår av Certifikat G Riskkategori H Se även nästa sida 12 som det fremkommer i A og gjennom positiv bedømmelse av B ifølge Sertifikat C som det fremkommer i den Tekniske Konstruksjonsfilen D og ...

Page 3: ...аксимално допустима температура TS TSmin Минимална температура от страната на ниското налягане L C TSmax Температура на насищане съответстваща на максимално допустимото налягане PS M C Охладител N Настройка на предпазното устройство за налягане P bar Фабричен номер и година на производство вижте табелката на модела 22 Maksimalus leistinas slėgis PS K bar Minimali maksimali leistina temperatūra TS ...

Page 4: ...ce with relevant local and national regulations and with instructions in this installation manual Be sure to use a dedicated power supply circuit only Insufficiency of power circuit capacity and improper workmanship may result in electric shocks or fire Use a cable of suitable length Do not use tapped wires or an extension lead as this may cause overheating electric shocks or fire Make sure that a...

Page 5: ...erants may not contain an odour This appliance must be installed operated and stored in a room larger than the minimum required floor area Comply with national gas regulations CAUTION Do not install the air conditioner at any place where there is a danger of flammable gas leakage In the event of a gas leakage build up of gas near the air conditioner may cause a fire to break out While following th...

Page 6: ...ditioner 9 Since water will flow from the drain of the outdoor unit do not place under the unit anything which must be kept away from mois ture NOTE Cannot be installed hanging from ceiling or stacked CAUTION When operating the air conditioner in a low outdoor ambient temperature be sure to follow the instructions described below To prevent exposure to wind install the outdoor unit with its suctio...

Page 7: ...op 250mm from wall Allow space for piping and electrical servicing If there is the danger of the unit falling or overturning fix the unit with foundation bolts or with wire or other means If the location does not have good drainage place the unit on a level mounting base or a plastic pedestal Install the outdoor unit in a level position Failure to do so may result in water leakage or accumulation ...

Page 8: ...s that can be connected to this unit NOTE For the DHW generator for Multi use the same reducer as for the 20 class indoor unit For the Hybrid for Multi see the indoor installation manual for a correct capacity class and the applicable reducer Heat pump type 3MXM40 Up to 7 0 kW 4MXM68 Up to 11 0 kW 3MXM52 Up to 9 0 kW 4MXM80 Up to 14 5 kW 3AMXM52 Up to 9 0 kW 5MXM90 Up to 15 6 kW 3MXM68 Up to 11 0 ...

Page 9: ...heir ends are 20mm from the foundation surface Outdoor unit installation guideline Where a wall or other obstacle is in the path of outdoor unit s inlet or outlet airflow follow the installation guidelines below For any of the below installation patterns the wall height on the exhaust side should be 1200mm or less 20 Wall facing one side Side view More than 100 Direction of air More than 350 1200 ...

Page 10: ...tallation requirements for the allowable length and the maximum allowable height difference Outdoor unit capacity class 3MXM40 3MXM52 3AMXM52 3MXM68 4MXM68 4MXM80 5MXM90 Piping to each indoor unit 25 m max 25 m max 25 m max 25 m max 25 m max 25 m max Total length of piping between all units 50 m max 50 m max 50 m max 60 m max 70 m max 75 m max If the outdoor unit is positioned higher than the indo...

Page 11: ...erials and installation shall comply with the applicable legislation In Europe the EN378 is the applicable standard that shall be used Ensure that the field piping and connections are not subjected to stress Align the centres of both flares and tighten the flare nuts 3 or 4 turns by hand Then tighten them fully with the torque wrenches Drain cap 1 Drain cap 2 H Drain cap 2 Air outlet side B Drain ...

Page 12: ...nect projection side of charging hose which comes from gauge manifold to gas stop valve s service port 2 Fully open gauge manifold s low pressure valve Lo and completely close its high pressure valve Hi High pressure valve subsequently requires no operation 3 Perform vacuum pumping and make sure that the compound pressure gauge reads 0 1MPa 76cmHg Evacuation for at least 1 hour is recommended 4 Cl...

Page 13: ...rant used This product contains fluorinated greenhouse gases Do not vent gases into the atmosphere Refrigerant type GWP value Factory refrigerant charge of the product see unit name plate Additional refrigerant amount charged in the field Total refrigerant charge Quantity of fluorinated greenhouse gases of the total refrigerant charge expressed as tonnes CO2 equivalent Outdoor unit Refrigerant cyl...

Page 14: ...on flared part Prevent mineral oil from getting into the system as this would reduce the lifetime of the units Never use piping which has been used for previous installations Only use parts which are delivered with the unit Never install a dryer to this R32 unit in order to guarantee its lifetime The drying material may dissolve and damage the system Incomplete flaring may cause refrigerant gas le...

Page 15: ...door unit where the flare nut comes in Use an appropriate wrench to avoid damaging the connection thread by over tightening the flare nut Flare nut tightening torque Flare nut for Ø9 5 32 7 39 9N m 333 407kgf cm Flare nut for Ø12 7 49 5 60 3N m 505 615kgf cm Flare nut for Ø15 9 61 8 75 4N m 630 769kgf cm No 1 Ø15 9 Ø12 7 No 2 Ø12 7 Ø9 5 No 3 Ø15 9 Ø12 7 No 4 Ø12 7 Ø9 5 No 5 Ø15 9 Ø9 5 No 6 Ø15 9 Ø...

Page 16: ...r installation manual 1 Forced operation 1 Switch off the power 2 Remove the Service cover 2 screws 3 Remove the service PC board switch cover 1 screw 4 Switch SW5 and SW6 to off 5 Turn the operation mode switch SW2 to COOL 6 Screw the service PC board switch cover back on 1 screw 7 Switch the power on 8 Push the forced operation switch SW1 above the service PC board cover Start forced cooling ope...

Page 17: ...mpleting the work reattach the service cover to its original position 1 Safe handling of high voltage part WARNING Do NOT touch the charged part for 10 minutes after the safety breaker is turned OFF because of the danger of high voltage 1 1 To prevent electrical shock Use a tester to check that the voltage between FU2 and DC is 50V or less Refer to Layout diagram of electrical components on the ne...

Page 18: ...er work may cause heat and fires 1 3 A B A B Make sure that the earth wire between the pull relief and terminal is longer than the other wires LAYOUT DIAGRAM OF ELECTRICAL COMPONENTS MULTIMETER DC VOLTAGE RANGE ELECTRONIC EXPANSION VALVE COIL LEAD WIRE CONNECTOR ROOM D AC DC DC ELECTRONIC EXPANSION VALVE COIL LEAD WIRE CONNECTOR ROOM C ELECTRONIC EXPANSION VALVE COIL LEAD WIRE CONNECTOR ROOM B ELE...

Page 19: ...R GREEN HIGH VOLTAGE HIGH VOLTAGE IES INTELLIGENT EYE SENSOR IPM INTELLIGENT POWER MODULE K R KCR KFR KHuR K M MAGNETIC RELAY L LIVE L COIL L R REACTOR M STEPPER MOTOR M C COMPRESSOR MOTOR M F FAN MOTOR M P DRAIN PUMP MOTOR M S SWING MOTOR MR MRCW MRM MRN MAGNETIC RELAY N NEUTRAL n N NUMBER OF PASSES THROUGH FERRITE CORE PAM PULSE AMPLITUDE MODULATION PCB PRINTED CIRCUIT BOARD PM POWER MODULE PS S...

Page 20: ...rned off Turn it off if it has not been turned off 2 Remove the stop valve cover 3 Disconnect the selective connector for standby electricity saving 4 Turn on the main power supply CAUTION Before connecting or disconnecting the selective connector for standby electricity saving make sure that the main power supply is turned off The selective connector for standby electricity saving is required if ...

Page 21: ...unit 1 2 Priority during high power operation If the indoor unit which is set for priority room setting is operating at high power the capabilities of other indoor units will be somewhat reduced Power supply gives priority to the indoor unit which is set for priority room setting 1 3 Quiet operation priority Setting the indoor unit to quiet operation will make the outdoor unit run quietly Setting ...

Page 22: ...uiet Mode switch SW6 1 to on HEAT Mode Lock SW5 1 Use the HEAT Mode Lock switch SW5 1 in the ON position COOL Mode Lock S15 Use the S15 connector to set the unit to cool only Setting to only cool C short circuit pins 3 and 5 of the connector S15 The following specifications apply to the connector housing and pins ST products Housing VHR 5N Pin SVH 21T 1 1 Note that forced operation is also possibl...

Page 23: ...sible check the indoor unit wiring and piping in the usual manner NOTE 1 For two rooms LED 3 4 and 5 are not displayed and for three rooms LED 4 and 5 is not displayed and for four rooms LED 5 is not displayed 2 If the outside air temperature is 5 C or less the wiring error check function will not operate 3 After wiring error check operation is completed LED indication will continue until ordinary...

Page 24: ...tor worked or freeze up in operating unit or stand by unit Overload relay worked or high discharge pipe temperature Faulty compressor start Input over current Thermistor or CT abnormality High temperature switch box High temperature at inverter circuit heat sink Output over current Refrigerant shortage Low voltage to main circuit or over voltage to main circuit Reversing solenoid valve switching f...

Page 25: ... how to operate the unit correctly particularly cleaning of the air filters operation procedures and temperature adjustment Even when the air conditioner is not operating it consumes some electric power If the customer is not going to use the unit soon after it is installed turn off the breaker to avoid wasting electricity If additional refrigerant has been charged because of long piping list the ...

Page 26: ... Thermistor liquid Heating Cooling Refnet header S1PH High pressure switch Automatic reset Outdoor Unit Heat exchanger thermistor Outdoor air temperature thermistor 7 9CuT 7 9CuT 7 9CuT 7 9CuT 12 7CuT M 12 7CuT A B C 12 7CuT 9 5CuT 12 7CuT 12 7CuT 12 7CuT 12 7CuT Field piping Thermistor gas Refnet header 12 7CuT Gas stop valve 15 9CuT 15 9CuT Muffler Muffler 15 9CuT 15 9CuT Accumulator Compressor ...

Page 27: ...tic reset SV Solenoid valve 9 5CuT 9 5CuT 6 4CuT 12 7CuT 7 9CuT MVD 6 4CuT RoomD 6 4CuT D 12 7CuT 12 7CuT Room Outdoor Unit Heat exchanger thermistor Outdoor air temperature thermistor 15 9CuT 7 9CuT 7 9CuT 7 9CuT 7 9CuT 12 7CuT M 12 7CuT A B C 12 7CuT 9 5CuT 15 9CuT 12 7CuT 12 7CuT 12 7CuT Field piping Thermistor gas Refnet header 12 7CuT Gas stop valve 15 9CuT 15 9CuT Muffler Muffler 15 9CuT 15 ...

Page 28: ...CuT 6 4CuT 6 4CuT Filter Room Room Room Field piping Liquid Gas A B C 6 4CuT 6 4CuT 6 4CuT Room Room Room 9 5CuT Liquid stop valve 9 5CuT 9 5CuT Muffler with filter Capillary tube Distributor Refrigerant flow Refnet header Accumulator Discharge pipe thermistor Thermistor liquid Heating Cooling Refnet header S1PH High pressure switch Automatic reset SV Solenoid valve 9 5CuT 9 5CuT 6 4CuT 12 7CuT 7 ...

Page 29: ...3PEN417620 3N book Page 1 Friday June 21 2019 9 50 AM ...

Page 30: ...3P417620 3N 2019 06 Copyright 2019 Daikin 3PEN417620 3N book Page 1 Friday June 21 2019 9 50 AM ...

Reviews: