Basic Operations 30
Click
OK
.
Step 5
After adding the camera to the face attendance template successfully, the live camera
shooting image and face comparison information is displayed.
Connect you Signage to the camera by IPC or IVSS, and there will be only one
camera’s shooting image.
Connect you device to the camera by DSS or PSS, and there will be at most four
cameras’ shooting images (numbers of cameras’ shooting windows vary with
numbers of cameras attached to the platform). To attach a camera to the platform,
see platform’s user manual.
Click on the camera shooting image, you can:
Click
Change Device
to configure a new camera shooting window.
Click
Delete Device
to delete a camera shooting window.
4.6.2.2.2 Configuring Other Five Templates
The other five templates are similar in configuration and “Supermarket & Hotel” template is
taken as an example.
In the main menu, select
Local Release > Custom
.
Step 1
The
Custom
interface is displayed.
Click a template you want to define.
Step 2
The template’s interface ready for configuration is displayed.
Configure the template.
Step 3
1) Click a
to configure this region’s display sequence and content.
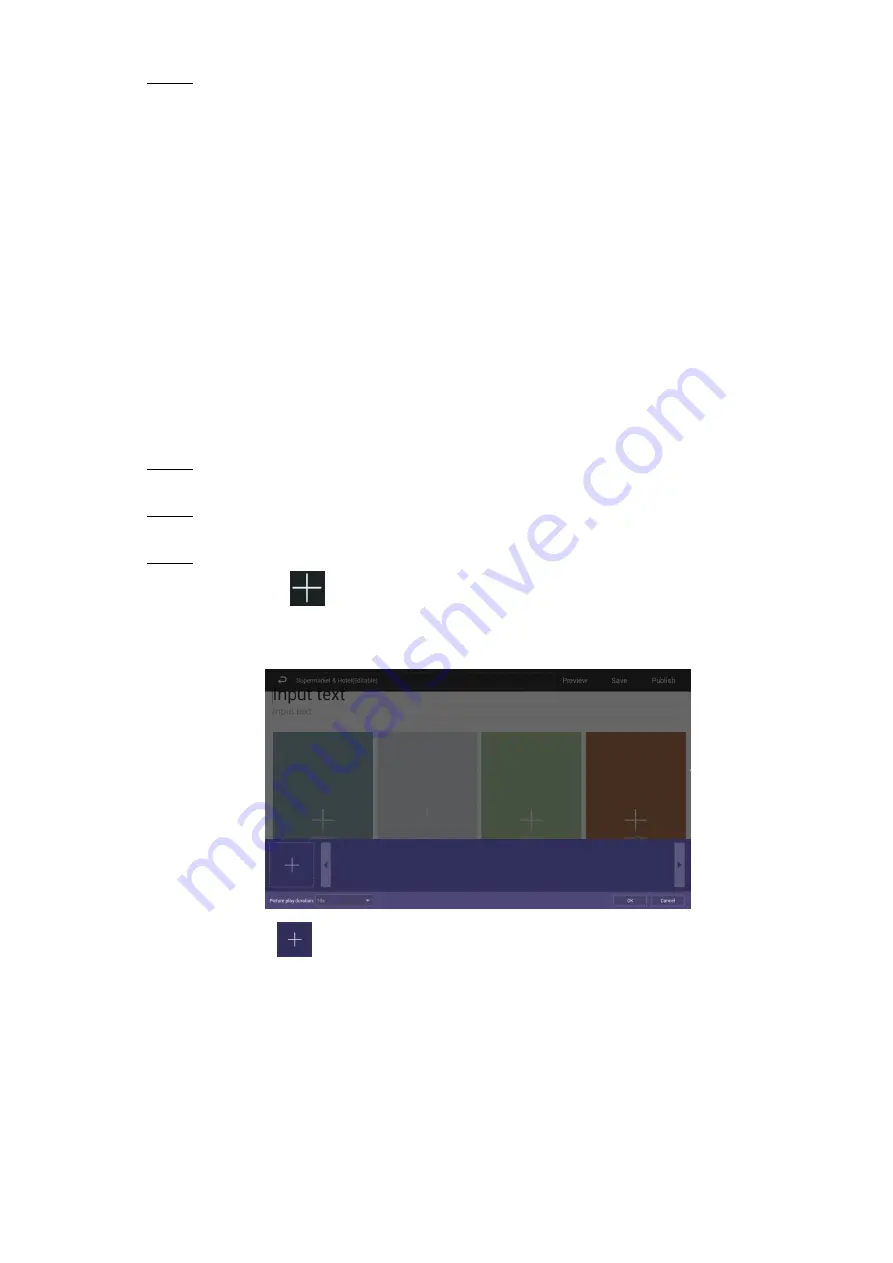
A program waiting box of images & videos is displayed. See Figure 4-15.
The program waiting box
Figure 4-15
2) Click
.
The “File Manager” interface is displayed.
3) Then, you can select duration of displaying an image from 5s, 10s, 20s, 30s and
60s. Images are displayed for 10 seconds by default and videos to the end.
You can repeat step2-3 to upload multiple images or videos to the program waiting
box.
4) Click
OK
.


