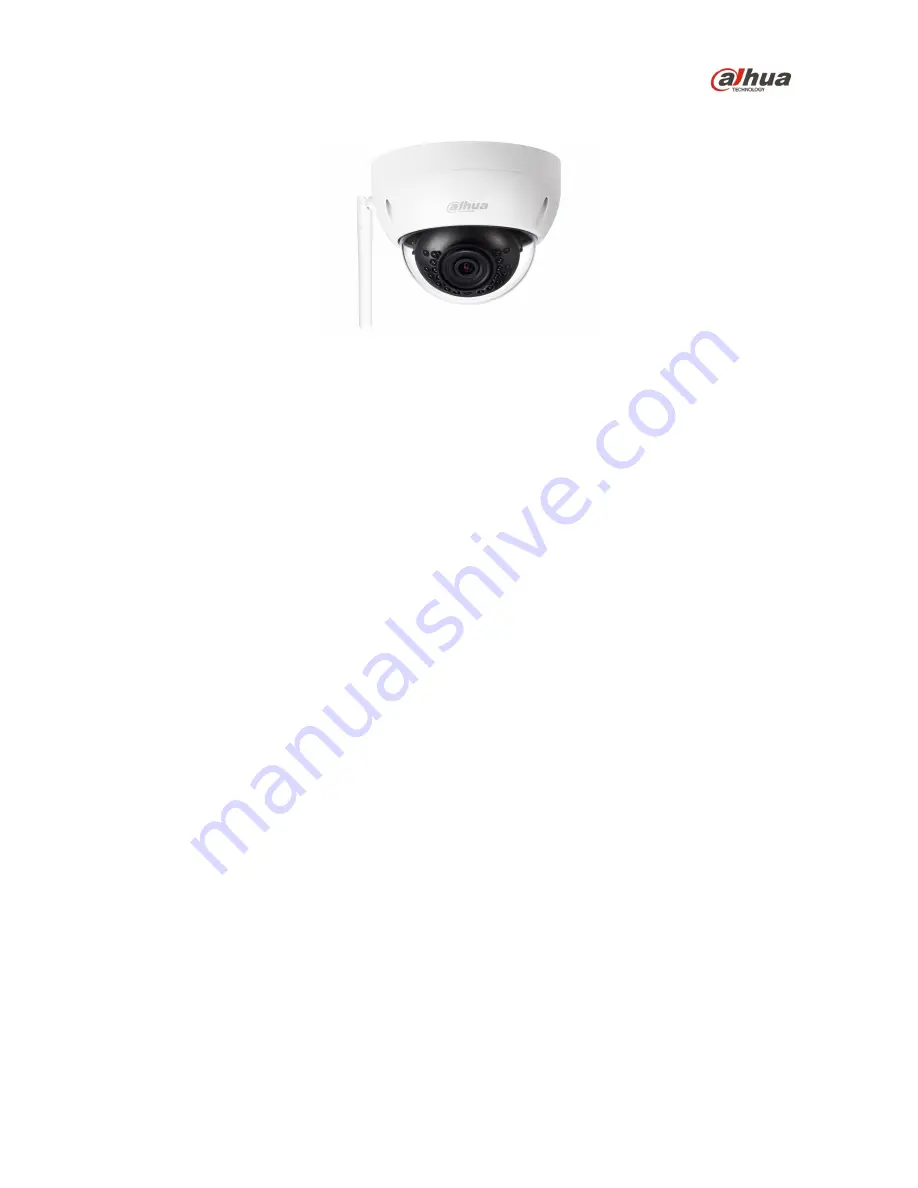
IR Megapixel Wi-Fi Fixed MiniDome Camera
DH-IPC-HDBW11A0EN-W, DH-IPC-HDBW13A0EN-W Quick Start Guide
Version 1.0.1 Dahua Technology USA Inc.
Page 1: ...IR Megapixel Wi Fi Fixed MiniDome Camera DH IPC HDBW11A0EN W DH IPC HDBW13A0EN W Quick Start Guide Version 1 0 1 Dahua Technology USA Inc ...
Page 2: ...Daily Maintenance 3 Warnings 3 1 2 FCC Information 4 FCC Compliance 4 1 3 Legal Notices 4 Copyright 4 Trademarks 4 1 4 Disclaimer 4 2 Unpacking 5 3 Camera Configuration 6 3 1 Camera and Cables 6 3 2 Camera Control and Indicators 7 3 3 Status Indicators 7 3 4 Framework and Dimensions 8 4 Wi Fi Configuration 9 5 Device Installation 11 ...
Page 3: ...o protect the unit from damage especially in damp environments Protect the plug and power cord from foot traffic being pinched and its exit from the unit Units with or without an ON OFF switch have power supplied to the unit whenever the power cord is inserted into the power source however the unit is operational only when the ON OFF switch is in the ON position The power cord is the main power di...
Page 4: ...ing or installation Environmental Precautions Do not aim the unit at a strong light source or into direct sunlight to focus A strong light source may cause overexposure and may affect the longevity of the CCD or the CMOS sensor Transport use and store the unit within the specified temperature and humidity range Do not place the unit in a wet dusty extremely hot or an extremely cold environment and...
Page 5: ...le solvent like alcohol benzene or thinner or use a strong detergent with abrasives which may damage the surface coating or reduce the working performance of the unit Do not touch or wipe a dome cover during installation this cover is an optical device Refer to the following methods clean the dome cover Stained with dirt Use an oil free soft brush or blower to gently remove the dirt Stained with g...
Page 6: ...r guide is 2016 Dahua Technology Company LTD This user guide is the intellectual property of Dahua Technology Company LTD and is protected by copyright All rights reserved Trademarks All hardware and software product names used in this document are likely to be registered trademarks and must be treated accordingly 1 4 Disclaimer This user guide has been compiled with great care and the information...
Page 7: ...l representative The original packing carton is the safest container to transport the unit in the event the unit must be returned for service Retain the carton and all shipping material for future use Please refer to the enclosed CD for more details to view the detailed User s Manual and for configuration software Package Item Quantity Wi Fi Camera 1 Mounting Template 1 Installation Hardware Pack ...
Page 8: ...owing sections to identify the camera components and status indicators 3 1 Camera and Cables The following image depicts the main components of the camera Figure 3 1 Ref Description 1 Dome cover 2 Dome enclosure 3 Network Port 4 Power Port ...
Page 9: ...Blinking Device malfunction boot failure or Alarm or SD card malfunction Green Light On Wi Fi connection successful camera operating normally Slow Blinking Boot successful awaiting Wi Fi configuration enter Smart Configuration status Quick Blinking Wi Fi Smart Config in progress including Wi Fi Protected Setup Red Green Light Blinking Alternately Device upgrade required To reset the camera press a...
Page 10: ...8 3 4 Framework and Dimensions The following figures show the dimensions of the device in mm in These images are intended as a reference only Figure 3 3 ...
Page 11: ...r smart phone to the security system s Wi Fi network 3 Scan the Easy4IP QR code on the camera packaging Then download and install the Easy4IP application 4 Open the Easy4IP app on the smart phone and tap login You must complete the registration prior to first use 5 Tap to add devices 6 Select Wired to add a camera connected to the network via a cable Select Wireless to add a camera connected wirel...
Page 12: ... the Wi Fi network and adds the camera This process can take up to 60 seconds 9 To switch the camera between a wired or a wireless configuration a Press and hold the Reset button on the bottom of the camera for eight seconds b Repeat steps 6 through 8 of this procedure At step 6 choose either Wired or Wireless depending on the new connection ...
Page 13: ... no wider than the expansion bolt 4 Determine the route of the cables from the camera If the cables route through the installation surface drill an exit hole as marked on the mounting template If the cables route to the side of the camera route the cables through the U shape channel on the dome pedestal and then through the side exit hole on the pedestal 5 Insert an expansion bolt into each pre dr...
Page 14: ...the following position range Horizontal 0 to 355 Vertical 0 to 64 Image Rotation 0 to 355 c Adjust the lens to the proper focus position 10 Align the dome enclosure with the pedestal and tighten the three hex screws 11 Connect the video output ports to the associated output device monitor DVR and connect the power cable to a 12 VDC power supply 12 Check the scene on a monitor to ensure the dome en...
Page 15: ...ology USA Inc 23 Hubble Irvine CA 92618 Tel 949 679 7777 Fax 949 679 5760 Email sales usa global dahuatech com Rev 001 001 2016 Dahua All rights reserved Design and specifications are subject to change without notice ...