18
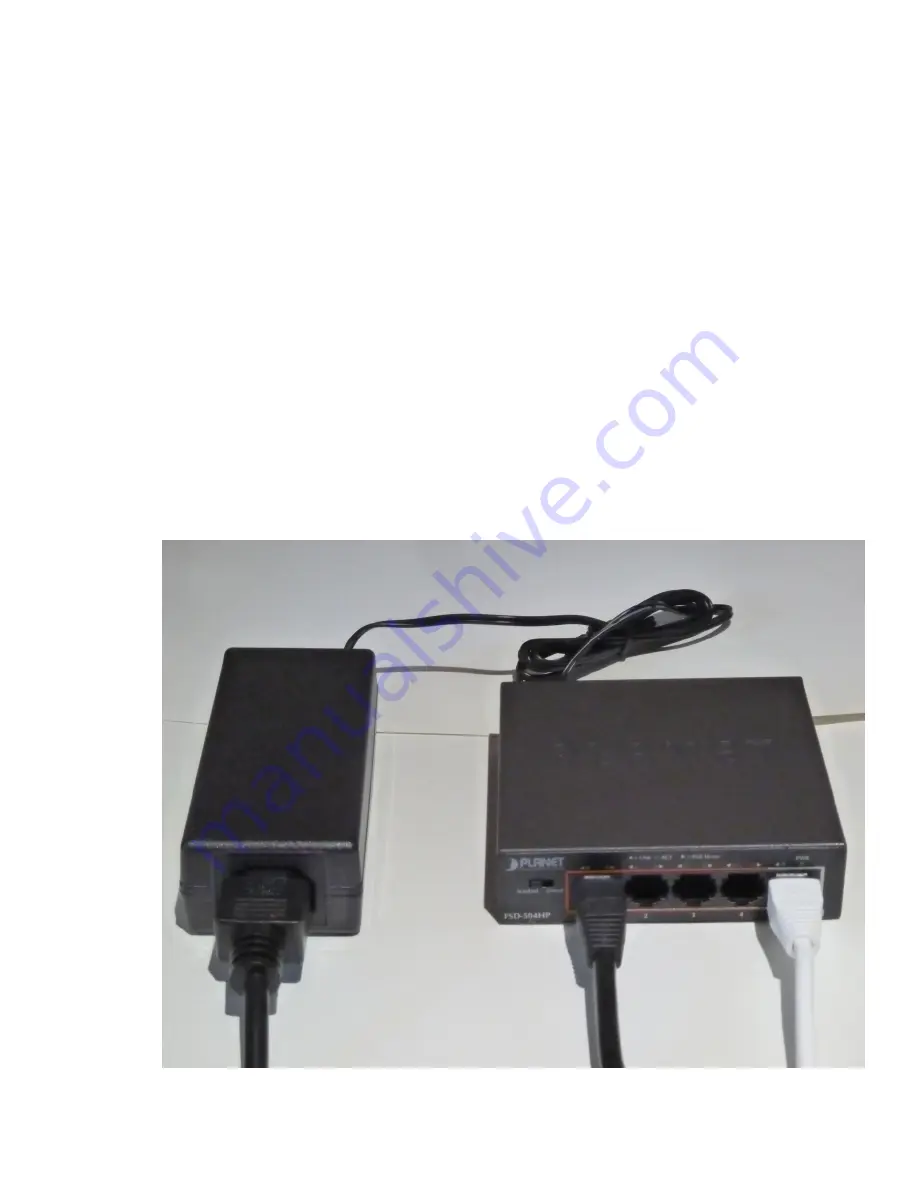
install it, place the PoE injector near your router. For a four-port injector, plug the
injector barrel power connector into the rear of the injector. Plug the injector
power supply line cord into the injector and plug the line cord into a source of AC
power. The power supply is rated for 110/240 VAC – 50/60 Hz power so if the
installation is not in the US, just use an AC adapter or a different line cord in
accordance with your AC power wall socket.
3. Using a second, short Ethernet cable, plug one end into the LAN connector on
your PoE injector. For a 4-port injector, this is the right connector on the front of
the PoE injector labeled “5 - Uplink”. For a single-port injector, it is labeled
“LAN”. We will connect the other end in a subsequent step.
4. Move the unconnected end of a long camera cable from the camera assembly to
the PoE injector, by some convenient route and avoiding creating a tripping
hazard.
5. As shown below, plug the routed end of the camera cable into any of the four
unused ports of a four-port PoE+ injector or the “POE” port on a single-port
injector. This cable may be a bit stiff so bend it near the injector so that the
connector goes straight into the injector socket, relieving stress on the
connection.
Summary of Contents for 50230UNI-A
Page 7: ...7...
Page 25: ...25 Set Backlight Profile to Normal and Mode Off Set WB to Profile Normal and Mode Auto...
Page 26: ...26 Set Day Night settings as shown above Set Focus Zoom settings as shown above...
Page 27: ...27 Set Defog Profile to Normal and Mode to Auto Disable all OSD info options...
Page 29: ...29 Set a Static IP address as desired Leave the other setting as is...


