background image

Pr
oduct

information

3

Important Safeguards

This set has been designed and manufactured to assure
personal safety. Improper use can result in electric
shock or fire hazard. The safeguards incorporated in
this unit will protect you if you observe the following
procedures for installation, use and servicing. This unit
is fully transistorized and does not contain any parts
that can be repaired by the user.

1 READ 

INSTRUCTIONS 

All the safety and operating instructions should be
read before the unit is operated.

2 RETAIN 

INSTRUCTIONS

The safety and operating instructions should be
retained for future reference.

3 HEED 

WARNINGS

All warnings on the unit and in the operating
instructions should be adhered to.

4

FOLLOW INSTRUCTIONS
All operating and use instructions should be
followed.

5 CLEANING

Unplug this unit from the wall outlet before
cleaning. Do not use liquid cleaners or aerosol
cleaners. Use a damp cloth for cleaning.

6    ATTACHMENTS

Do not use attachments unless recommended by
the unit’s manufacturer as  they may cause
hazards.

7  WATER AND MOISTURE

Do not use this unit near water- for example, near
a bath tub, wash bowl, kitchen sink or laundry tub,
in a wet basement, or near a swimming pool.  

8 ACCESSORIES

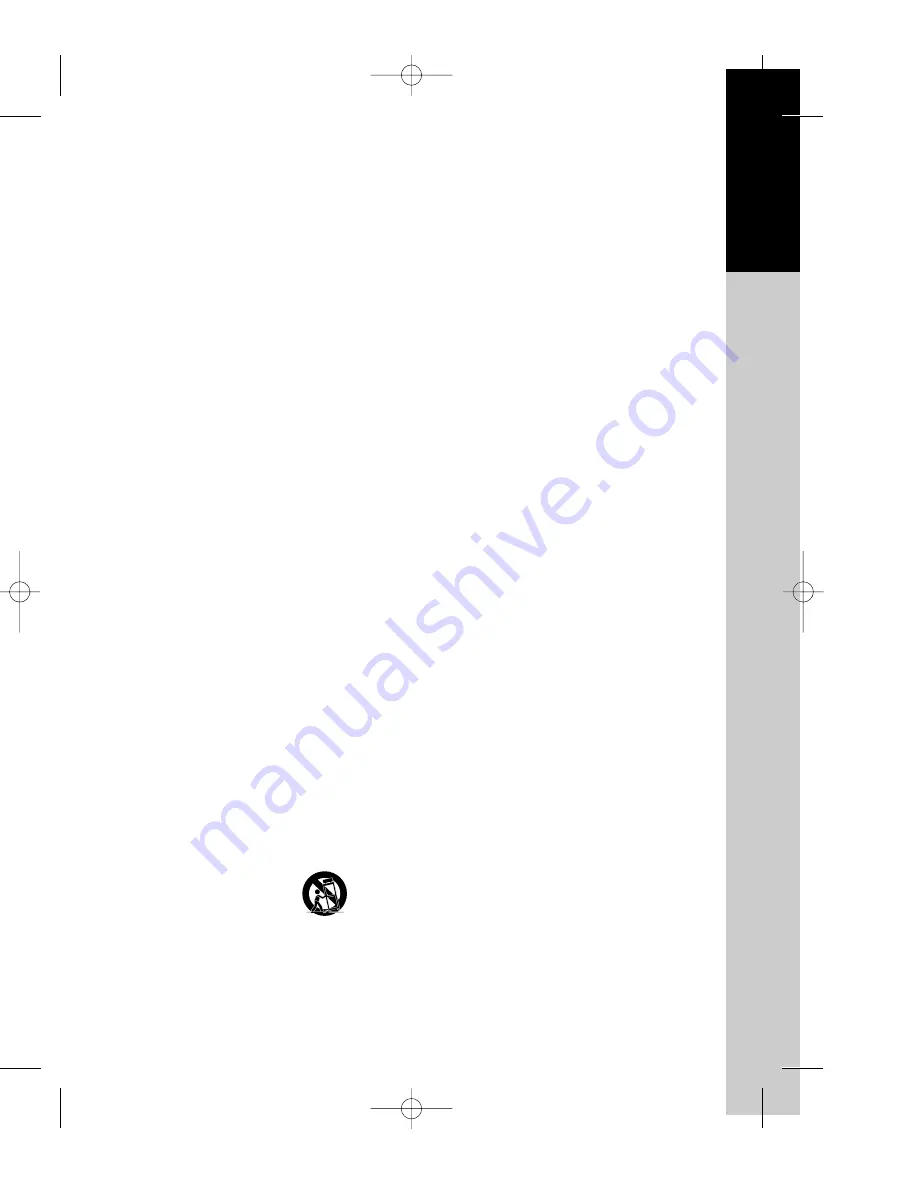
Do not place this unit on an
unstable cart, stand, tripod,
bracket, or table. The unit
may fall, causing serious
injury  to a child or adult as well as serious damage
to the unit. Use this unit only with a cart, stand ,
tripod, bracket,  or  table recommended by the
manufacturer. 

8A 

A unit and cart combination should be moved

with care. Quick stops, excessive force, and uneven
surfaces may cause the product and cart
combination to overturn.

9 VENTILATION

Slots and openings in the case are provided for
ventilation to ensure reliable operation of the unit
and to protect it from overheating. These openings
must not be blocked or covered. These openings
must not be blocked by placing the unit on a bed,
sofa, rug, or other similar surface. This unit should
never be placed near or over a radiator or heat
radiator. This unit should not be placed in a built-
in installation such  as a bookcase or rack unless
proper ventilation is provided or the
manufacturer’s instructions have been adhered to. 

10 POWER SOURCES

This unit should be operated only from the type of
power source indicated on the marking label. If
you are not sure of the type of power supply to
your home, consult your dealer or local power
company. For units intended to operate  from
battery power, or other sources, refer to the
operating instructions.

11 GROUNDING OR POLARIZATION

This unit is equipped with a polarized alternating -
current line plug (a  plug having one blade wider
than the other). This plug will fit into the power
outlet only one way.  
This is a safety feature. If you are unable to insert
the plug fully into the outlet, try reversing the
plug. If the plug still fails to fit, contact your
electrician to replace your obsolete outlet.To
prevent electric shock, do not use this polarized
plug with an extension cord, receptacle, or other
outlet  unless the blades can be fully inserted
without blade exposure. If you need an extension
cord, use a polarized cord.

12 POWER-CORD PROTECTION

Power-supply cords should be routed so  that they
are not likely to be walked on or pinched by items
placed upon or against them, paying particular
attention to cords at plugs, convenience
receptacles, and the point where they exit from the
unit.

PORTABLE CART WARNING

(symbol provided by RETAC)

DV6T712D-AQ/I(GB)  02.11.12 5:39 PM  ˘

` 3   mac001  300DPI 120LPI

Summary of Contents for SD-9100

Page 1: ...on code 2 or ALL is a DO NOT mark If this mark is displayed in operating the product please wait for a while then use it If DO NOT mark continues to be displayed in pressing a button after that it mea...

Page 2: ...on 16 Setting time and date Auto clock 17 OSD ON OFF Output Select 18 DVD Playback 19 VCR Playback 20 Recording 21 VCR Operation Tuning in New Stations 23 Timer Recording 25 More Functions 28 Connecti...

Page 3: ...equire maintenance contact an authorized service location see service procedure Use of control adjustments or the performance of procedures other than those specified may result in hazardous radiation...

Page 4: ...ION Slots and openings in the case are provided for ventilation to ensure reliable operation of the unit and to protect it from overheating These openings must not be blocked or covered These openings...

Page 5: ...servicing to qualified service personnel under the following conditions A When the power supply cord or plug is damaged B If liquid has been spilled or objects have fallen into the unit C If the unit...

Page 6: ...Fast Forward Reverse playback Search of title chapter and time in DVD disc and search of time and track time in VCD and CD Various TV aspect DVD 4 3 for Pan and Scan 4 3 for Letter Box and 16 9 for Wi...

Page 7: ...f use by technical engineers For checking contact your dealer or your nearest service center Checking and Replacement of Antenna Antenna is subject to change in its direction or damage by wind and rai...

Page 8: ...REWIND button Use to rewind currently being played videotape or disc or to playback back rapidly 6Playback PAUSE button Playback videotape or disc Press this button to pause a screen 7 FAST FORWARD bu...

Page 9: ...nection to ANTENNA Cable Connection to TV Accessories REP EAT OPE N CL OSE DIS PLA Y TIT LE PBC ME NU PR PR OU TPU T PRE V REC PRO GR AM CLK CN T TV V CR SPE ED TRA CKI NG ANG LE DIG EST SEA RCH SYS T...

Page 10: ...VD VCR NUMBER button VCR TRACKING button 6 VCR SELECT button 7 DVD SELECT button 8 DVD VCR OSD DISPLAY button 9 OUTPUT Selection button 0 ENTER OK button CLEAR 3D button DVD AUDIO LANGUAGE Select VCR...

Page 11: ...mote control TV remote can now be used as normal You will get better pictures and sound quality if you connect your player with a scart lead Before you start unplug all the equipment from the mains su...

Page 12: ...e you start unplug all the equipment from the mains supply Television Aerial Back view of your player 230V 50 Hz You can use this connection if your player has two scart sockets This will improve soun...

Page 13: ...dio amplifier if needed If your player does not have this connection see page 14 Player 230V 50 Hz You can also use a scart lead to improve picture and sound quality from your player Hi Fi Aerial Opti...

Page 14: ...scart sockets you can use the other socket AV2 to connect other equipment To use this function see page 15 How to connect your player to a camcorder How to connect Before you start unplug all the equi...

Page 15: ...ital If you want to know about Dolby Digital please refer to About DVD in 43 44p AMPLIFIER OF DOLBY DIGITAL REAR PANEL OF DVD VIDEO CONNECTING CABLE Not supplied Manufactured under license from Dolby...

Page 16: ...ipment the video PR PR buttons have no effect To return to normal video use the other equipment must be turned off Recording from other Equipment Simple recording can be performed ensure the equipment...

Page 17: ...urrent RF OUTPUT CH the guide message appears automatically The player recommends the optimal RF OUTPUT CH number automatically 4 B Belgium D Germany DK Denmark E Spain GR Greece I Italy LUX Luxembour...

Page 18: ...ock is only available for models with the VPS PDC function see page 25 Some broadcasting stations may send the time and date along with the VPS PDC data The video will automatically use this time and...

Page 19: ...ON and EXTERNAL INPUT is selected in order and the DISPLAY of DVD and VCR will be changed accordingly To Select DVD Call the player s MAIN SETUP Choose VCR SETUP And press the OK button 1 Choose VCR S...

Page 20: ...button in playback mode If you press this button once more it starts playback again 5 Press OPEN CLOSE button to remove the disc 6 REPEAT OPEN CLOSE DISPLAY TITLE PBC MENU PR PR OUTPUT PREV REC PROGR...

Page 21: ...fast forward or reverse playback press or button in Playback mode You can watch fast playing rewinding screen If you want Still picture press PLAY PAUSE in Playback mode You can watch the desired scre...

Page 22: ...ct External Input mode Insert a recordable tape Insert a tape with recording tab With CHANNEL NUMBER and OUTPUT buttons select the desired broadcasting channel or external input unit to record 1 2 3 T...

Page 23: ...procedures below To copy just with buttons of remote control after playing DVD press VCR button and then REC button 1 1 Insert the desired DVD disc When it is a DVD disc with copy protect function yo...

Page 24: ...arch by pressing The fine tuning you can adjust When the program is encoded and you have a decoder connected to socket EURO AV2 press the or to select ON or OFF Change or create the station name 4 Onc...

Page 25: ...SELECT POSITION OK CONFIRM SETUP END PR 01 RECEPTION AERIAL AUTOSEARCH CH__ FINE TUNING DECODER ON NAME O___ Sorting programme locations If the location numbers used for programmes stored in your TV a...

Page 26: ...ys the start time of the programme slightly The time you enter is the VPS PDC time so must be correct Not all stations offer VPS PDC in which case the player will start at the time you enter and not t...

Page 27: ...ds after typing a one digit number If you have made a mistake move to the position you want to change using the buttons and change the setting If programme timings overlap the machine will give a warn...

Page 28: ...to change using the buttons Change the settings using the PR or number buttons If all settings are ok press or until you see OK CONFIRM in the bottom line Confirm changes with OK Exit the menus 2 TIME...

Page 29: ...position The player will wind to the position 0 00 00 and stop Remaining time and cassette length When you want the player to show the time remaining from the current player tape position to find out...

Page 30: ...e this mode press the button or mode operation button PLAY FF REW or STOP SETUP languages Call the player s MAIN SETUP choose VCR SETUP then LANGUAGE SET Select your language Confirm LANGUAGE SET PR S...

Page 31: ...sting When you switch to another station or the current station changes the sound mode your player displays the programme and sound mode on screen if not press AUDIO STEREO stereo BIL I BIL II bilingu...

Page 32: ...the TV to the test picture using the channel pre set functions of your TV as described in its manual When you have found the test picture store it under the button number on your TV for player input...

Page 33: ...lect its AV input and set the machine to record Switch your player to play back at the position you want copying to start TV other VCR Other VCR Decoder for Pay TV Camcorder Video Player Satellite Rec...

Page 34: ...move to next chapter or track press NEXT button The current chapter or track moves to the next chapter or track Press PREV button The current scene moves to the previous chapter or track or first sce...

Page 35: ...ayback mode 3 REPEAT A B REPEAT OFF Playing a desired scene Rep Chapter Current chapter will be repeatedly playback Rep Title Current title will be repeatedly playback Rep One Current track will be re...

Page 36: ...2 T T 1 8 C C TIME 2 00 18 1 2 T T 1 8 C C Searching VCD and CD with a track number or time If you want to search with a track number press SEARCH button one time In case of PBC OFF the screen like t...

Page 37: ...0 18 1 2 T T 1 8 C C VCD 00 45 30 35 1 2 T T Confirming the current MP3 disc mode While in playing press DISPLAY button It shows the MP3 File information in disc the directory MP3 File name and direct...

Page 38: ...lish ENG French FRE Spanish SPA and others appear one by one A certain disc may not support audio select or subtitle select Selecting 3D Audio Please press 3D button If the right figure appears move t...

Page 39: ...s centre and the point can be changed with the operation of button Different Angle If a disc includes multi angle information the user can watch a screen in multi angles The function is limited to a D...

Page 40: ...s a letter or number Use only letters and or numbers in file names If you use special characters the file and or folder names may not be displayed correctly on the on screen display When recording on...

Page 41: ...ed in the DISC it is automatically played in the set language in every playing For example English is set and recorded as a DISC MENU language in the DISC it is played in English 5 A user can set OSD...

Page 42: ...tup While STOP or RESUME STOP press SETUP button Selecting TV Aspect If a user selects 4 3 PS the user can watch only a center of the original scene of 16 9 If a user selects 4 3 LB the user can watch...

Page 43: ...button 1 Parental Lock activates only if you set a password and the unit goes into Lock status When the disc has no parental function even if the disc for adult only Parental Lock doesn t activate OS...

Page 44: ...is player will play DVD discs marked with labels containing the region number 2 or ALL Region 2 Region ALL 2 ALL Terms related with DVD DVD A DVD abbreviation of Digital Versatile Disc or Digital Vide...

Page 45: ...a that is decoded into an analog signal for subsequent output to speakers Lt Rt It indicates L R of Dolby Digital 2CH Downmix output Downmix DOWNMIX is reproducing the proper audio when audio format r...

Page 46: ...to optimum condition CABLE Cable television EP Extended play the slowest recording speed Designed to store the maximum amount of program material on a single video cassette There is some degradation i...

Page 47: ...mode to protect a videotape is operated automatically Please pull out the tape and input it again In case the product is used for a long time a videotape may not be ejected for a film inside may be st...

Page 48: ...tab of cassette tape broken Please cover a tab hole with cellophane adhesive tape Scotch tape Please check whether the clock is right Does the display on your video show Ready to timer recording Pleas...

Page 49: ...h Dolby Digital amplifier Please check the plugs are connected with one another tightly Some contaminants may be remained in connection terminal Please check the degree of remote control distance or a...

Page 50: ...VIDEO output terminal 1 0 Vp p unbalanced RCA JACK SCART JACK VIDEO output DVD only RGB output 75 In load R 0 7Vp p G 0 7Vp p B 0 7Vp p AUDIO output common use of DVD and VCR Audio output terminal 2...

Reviews: