OWNER'S MANUAL
Before operating this oven, please read
these manual completely.
MICROWAVE
CONVECTION/GRILL OVEN
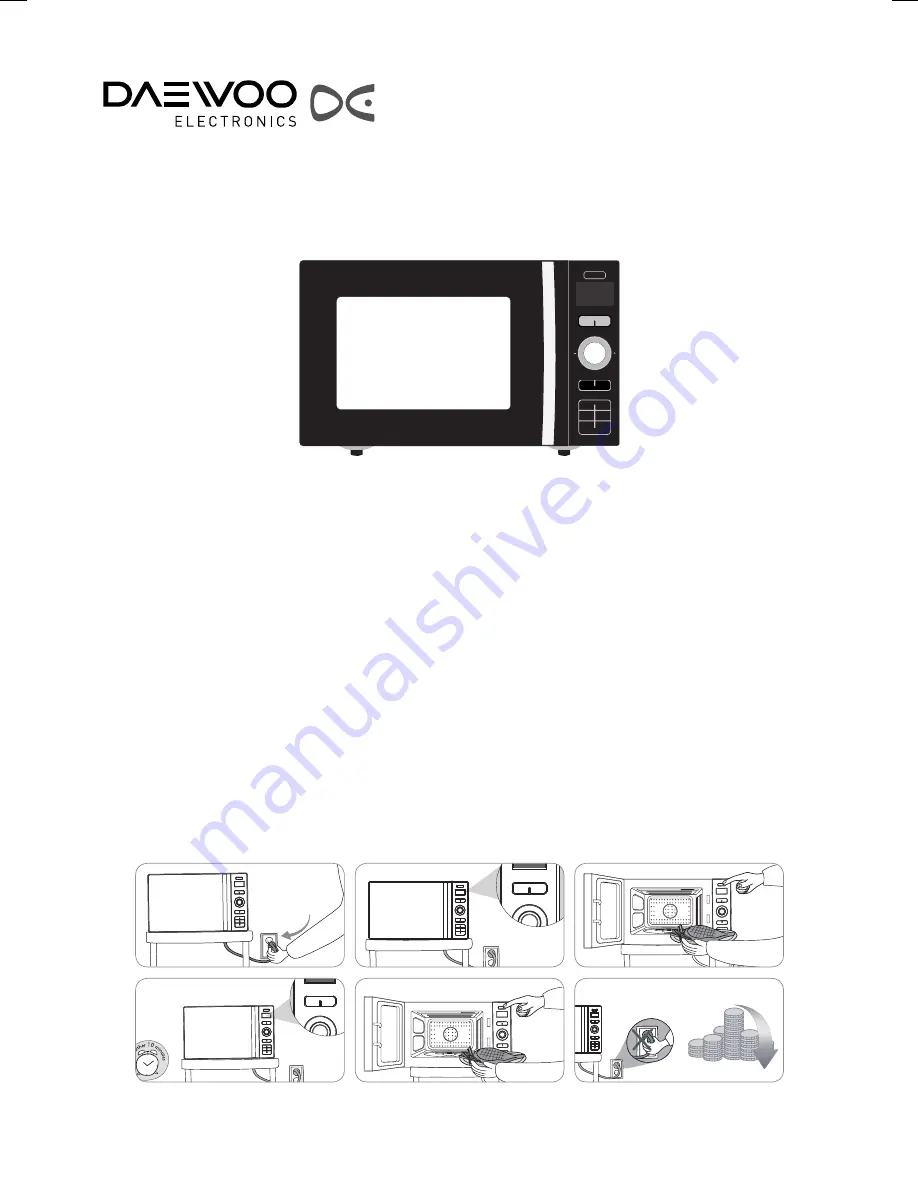
HOW TO TURN ON THE OVEN AT FIRST
MODEL NO. KOC-9HAFDB
money
money
money
money
money
Lowe's_KOC-9HAFDB_KOC-8HAFTBAE017AB00(영).indd 1
16. 1. 21. 오전 10:56


