


English - 5
OPERATION & ADJUSTMENT
CONNECTING THE SIGNAL CABLE AND POWER
CORD
1. Turn off the computer and monitor.
2. Connect the 15 pin D-sub connector to the output port of the
video card in your computer.
3. Tighten the screws of the connector.
4. Plug the power cord into the AC receptacle located on the back
of the monitor.
5. Plug the other end of the power cord into the AC outlet.
English - 4
If your power cord is PC-to-Monitor type, plug the other end
of the power cord into the AC receptacle in the computer.
Signal Cable
Power Cord
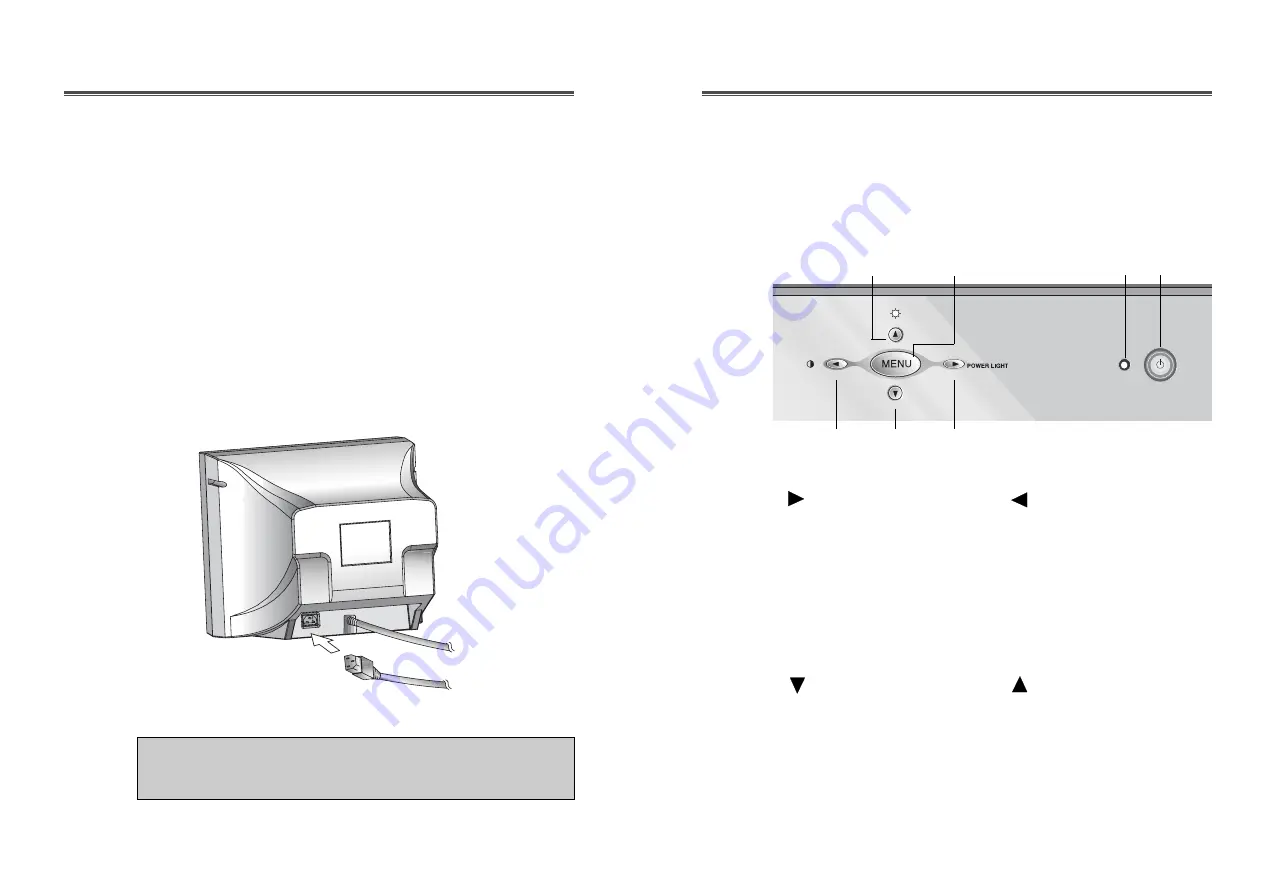
Control Panel
swithes the monitor on and
off.
shows both normal operation
and power management status
with power indicator light.
POWER Indicator
POWER
1
2
moves cursor to the right
window in the OSD window
and increases the value of
any selected function.
While the OSD screen is off,
you can adjust the screen
brightness according to each
situation.
MENU
3
4
5
moves cursor to the left
window in the OSD window
and decreases value of any
selected function.
Launch OSD(On-Screen
Display) MENU window.
*
/POWER LIGHT( )
moves cursor to the high
window in the OSD window
and increases the value of
V.Size or V.Center.
6
*
( )
*
( )
7
moves cursor to the low
window in the OSD window
and decreases the value of
V.Size or V.Center.
*
( )
1
3
4
7
2
6
5
*
( )
: Hot Key


