background image

20

www.d16.pl

PRESET MANAGEMENT

 • 

PRESETS EDITING – EDIT MODE

Selection of Presets for Edition

You can edit both single preset and a set of presets. Using the functionality of the 

Results

 section, you can choose a preset or a set of pre-

sets in the following way:

• 

Click the preset 

– Choose the preset from the list,

• 

Click the press CTRL 

– Add another preset to an already chosen preset or a set of presets,

• 

Click the press SHIFT

 – Select a part of a list of presets from the last chosen preset to the item clicked together with 

SHIFT

 button.

Tags Edition 

Change of Tags status in Presets

Tag 

buttons work in toggle mode, similarly as in case of filtering. Clicking them you can respectively set

 Tag 

or erase them from chosen 

presets.

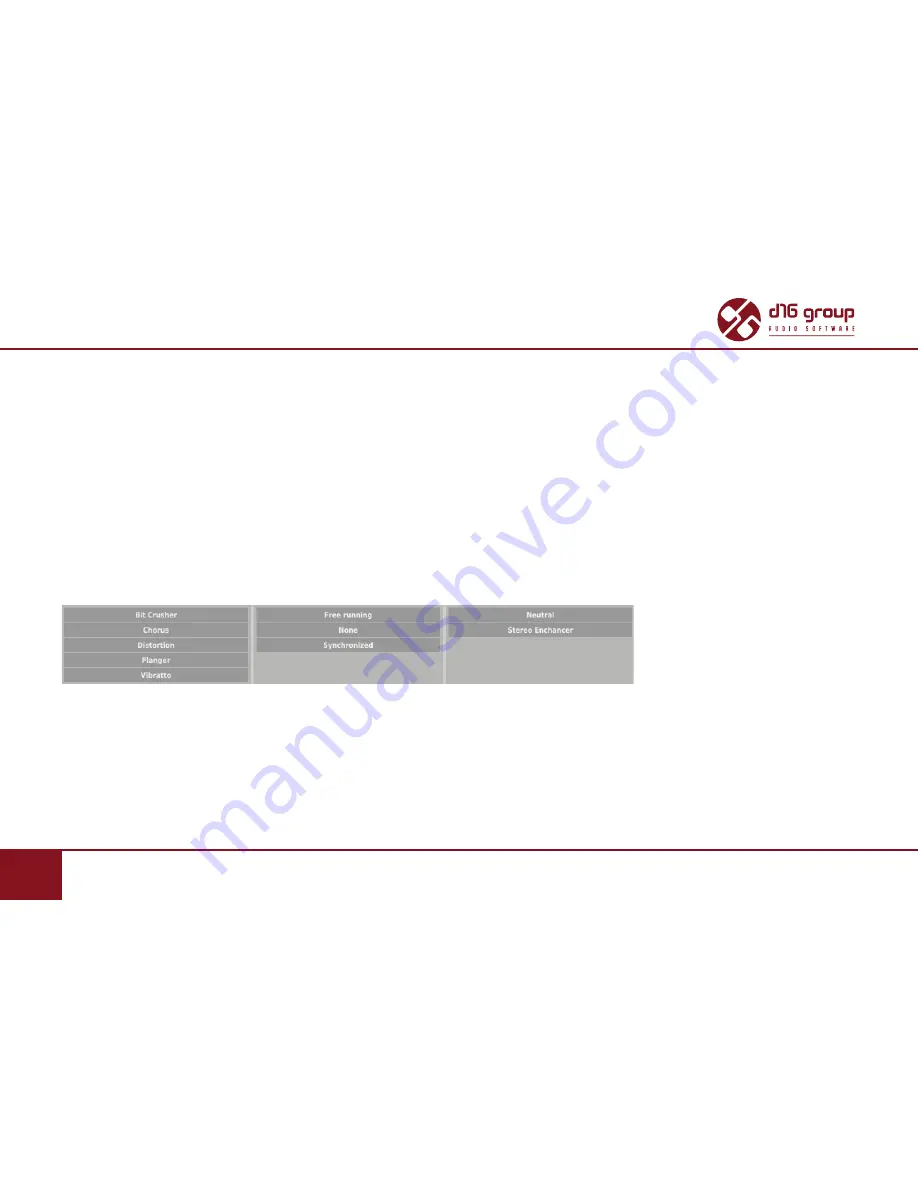
Filters’ tags

Choosing a greater number of presets, in which the tags were already  defined, enables their re-edition. Consequently; in case when a 
specific

 Tag

 appeared in all selected presets, it will be marked with an intensive teal blue color. 

When a specific 

Tag 

is set only in a part of chosen presets, then it is codified with a pale teal blue. The 

Tag

 that does not appear in any of 

the presets is marked with grey colour:

Summary of Contents for Devastor 2

Page 1: ...User Manual ...

Page 2: ... paths for each channel L R After loading the plug in within a host application the GUI will appear Devastor graphical interface There are two sections Configuration and preset management Configuration and preset selection section Signal processing control section consists of the all remaining controls OVERVIEW ...

Page 3: ...l interface Dynamic s flattener Depending on the value of Dynamics knob this module will equalize levels in the signal s amplitude Its principle of working is similar to a compressor s operation with auto normalization of the amplitude However its control using one knob is much simpler than that Dynamics knob Diode clipper This is the central and the most important element of Devastor It simulates...

Page 4: ...Amplification of signal in Diode clipper Threshold This is the nominal level of amplitude above this the distortion of the signal occurs Shape Depending on a chosen Clipping curve this parameter changes its characteristics Clip Clicking the display that shows Clipper s curve we can switch between 6 available different curves Devastor Clipper s curves SIGNAL FLOW BASIC MODULES ...

Page 5: ...or negative halves of signal This module works asymmetrically relative to zero Filter In Devastor we have three filter units at our disposal They are independently configurable and are able to work in different configurations they are connected in parallel before or after the Clipper circuit see figure below Filters section For each filter the following parameters can be controlled SIGNAL FLOW BAS...

Page 6: ...e LP low pass BP band pass HP hi pass BR band reject Off filter off Above parameters apply to all filters Filters can only be connected in parallel serial or mixed Possible filters and clipper s configurations Clicking the Signal Routing control allows reconfiguring the circuit connections between filters as well as the Clipper module Filters and clipper s signal routing SIGNAL FLOW BASIC MODULES ...

Page 7: ... to the Clipper block 1 Pre 2 Post Signal is processed by Filter 1 before it gets to the Clipper Distorted signal then is processed by Filter 2 and Filter 3 simultaneously the output of which is summed 2 Pre 1 Post Signal processed simultaneously by Filter 1 and 2 then the sum of their outputs is routed to Clipper Its output is then processed by Filter 3 SIGNAL FLOW BASIC MODULES ...

Page 8: ... Filters parallelly After that the sum of the Filter 2 and Filter 3 outputs is routed to Clipper and eventually summed with Filter s 1 output 1 Side 2 Post Signal processed by Filter 1 and Clipper simultaneously The Clipper s output then is equally fed onto Filter 2 and 3 inputs Finally all 3 Filters outputs are summed SIGNAL FLOW BASIC MODULES ...

Page 9: ...1 and no 3 are eventually mixed together 2 Side 1 Pre Signal is input to every Filter equally Filter 2 routed to Clipper is eventually mixed with Filter 1 and 3 outputs 2 Side 1 Post Signal is parallelly input to Filter 1 2 and Clipper Clipper s output then is routed to Filter 3 the output of which is then mixed with Filter s 1 and 2 outputs SIGNAL FLOW BASIC MODULES ...

Page 10: ...ws the current amplitude of the output signal after the adjustment FX knob controls proportions between processed and non processed sound outgoing from Devastor The Devastor s master output can optionally be secured with limiter optionally enabled by Limiter toggle button It is applied to the mixed Wet and Dry signals Master section ...

Page 11: ...attener then depending on setting of the Signal Routing section it is sent to the group of Filters and the Diode Clipper Then the amplitude of output signal is modified by the Output volume knob and optional Limiter And finally the output mixed with dry signal accordingly with the value of FX value Signal flow ...

Page 12: ...ts Configuration and Management section enables quick navigation and browsing the presets structure Presets Configuration and Management Section Preset Name Displays the name of the currently loaded preset Prev Next Buttons that allow for linear browsing of presets list depending on currently set filters see sections below Init Prev CTRL Simultaneous use of the Prev button and the CTRL key restores i...

Page 13: ...rwriting of the existing one see sections below Browse Expands the Preset Browser panel at the bottom of GUI section The Preset Browser looks as follows Preset Browser One can see three main sections Content Sources from which presets can be read Filters Configuration of presets Filters non active by default Results List of presets from resources that meet criteria set by Filters ...

Page 14: ...t be modified read only User Created by the user during using the plug in and can be freely modified shared with other users etc Choosing any of them will cause narrowing the results to the presets from one resource Preset Filters The plug in enables classification of presets with the use of Categories and Tags system whose aim is to facilitate the process of browsing the content by filtering Preset B...

Page 15: ...Tags are chosen in such a way so as to describe the content in the best possible way taking into account the plug in purpose Edition of Categories and Tags in case of Factory content is not possible it is blocked User presets may be described only with Categories and Tags from factory content or alternatively the users may define their additional Tags in order to describe their own pre sets Results...

Page 16: ...of these columns represent Tags available within each Category Preset Browser Categories Filters Filtering results have a form of a cascade columns from left to right This means that all presets available in the selected resources are filtered as to presence of Tags from the first Category first column from the left next a set of presets being a result of filtering by the first Category is filtere...

Page 17: ...ctivate Tag Grey color means that the Tag in inactive teal blue means that the Tag is active If at least one Tag in a column Category is active then the Filter also becomes active For example if the first column represents Type Category with a set of the following Tags Bit Crusher Chorus Distortion Flanger clicking the Chorus Tag will activate the Category Filter Type and narrow down a list of pre...

Page 18: ...s Filtering with the Use of Categories Tags Clicking the left arrow for the Category located on the far left does not change anything The same is true for the Category located far to the right and right arrow as the column has no predecessor successor with which it could be replaced Presets Editing Edit Mode An active Edit Mode in Preset Browser changes its function enables the change of presets n...

Page 19: ...section is used not as a filter but as an editor of Categories and Tags of chosen presets 2 The role of the Results section is to choose presets for edition edition is possible only for user presets 3 At the bottom of the screen there are Delete Export and Import buttons used respectively to delete or export selected User presets as well as to import a set of presets to the User resources 4 The cho...

Page 20: ...st chosen preset to the item clicked together with SHIFT button Tags Edition Change of Tags status in Presets Tag buttons work in toggle mode similarly as in case of filtering Clicking them you can respectively set Tag or erase them from chosen presets Filters tags Choosing a greater number of presets in which the tags were already defined enables their re edition Consequently in case when a specific...

Page 21: ...g buttons highlighted with pale teal blue colour meaning different values of a particular Tag buttons for the highlighted pre sets work in a three state system erasing the Tag grey colour setting of the Tag intensive teal blue colour or no changes pale teal blue for all selected items Changes introduced during edition do not have to be confirmed they are signalized by asterisks located by Tag chang...

Page 22: ...reset to enter name editing mode Deleting Presets Selection of one or more presets activates Delete button at the bottom left corner It can be used to delete the selected presets Presets Export and Import The use of Import or Export buttons at the bottom part of the Preset Browser enables a proper import of presets package exported before or export to the presets package the presets selected in th...

Page 23: ...he Preset Browser with an active Edit Mode Saving the Settings as Preset Additionally at the bottom there will be a textbox into which you should enter a name of a newly created preset and then confirm it by clicking Save or cancel by clicking Cancel As the Preset Browser is in the Edit Mode before confirmation of the newly created setting as preset we can straightaway categorize a particular sett...

Page 24: ...lows for Checking the name and current value of a parameter Checking if the parameter is attributed to MIDI CC controller and if it is to which number Linking the parameter to MIDI CC controller Clicking the arrow in any area of the menu expands it and displays all available options Next right click on the parameter or left click outside the menu area closes it automatically ...

Page 25: ...a few steps 1 Right click the parameter which you want to attribute to physical MIDI controller in order to expand the context menu 2 Click arrow at the bottom in order to expand the context menu Expanded Context Menu 3 Click the Learn button to put the plug in into a pending state until you move any MIDI CC controller 4 Click OK to save the change or click the Cancel button to restore the previou...

Page 26: ...rm with OK button Plug in s current settings Current settings are relevant to a specific instance of a plug They are initialized with the Default settings when the plug in is loaded see the next chapter At the bottom of UI there is a status bar that enables the change of Current settings Current Settings in a Status Bar From left to right there are The setting of Current processing path quality fo...

Page 27: ... to select the Current quality of generated sound for Real time or Offline modes ProcessingPathQualitySettings We can choose from four available grades for each mode Saving Loading the MIDI CC Map This item enables to save current parameters of MIDI CC codes as MIDI Map in a file or to load them Saving Loading the MIDI CC Map ...

Page 28: ...lows us to change the Default settings of the plug in Every time the plug in is loaded in the host application new instance is created a Default settings are used for initialization of the Current settings Default settings are stored within a configuration file of the plug in This file is updated at the moment of unloading any of active plug in instances from the host application Use the Options b...

Page 29: ...a specific section to expand it Options Panel There are three sections Processing Path Quality MIDI Map Setting Interface size settings Default Processing Path Quality Processing Quality Choice Section In this section you can configure a default quality of the processing path for the Real time mode and the Offline mode ...

Page 30: ... allows for setting of a path to a file with a default MIDI Map that was prepared before Clicking MIDI CC Map check box activates load of MIDI Map and the possibility of pointing it Browse button Default size of UI Processing Quality Choice Section In the User Interface you can choose a default size of the UI ...

Page 31: ...ons on Filters 17 Reordering Categories 18 Presets Editing Edit Mode 18 Selection of Presets for Edition 20 Tags Edition 20 Change of Tags status in Presets 20 Adding New Tags 21 Presets Names Editing 22 Deleting Presets 22 Presets Export and Import 22 Saving the current settings as Preset 23 Configuration 24 Parameter settings 24 MIDI Learn 25 MIDI Unlink 26 Plug in s current settings 26 Processi...

Reviews: