


12
D-Link ShareCenter DNS-320LW User Manual
Section 2 - Getting Started
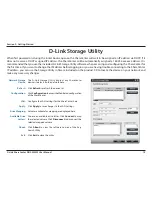
This User Guide will help you get your ShareCenter set up in just a few steps. To install the ShareCenter on your local network,
refer to the steps below, or skip to page 17 to run the setup wizard which will show you how to install and configure your
DNS-320LW.
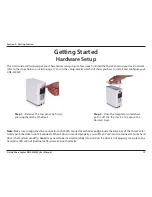
Getting Started
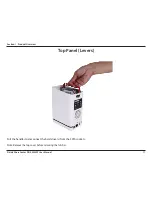
Hardware Setup
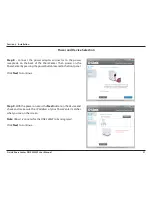
Step 1 -
Remove the top panel by firmly
pressing the latch at the back.
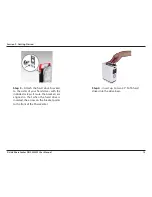
Step 2 -
Once the faceplate is unlatched,
pull it off the the device to expose the
devices’s bays.
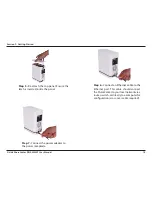
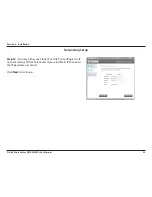
Note:
Make sure to align the drive connector to the SATA connector at the back edge inside the drive bay of the ShareCenter.
Gently push the drive in until it connects. When a drive is inserted properly, you will feel it “set” into the connector. Some hard
drives that are thin or oddly shaped may need to be inserted carefully into position. If a drive is not properly set in place, the
hard drive LED will not illuminate after powering on the device.


