background image


                D-Link Technical 

Support – How to install the DCS-942L.


Page 

9

 of 

16


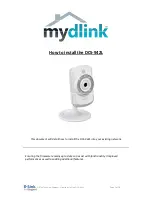
15. Patiently wait for the DCS-942L to update its configuration: 


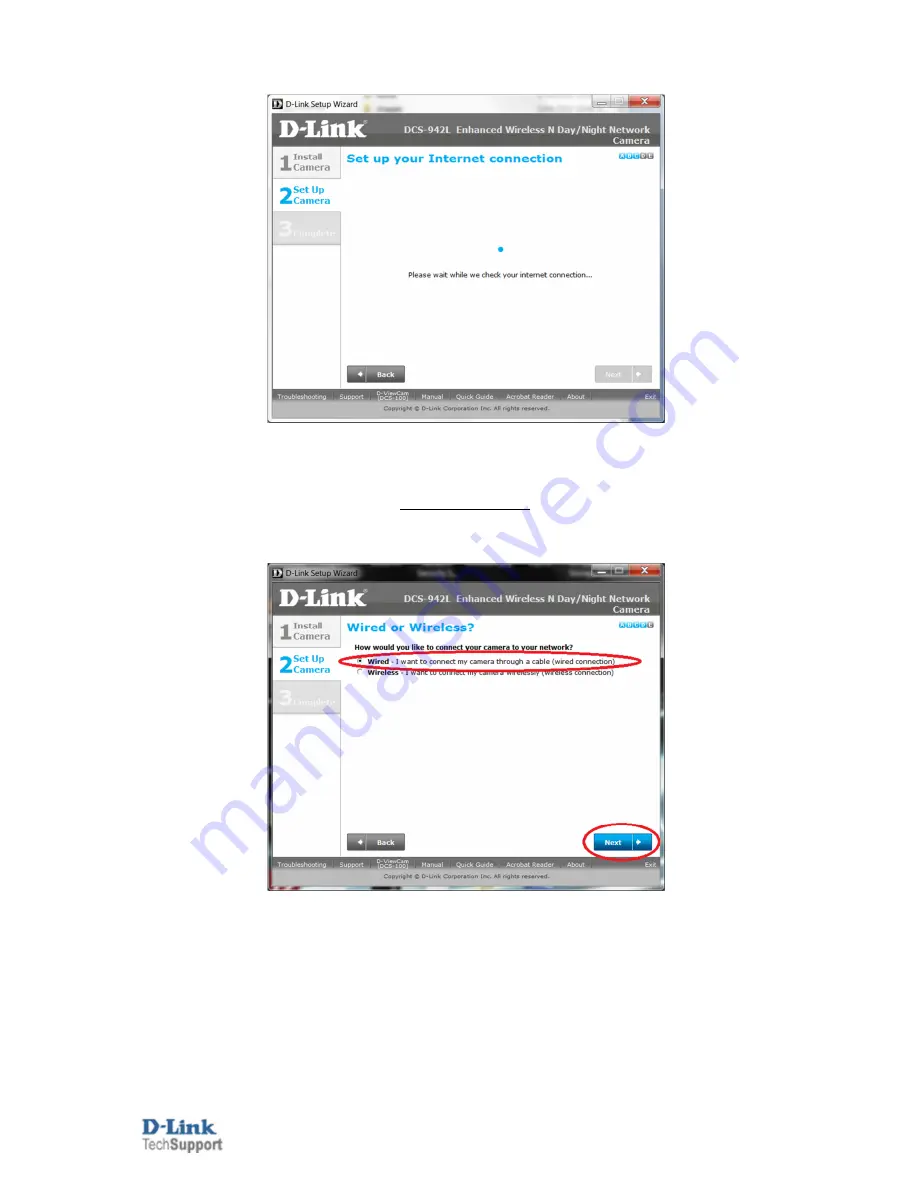
16. Under the Wired or Wireless screen you have the option to select the Wired or Wireless option for the 
connection of your DCS-942L. Select the heading which matches your installation option (scroll further down 
for Wireless). 

Wired Connection: 

 
16a. Leave it on the Wired option and click the Next button: 


16b. Go straight to Step 20. 


Summary of Contents for DCS-942L

Page 1: ...Page 1 of 16 How to install the DCS 942L This document will detail how to install the DCS 942L into your existing network Ensuring the firmware remains up to date can assist with functionality improve...

Page 2: ...ert the Installation CD ROM into your computer s optical drive and start the autorun program You can also browse the contents of your computer s optical drive and double click on the autorun exe file...

Page 3: ...install the DCS 942L Page 3 of 16 4 The ActiveX install routine will be checked and or installed for the DCS 942L to run correctly 5 The network connection present on the DCS 942L will also be checked...

Page 4: ...t How to install the DCS 942L Page 4 of 16 6 Under the WPS button screen leave the default option and click Next 7 Using the collar stand position the DCS 942L for the viewing position that you requir...

Page 5: ...l the DCS 942L Page 5 of 16 8 This step should already be completed under Step 1 Click the Next button NOTE You may click on the hyperlink to provide you with a basic overview of your devices connecte...

Page 6: ...rt How to install the DCS 942L Page 6 of 16 9 The power LED at the back of the DCS 942L should be green click the Next button provided your power LED is green as well 10 You must click Allow access to...

Page 7: ...D Link Technical Support How to install the DCS 942L Page 7 of 16 11 Click the Yes button to the below illustration 12 Please patiently wait for the Setup Utility to detect your DCS 942L...

Page 8: ...pplication and or a custom configuration change to the Operating System Your computer router must allow UDP broadcast connection to search for the camera If this type of communication is blocked then...

Page 9: ...16 Under the Wired or Wireless screen you have the option to select the Wired or Wireless option for the connection of your DCS 942L Select the heading which matches your installation option scroll f...

Page 10: ...lect the Wireless option NOTE The Setup Utility will automatically search for nearby Wireless SSID s however you may also click on the Rescan button as well 16d Using the dropdown arrow button for Sel...

Page 11: ...How to install the DCS 942L Page 11 of 16 16e Please type in your wireless password into the Key Password field and also into the Retype your Key Password field then click Next 17 Patiently wait for...

Page 12: ...tly wait an additional 60 seconds then click on the Continue button NOTE When disconnecting the Ethernet cable the power LED will turn Red to Reboot once rebooted it should turn back to green After 60...

Page 13: ...below requirements such as your Email the Password you want to assign to your mydlink account First name and last name You will also need to agree to the mydlink terms and conditions then click on Ne...

Page 14: ...of 16 21 Your mydlink account will now be created 22 An email will be sent to the email address which you specified You will need to check your email inbox and click on the activation link to finish...

Page 15: ...2L Page 15 of 16 23 Patiently wait for the Network Configuration to complete 24 The Setup Utility will now complete the registration process and add your DCS 942L to your mydlink account NOTE Patientl...

Page 16: ...rt How to install the DCS 942L Page 16 of 16 25 Your DCS 942L Setup is now complete Click on the Finish button 26 You have the option to Visit mydlink now and login to view your DCS 942L or at a later...

Reviews: