DAP-3320 Install Guide
11
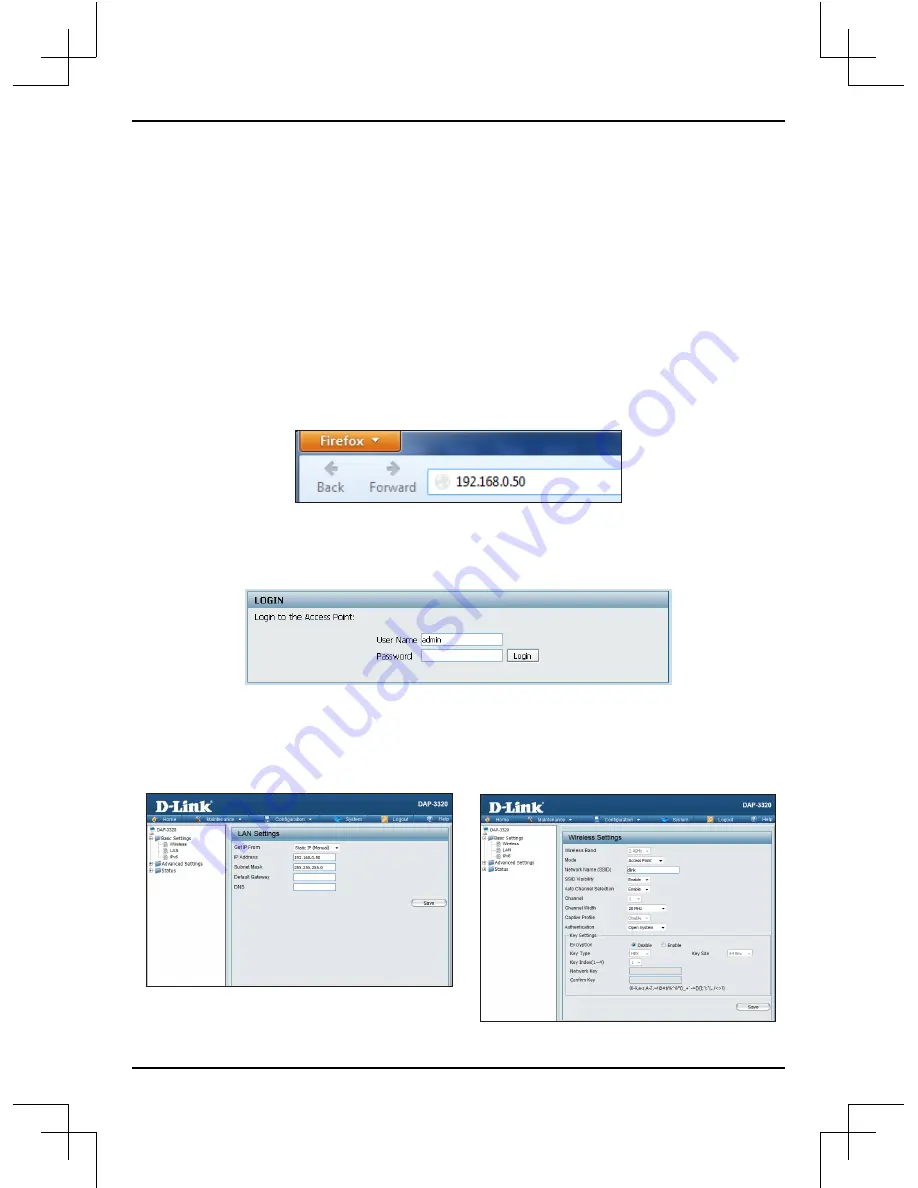
Step 2: At the login screen, enter admin for the user name and leave the password
blanks. Click Login to continue.
Step 3: After the home page appears, go to Basic Settings > LAN to change the IP
settings of the DAP-3320. Go to Basic Settings > Wireless to configure your wireless
settings.
Configuration
Note:
It is recommended to configure your DAP-3320 before mounting. The easiest
way is to connect to the Access Point directly to a computer using an Ethernet cable.
Statically assign the IP address of your computer to 192.168.0.2 with a subnet mask of
255.255.255.0. If you connect the AP to a router (with DHCP enabled), make sure you
are on a 192.168.0.xxx network. By default, the AP will not receive an IP address since it
is statically assigned 192.168.0.50.
Step 1: Open a web browser (e.g., Internet Explorer, Chrome, Firefox , or Safari) and
enter http://192.168.0.50.
Note:
Make sure you click on
Configuration
>
Save and Activate
to save your settings.
Summary of Contents for DAP-3320
Page 1: ......


