Summary of Contents for D-View 5.1
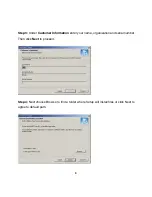
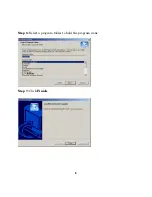
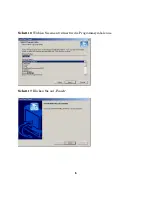
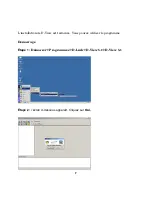
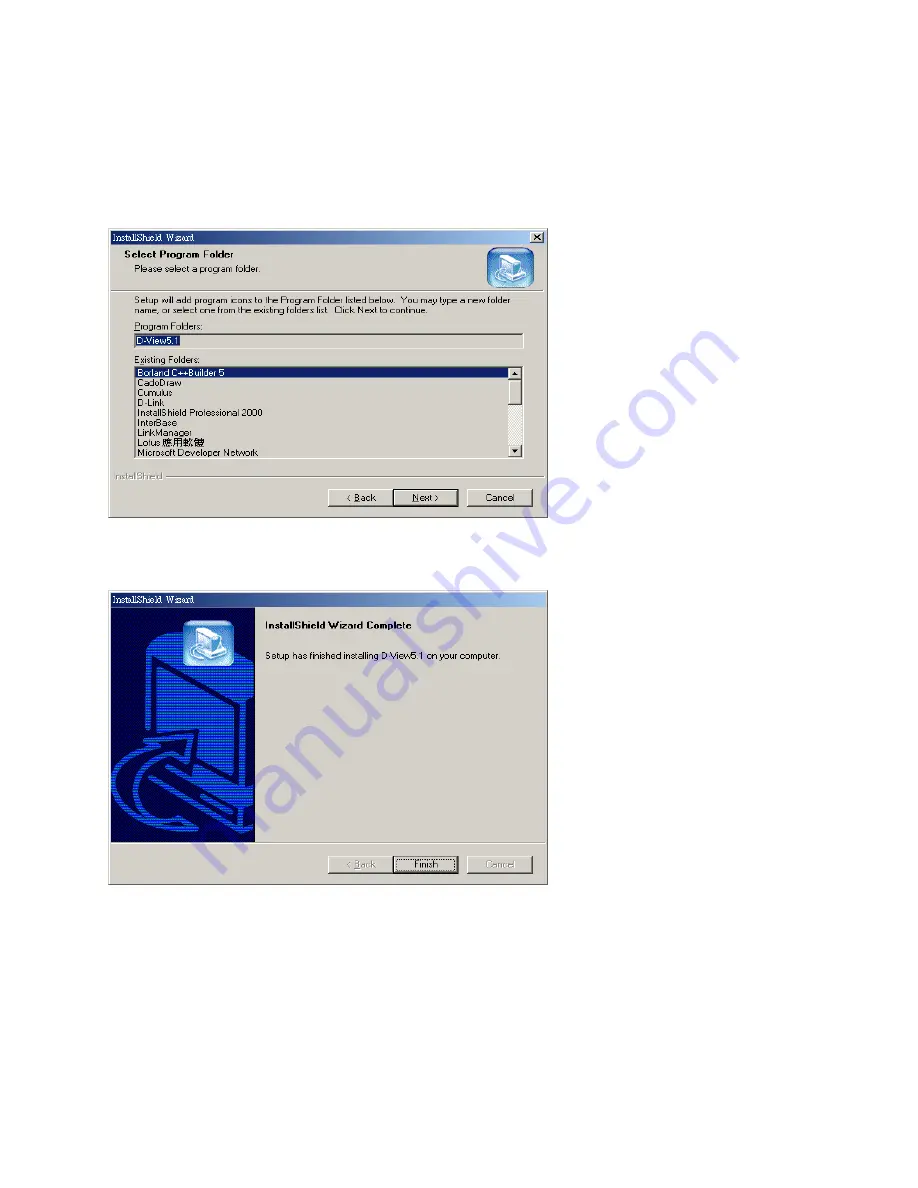
Page 6: ...Step 6 Select a program folder to hold the program icons Step 7 Click Finish 6 ...
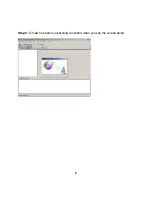
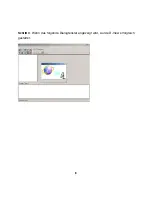
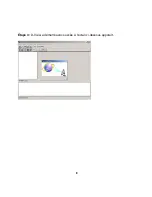
Page 8: ...Step 3 D View has been successfully launched when you see the screen below 8 ...
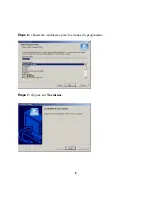
Page 22: ...Étape 6 choisissez un dossier pour les icônes du programme Étape 7 cliquez sur Terminer 6 ...
Page 24: ...Étape 3 D View a démarré avec succès si l écran ci dessous apparaît 8 ...
Page 32: ...Paso 3 D View se habrá ejecutado correctamente cuando se muestre la pantalla siguiente 8 ...
Page 40: ...Fase 3 Se apparirà la finestra come l immagine sotto D View è stato avviato con successo 8 ...
Page 46: ...Шаг 6 Выберите папку программы где будут хранится ярлыки Шаг 7 Нажмите Finish 6 ...
Page 48: ...Шаг 3 Если вы увидите этот экран значит D View успешно запустился 8 ...
Page 51: ... ޡ ᨏ 1 ല CD Rom Ե٠ ᖲΔ נܛم ڕ Հ Ζ ޡ ᨏ 2 ࡳ ױ տ ല נ Ζរᙇ Yes ٵ რᇠයཱིΖ 3 ...

