23
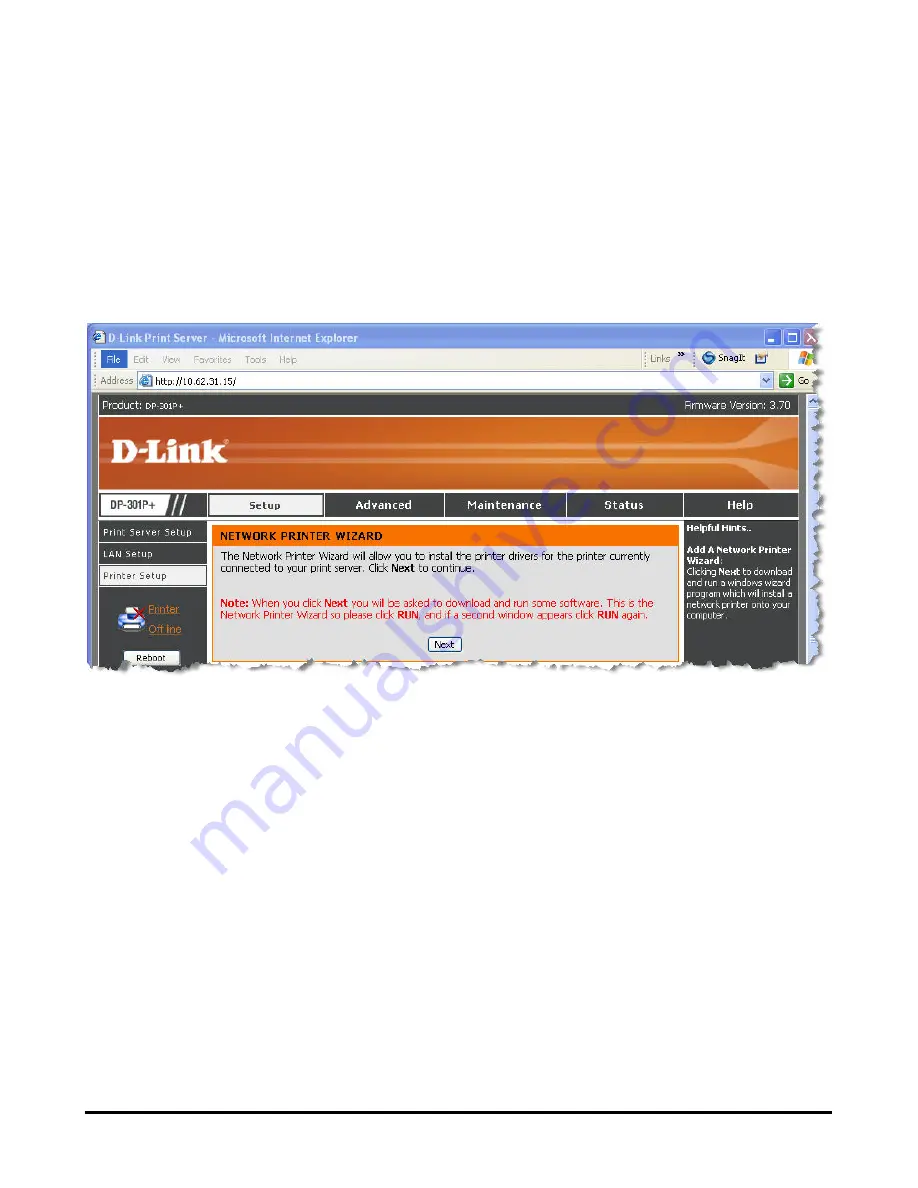
Then the main screen of the print server’s configuration will appear (see below). In
addition to the product information, you can access and control the print server’s
configuration through five links on the top of this main screen:
Setup
,
Advanced,
Maintenance
,
Status
, and
Help
. You may click a desired link from the bar, to
display its submenu and select a desired option listed in the left column, and then
the corresponding content will show up in the center column.
Summary of Contents for 301P - DP Print Server
Page 1: ...D Link DP 301P Pocket Sized Print Server Manual Rev 02 October 2007 ...
Page 13: ...9 LPT LED Faulty Component 1 long 9 short LPT error 1 long 14 short LAN MII error ...
Page 53: ...49 ...
Page 56: ...52 Reboot If you want to reset the print server you may just click the Reboot for restarting ...
Page 57: ...53 Refresh Printer Status Click Printer to refresh printer status ...
Page 58: ...54 TCP IP Printing for Windows Vista Go to Start Î Control Panel Î Printers ...
Page 59: ...55 Click Add a printer Select the first option Add a local printer and then click Next ...
Page 61: ...57 ...
Page 63: ...59 ...
Page 64: ...60 ...
Page 66: ...62 Click Next ...
Page 67: ...63 After clicked Print a test page a small dialogue box will show up as below Click Close ...
Page 68: ...64 Click Finish The printer is now ready for printing with Windows Vista on your network ...
Page 72: ...68 Select Custom and click Settings ...
Page 74: ...70 ...
Page 75: ...71 Click Next ...
Page 76: ...72 Click Finish ...
Page 78: ...74 Select Yes to print a test page click Next ...
Page 79: ...75 Click Finish The printer is now ready for printing with Windows XP on your network ...
Page 81: ...77 Select the first option Local printer attached to this computer and click Next ...
Page 83: ...79 Click Next ...
Page 85: ...81 Select Custom and click Settings ...
Page 87: ...83 Click Next ...
Page 88: ...84 Click Finish ...
Page 91: ...87 Select Yes to print a test page click Next ...
Page 92: ...88 Click Finish The printer is now ready for printing with Windows 2000 on your network ...
Page 94: ...90 Highlight Client and click Add At this window click Have Disk ...
Page 98: ...94 ...
Page 100: ...96 Click OK Windows will ask for a restart Click Yes ...
Page 117: ...113 8 Select the printer model ...
Page 144: ...140 Contacting Technical Support ...


