


D105-T420 SERIES
Service Hose Crimpers
7
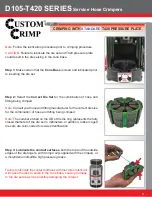
INITIAL SET UP
FOLLOW THESE STEPS BEFORE YOU USE THE CRIMPER
FOR THE FIRST TIME.
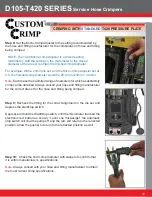
• Mount the crimper on a sturdy workbench in a well-lit area. Work-
bench should be able to support the crimper and components weight.
Note:
The D105-T420 series crimper can be mounted on the D-Series
Drawer/Stand and bolted onto the workbench. (See detailed instruc-
tions included with D-Series drawer/stand).
• The crimper should be mounted close enough to the edge of the
work surface so that hose will not contact the bench or work surface
while crimping. There must be enough clearance for the hose to align
perpendicular with the cone base, or the dies will not seat properly
and the crimps will not be accurate.
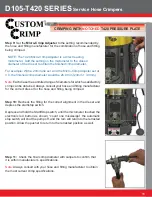
• Always check oil level in the D105-T420 pump, should be 1-1/2
to 2 inches below the vent plug when the cylinder is in the retracted
position and should be visible in the sight glass window of the pump
reservoir.
• If oil needs to be added use ISO 46 weight hydraulic oil.
• Oil can be drained from the rear oil port of the reservoir.
• Check to be certain that the shipping plug in the pump reservoir
has been replaced with the vent plug shipped with the D105-T420
crimper.
• Check electrical circuit to be certain that it matches the crimper
requirements shown on the voltage tag attached to the crimper cord.
• Plug the D105-T420 crimper directly into a 110 volt, 15 amp wall
outlet.
Note:
The optional 220 volts / 2HP unit must be connected to a 220
volts 20 amp wall outlet.


