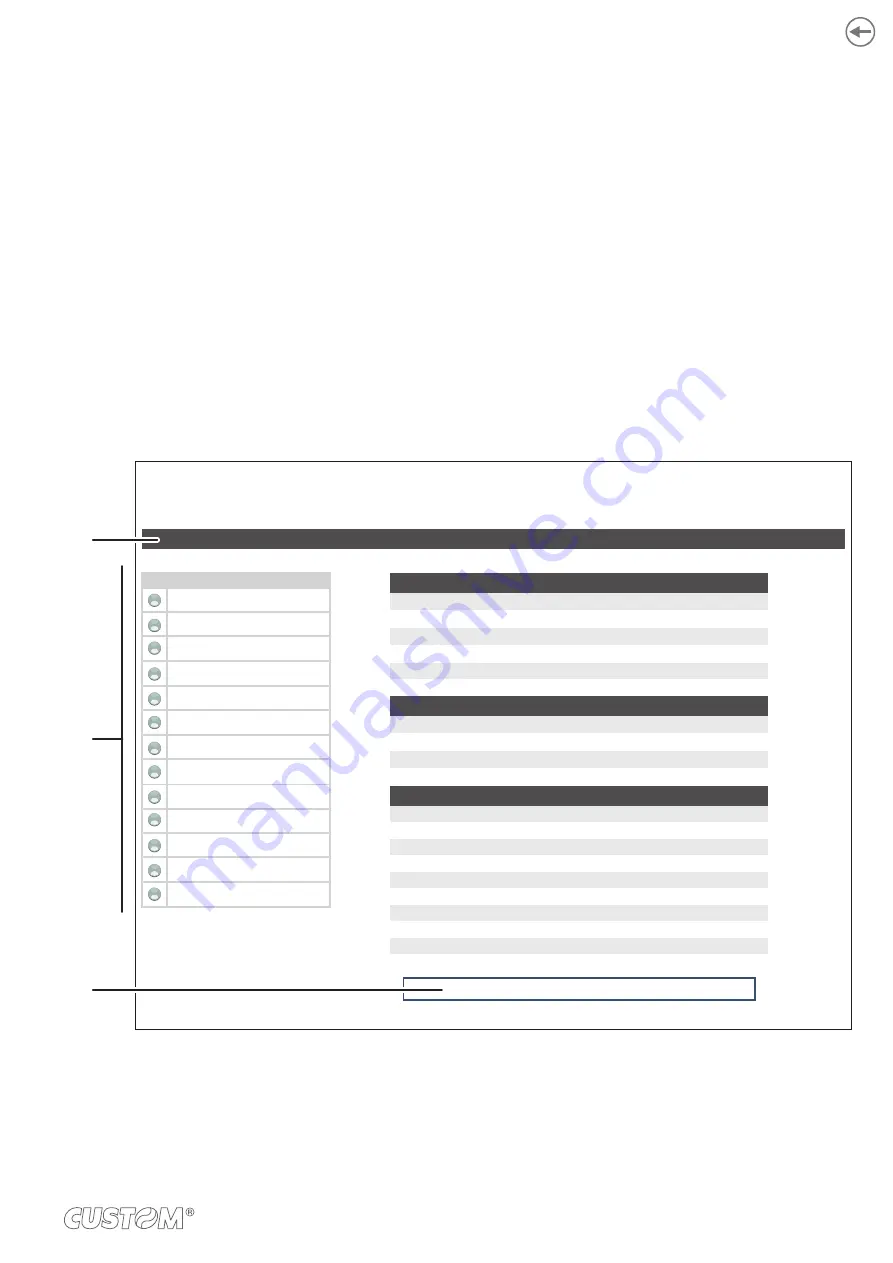
13.3 Embedded Web Server: access
To enter the Embedded Web Server, type the IP address assigned to the device into Web browser. To know the IP address
of the device, print the setup report of the device (see chapter 6) or use “Locator”. For example, if IP address of the device
is 192.168.10.37, type in the Web browser:
http://192.168.10.37
On the screen will appear the internal default page that corresponds to the section “Device Info” The home page is divided
into 3 areas whose functions are described below:
1. SECTIONS
The web server has six sections listed within each web page. These sections are: Device
Info, Printer Settings, Network setup, E-mail setup, Printer Support and Login.
2.
REAL TIME STATUS
Reports a list of operating parameters controlled and monitored in real time (with a regular
refresh of 15 s).
3. TOOLS
Lists the tools available within the chosen section.
<
DEVICE NAME
> - Ethernet Interface
http:// <
IP Address
>
USER : <
username
>
Device Info
Printer Settings
Network Setup
E-mail Setup
Printer Support
Login...
Model Information
Network Settings
Printer Parameters
Printer Model:
Printer Type:
Firmware Version:
Hardware Version:
Printing Head Type:
Interface:
IP Address:
Subnet Mask:
Default Gateway:
MAC Address:
Program Memory Test:
Dynamc Memory Test:
EEProm Memory Test:
Cutter Test:
Head Voltage [V]:
Paper End Sensor [V]:
Head Temperature [°C]:
Paper Printed [cm]:
Cut Counter:
Power On Counter:
<
DEVICE NAME
>
<
DEVICE MODEL
>
<
n. release
>
1.00
< HEAD MODEL >
Ethernet
<
IP ADDRESS
>
255.255.240.0
192.168.0.5
00-0E-E2-00-01-02
OK
OK
OK
OK
24.09
0.79
30
262169880
13965357
266
Refresh
RealTime Status
Cover Open
Paper End
Low Paper
Paper rolling
Autoload Paper
LF key pressed
Over temperature Error
Supply Voltage error
Cutter error
OnOff Key Pressed
Paper Jam
Notch Position Error
Notch Position OK
3
1
2
105
Summary of Contents for VK80
Page 1: ...USER MANUAL VK80 ...
Page 2: ......
Page 4: ......
Page 5: ...MANUAL For details on the commands refer to the manual with code 77100000001500 ...
Page 6: ......
Page 10: ...10 ...
Page 12: ...12 ...
Page 24: ...24 ...
Page 40: ...40 ...
Page 48: ...5 Wait until the paper is automatically loaded thermal side VROOM 48 ...
Page 50: ...50 ...
Page 59: ...PRINT DENSITY Adjusting the printing density 50 12 25 37 0 D 37 25 12 50 59 ...
Page 88: ...88 ...
Page 102: ...102 ...
Page 113: ...113 ...
Page 114: ......
Page 115: ......


