18
The
unit can play:
REGION
MANA
GEMENT
INFORMA
TION
Region
Management Information: This unit is
designed
and manufactur
ed
t
o
r
espond
t
o
the
Region
Management Information that is encoded
on
DVDs. If the r
egion
number print
ed
on the
DVD
does
not
correspond
to
the
region
number
of
this unit, this unit cannot play that disc.
The
region
number
of
this equipment
is
.
DISC
FUNCTION OR OPERA
TION
THAT
IS NO
T
A
VAILABLE
When
the “ INVALID KEY ”
it
indicat
es
that the function or operation
attempted
is not av
ailable
at that time.
This
occur
s
because the
DVD
manufactur
er
determines
the specific functions.
Certain
functions
may
not
be
available
on
some
discs. Be sur
e
t
o
r
ead
the documentation
provided
with the DVD.
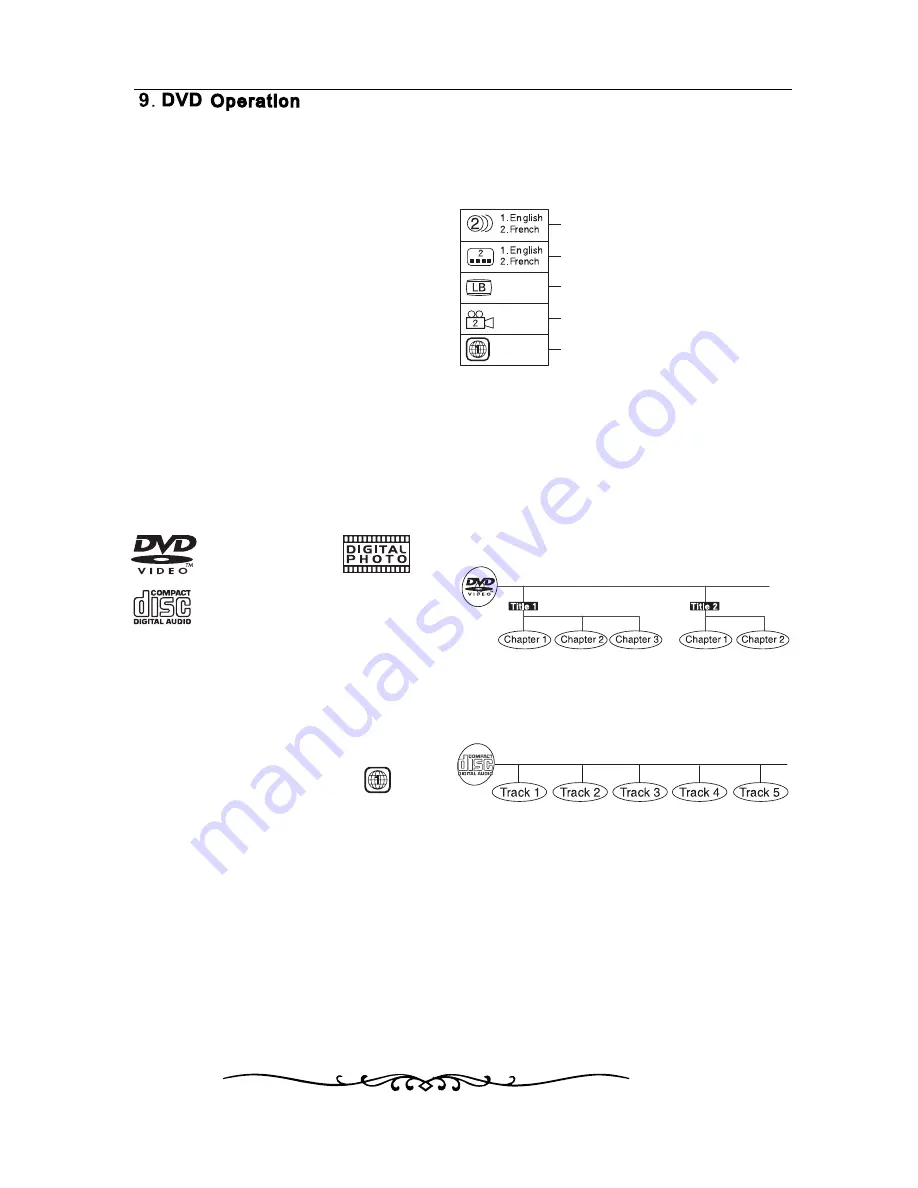
ICONS
USED ON DVDs
Sample
Icons
Language
selections for audio
Language
selections for subtitles
Screen
aspect ratio
Multiple
camera angles
Region
code indicat
or
TITLES
,
C
HAPTERS AND TRA
CKS
• DVDs
ar
e
divided into "TITLES" and "CHAPTERS".
If
the
disc
has
more
than
one
movie
on
it
,
each
mo vie wo uld be a sep
arate
"TITLE".
“
CHAPTERS
"
are
sections
of
titles
.
• Audio
CDs ar
e
divided into "TRACKS".
NOTE
Numbers
identif
y
each title, chapt
er
and track
on
a
disc
.
Most
discs
have
these
numbers
record
on
them
,
but
some
do
not
.
NOTES
ON UNA
UTHORIZED
DISCS
You
may
not
be
able
to
playback
some
DVDs
on
this equipment if they wer
e
pur
chased
fr
om
outside
your geographic ar
ea
or made for
business
purposes.
DVDs
[
8cm
/
12cm
disc]
Audio
CDs
[
8cm
/
12cm
disc]
CD R CD RW
-
-
Compatible
A
"
TRACK
"
is
usually
one
song
on
an
Audio
CD
.
NOTES ON COPYRIGHT
It is forbidden by law to copy, broadcast, show,
broadcast on cable, play in public or rent
copyrighted material without permission.
Apparatus Claims of U.S. Patent Nos. 6,836,549;
6,381,747; 7,050,698; 6,516,132; and 5,583,936
licensed for limited viewing uses only.
DVDs are copy protected, and any recordings made
from these discs will be distorted. This product
incorporates copyright protection technology that is
protected by method claims of certain U.S. patents
and other intellectual property rights owned by
Macrovision Corporation and other rights owners.
Use of this copyright protection technology must be
authorized by Macrovision Corporation, and is
intended for home and other limited viewing uses
only, unless otherwise authorized by Macrovision
Corporation. Reverse engineering or disassembly
is prohibited.
NOTE
When playing back a CD-G (Graphics) or
CD EXTRA disc, the audio portion will be played,
but the graphic images may not be shown.
symbol
appears
on
the
screen
,
Summary of Contents for LCDVD199
Page 1: ...MODEL LCDVD199 1 ...
Page 26: ......
Page 27: ......
Page 28: ......
Page 29: ......
Page 30: ......
Page 31: ......
Page 51: ...20 ...
Page 52: ...21 ...
Page 53: ...22 ...
Page 54: ...23 ...
Page 55: ...24 16 ...
Page 56: ......
Page 57: ......
Page 58: ......
Page 59: ......
Page 60: ......
Page 61: ......