background image


- 2 -


1- Safety notice items


 Preparation 

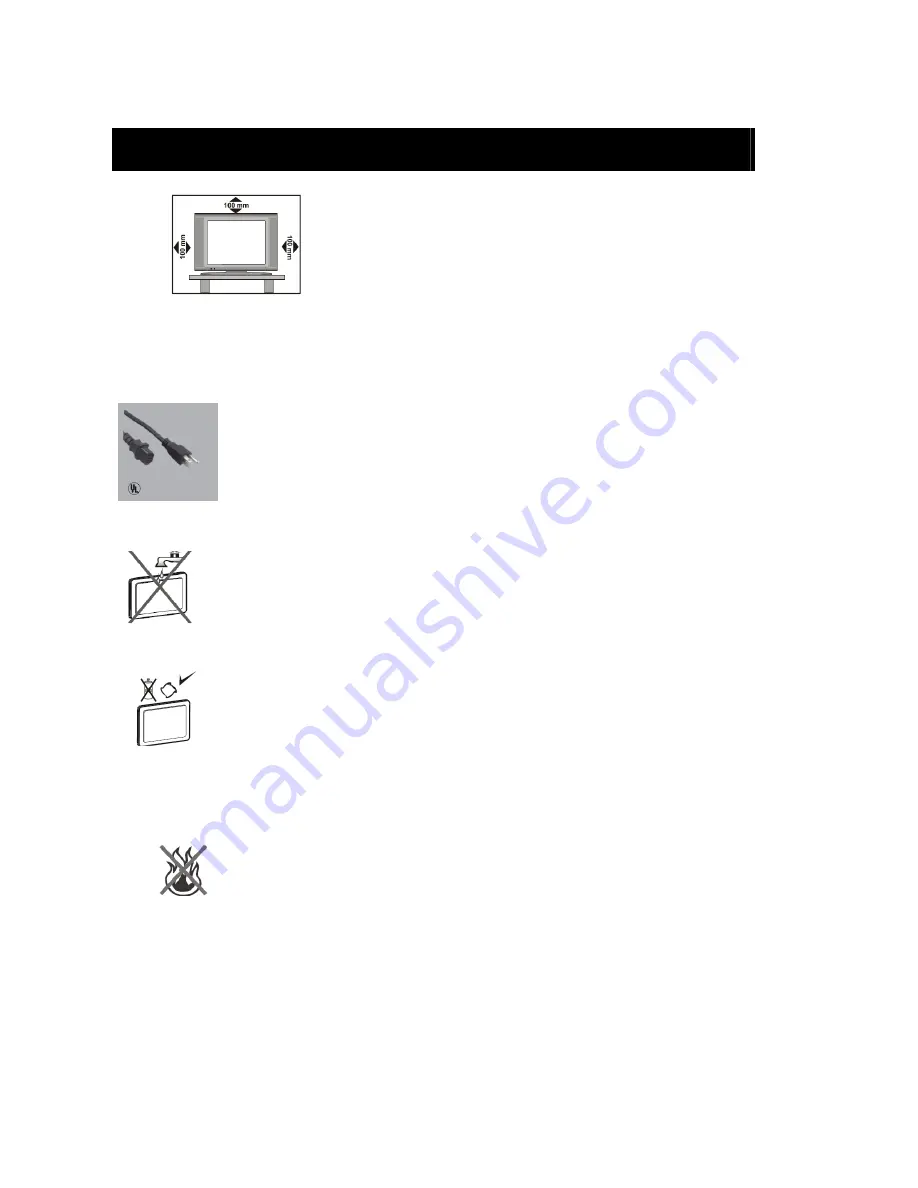
For ventilation, leave a space of at least 10cm free all around the set. To prevent any 

fault and unsafe situations, please do not place any objects on top of the set. Use this 

apparatus in moderate climates.   

Please read the following recommended safety precautions   

carefully for your safety. 

1. Power Source 

The TV set should be operated only from a 

120 V AC, 60Hz 

outlet. Ensure that you select the correct voltage setting for your 

convenience. 

2. Power Cord 

Do not 

place the TV where the power cord is subject to wear or abuse, pinch, bend or twist the cord 

excessively. The cord lines may be bared and cut, and cause a short-circuit, resulting in a fire or an 

electric shock. Do not convert or damage the power cord. Do not allow anything to rest on or roll over 

the power cord. Do not move the TV with the power cord plugged in. Keep the power cord away from 

heat sources. Be sure to grasp the plug when disconnecting the power cord. 


3. Moisture and Water 

Do not use this equipment in a humid and damp place (avoid the bathroom, the sink in the kitchen, 

and near the washing machine). Do not expose this equipment to rain or water, as this may be 

dangerous and do not place objects filled with liquids, such as flower vases, on top. Avoid from 

dripping or splashing. If any solid object or liquid falls into the cabinet, unplug the TV and have it 

checked by qualified personnel before operating it any further. 

4. Cleaning 

Before cleaning, unplug the TV set from the wall outlet. Do not use liquid or aerosol cleaners. Use 

soft and dry cloth. 


5. Ventilation 

The slots and openings on the TV set are intended for ventilation and to ensure reliable operation. To prevent overheating, 

these openings must not be blocked or covered in anyway. 

6. Heat and Flames 

The set should not be placed near to naked flames and sources of intense heat, such as an electric 

heater. Ensure that no naked flame sources, such as lighted candles, are placed on top of the TV. 

Batteries shall not be exposed to excessive heat such as sunshine, fire or the like. 


Summary of Contents for LCD 1922A

Page 1: ...OPERATING INSTRUCTIONS MODEL LCD 1922A Please read this manual before connection and use...

Page 2: ...ferent input signals 8 9 7 Menu operations 10 21 8 Technical Specifications 22 Introduction Thank you for choosing this product This manual will guide you for proper operation Before operating the TV...

Page 3: ...plug when disconnecting the power cord 3 Moisture and Water Do not use this equipment in a humid and damp place avoid the bathroom the sink in the kitchen and near the washing machine Do not expose th...

Page 4: ...ontains a small amount of mercury please follow local ordinates or regulations for disposal Information for users applicable in European Union countries This symbol on the product or on its packaging...

Page 5: ...present any malfunction and will not be covered by the manufacturer s warranty PE Connection to mains Be sure to ground the connection properly Connect the ground terminal of TV with the ground termin...

Page 6: ...en you press the Key 2 Illustration of Connectors Connectors descriptions 1 Power On Off button 2 Power receptacle AC120V 60Hz 3 Antenna input connect antenna connector or aerial interface here to rec...

Page 7: ...5 Remote Control Overview 1 DISPLAY 2 FAV 3 INPUT 4 GUIDE 5 ZOOM 6 CH CH 7 8 9 MENU 10 ENTER 11 SLEEP 12 EXIT 13 CH LIST 14 MUTE 15 POWER 16 0 9 17 18 RECALL 19 VOL VOL 20 CCD 21 MTS 22 PICTURE 23 AUD...

Page 8: ...cursor 9 MENU Display on screen menu 10 ENTER Press to confirm 11 SLEEP Press to set sleep timer 12 EXIT Exit menu 13 CH LIST Channel list 14 MUTE Turn the sound on or off 15 POWER Press to set TV ON...

Page 9: ...e connector output on the AV device z Alternatively connect a S Video Cable not supplied provide better image quality to the S Video connector on the back of the LCD TV Now insert the other end of the...

Page 10: ...to HDMI mode z Format 480i 480p 720p 1080i E Connect with PC signal z Connect a D sub cable between PC IN connector on the TV and Video Output connector on your PC z Connect an audio cable between th...

Page 11: ...al area may take several minutes to complete Choosing a TV channel 1 Press CH CH button on the side panel or on the remote control Press CH button for the next channel Press CH button for the previous...

Page 12: ...different screen settings based on the input signal of use On Screen Display Adjustment Press MENU button to display the main menu Press buttons to select adjust the each setting Selecting input sour...

Page 13: ...Picture Mode to User first if you want to change the value of Contrast Brightness Sharpness Color TIPS you can select the picture mode directly by pressing PICTURE button repeatedly Contrast Press but...

Page 14: ...en press ENTER button to adjust the aspect the audio language NOTE The Language selection may not be available if the programs system does not include the language code You may select the language mod...

Page 15: ...Tuning Band mode Available tuning band mode Air Cable STD Cable HRC Cable IRC Cable Auto Signal Level In DTV mode you can refer the strength of the current channel and you can tune manually and adjust...

Page 16: ...ewable hannel labels Allows you to name the channel selected Press button to select the position of letter press button to set the name Menu Language Press button to select this item then press ENTER...

Page 17: ...XIT button to exit Time Set Press button to select this item then press ENTER button to enter Time Set Menu Time Set Mode Press ENTER button to select the time set mode from Auto and Manual Please set...

Page 18: ...nt Enable Press ENTER button to set the Gradient Enable On or Off Blue Screen Press ENTER button to set the Blue Screen On or Off Audio Only Press ENTER and select OK to hide the video Press and hold...

Page 19: ...kinds of programs Unrated Lock Press ENTER button to set the Unrated Lock On Off If you set this function on all the programs will be locked even they are unrated programs US Ratings Press button to s...

Page 20: ...ess ENTER button for Advance CC Settings Menu Style Press ENTER button to select CC Style between Automatic and Custom you need to set it to Custom first if you want to change the value of items below...

Page 21: ...TER button to adjust the horizontal position of the picture V Position Press ENTER button to adjust the vertical position of the picture Clock Press ENTER button to adjust the clock rate of the pictur...

Page 22: ...Press ENTER button to adjust the horizontal position of the picture V Position Press ENTER button to adjust the vertical position of the picture Clock This function is unavailable in component mode Ph...

Page 23: ...NG CHANNEL Air Cable STD Cable HRC Cable IRC PROGRAM CHANNES Air 2 69 Cable 1 135 OPERATING VOLTAGE 120V AC 60Hz AUDIO Stereo AUDIO OUTPUT POWER 10 THD 2 x 3W OSD Languages English French Spanish POWE...

Reviews: