CCDS Acquisition Camera User’s Manual
7
You may also use the “Grab” button on the toolbar. This will take only one image
instead of a continuous sequence of images. This may be useful if you want to take an
image of your object’s position on the slit for reference on a future night. You may then
save this image to the disk (see Section 7). Of course, you may also save any of the focus
images to the disk by stopping the focus sequence and saving the last image downloaded.
There is functionally no difference between a “grab” image and a “focus” image.
Once the system downloads the image from the camera it will auto-display it to the
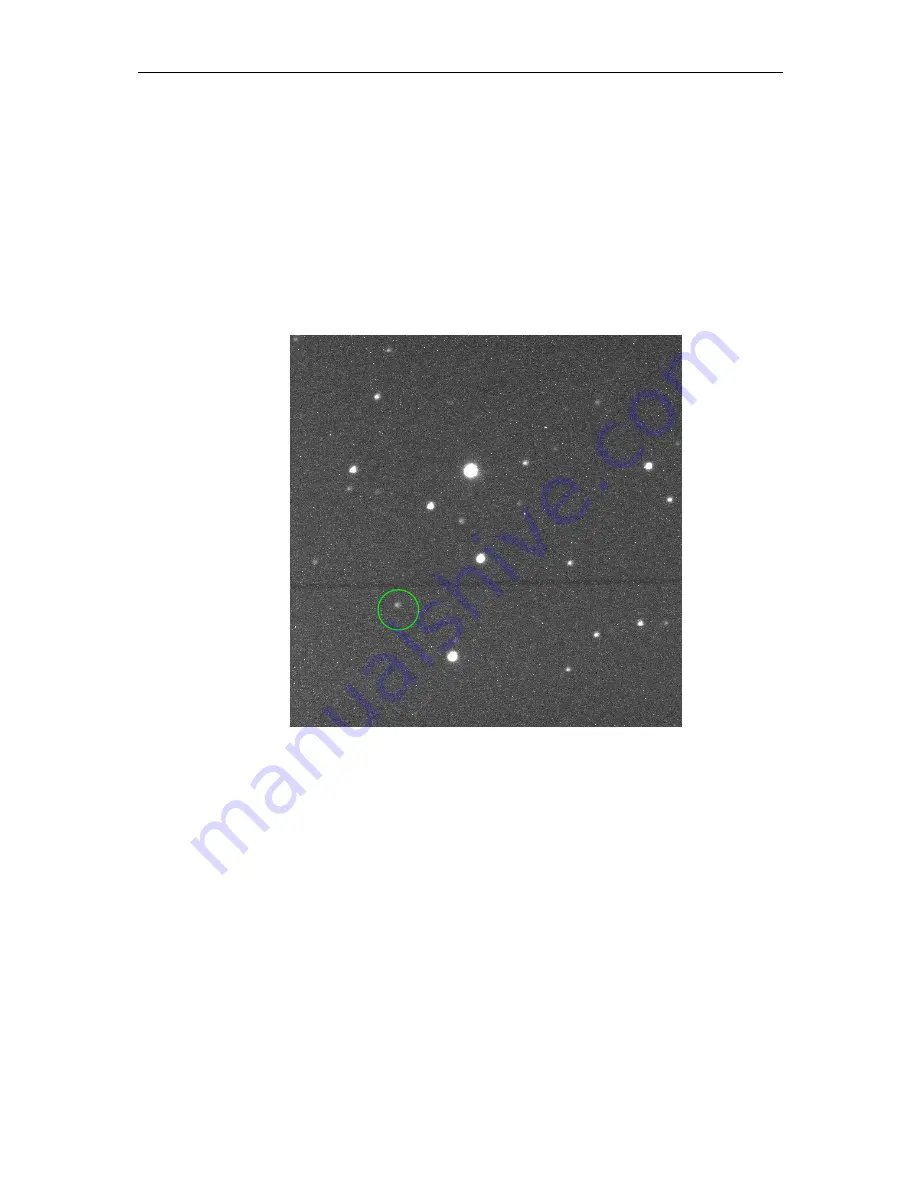
screen. Figure 5 shows a sample image:
Figure 5. Image taken with the CCDS acquisition camera on a photometric, moonless night
through the clear filter. You can clearly see the slit in this 10-second exposure. The star inside the
circle is V=19 mag.
CCDOps also allows the observer to change the display parameters of the downloaded
images. In the “Contrast” pop-up box that appears once an image is downloaded, you
may change the display contrast by typing in new numbers in the “Back/Range” boxes or
clicking the up/down buttons to the right of each value. You may also switch between
manual and auto-adjust by toggling the “Auto” checkbox. Clicking the “Apply” button
allows recent changes to take effect. You may perform these actions while focus mode is
running. Changing the look-up table may make very faint objects or the slit more visible.


