

PMS 711
2 cyan
85 magenta
76 yellow
10.25.12
CRU Mark
1. Installation Steps
1.1 Hard Drive Installation Steps
a. Remove the drive cover from the carrier.
b. Carefully insert the drive into the carrier. Slide the drive toward the back of
the PCA board on the back of the carrier until it clicks into place.
c. Hold the drive in place and turn the drive/carrier assembly over.
d. Fasten the drive into place with the four (4) provided screws. Some drives
may require minor adjustment.
e. Turn the carrier back over and install the drive cover. Secure it with the
two (2) provided screws.
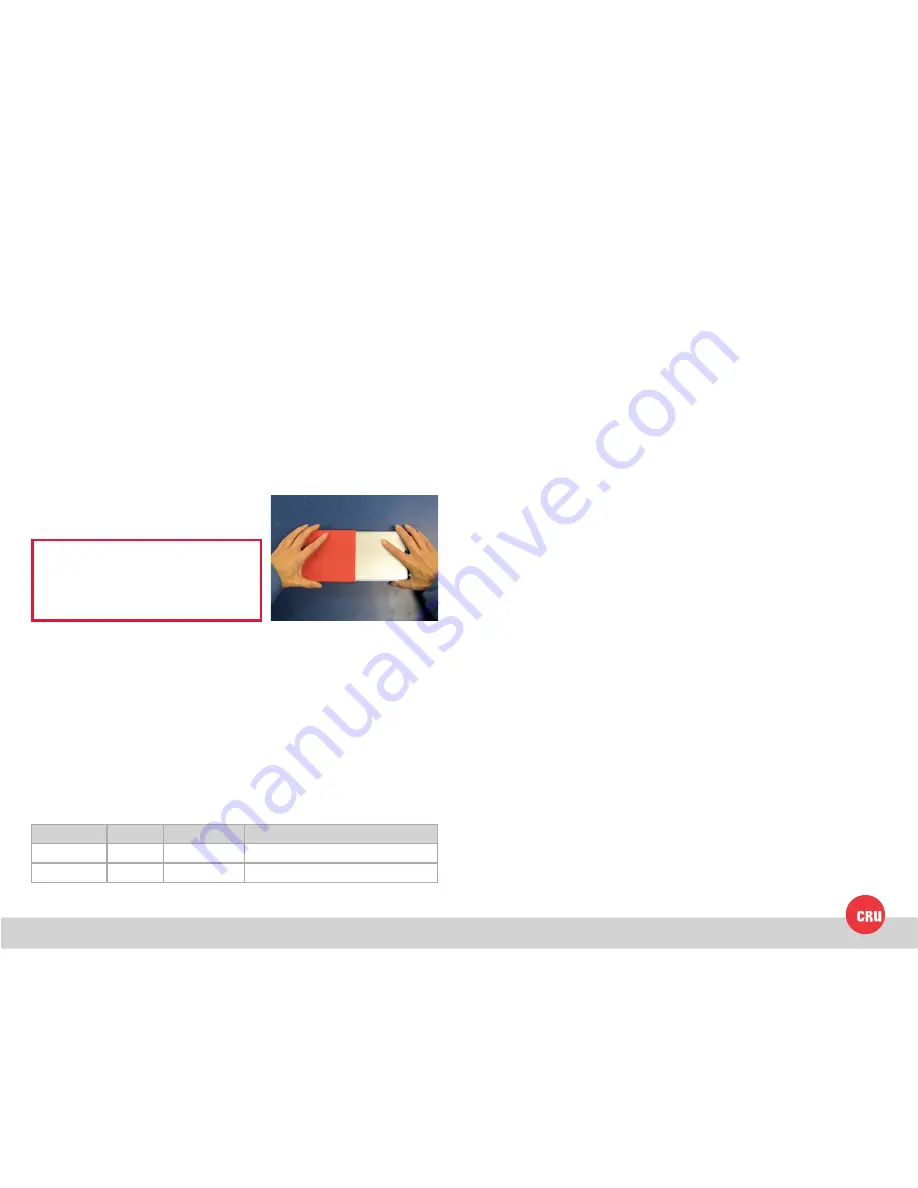
1.2 Operating Your MoveDock
a. Place the MoveDock and carrier on a table.
b. Make sure that the MoveDock is switched off or is not plugged in.
c.
Slowly push the carrier into the
MoveDock until it clicks into place.
d. Use the provided USB 2.0 data cable or a USB 3.0 data cable to connect the
MoveDock to your computer.
e. Connect the MoveDock to power using the provided power supply.
f. Flip the power switch on the rear of the MoveDock to turn it on. The green
power LED will light up to indicate that the MoveDock is powered on.
Your MoveDock is now ready to use! If the hard drive is already formatted, it can
be used right away. If the hard drive is brand new, or its format is not compatible
with your computer, the drive will need to be formatted before being used.
2. LED Activity
LED Name
Color
State
Description
Power
Green
Solid
Unit is powered on.
Drive Activity
Amber
Intermittent
Flashes when the drive is being accessed.
NOTE:
Failure to follow the correct
insertion procedure can cause pins to
be bent inside of the MoveDock and can
lead to its malfunction.


