3D Printer User Manual
V1.0
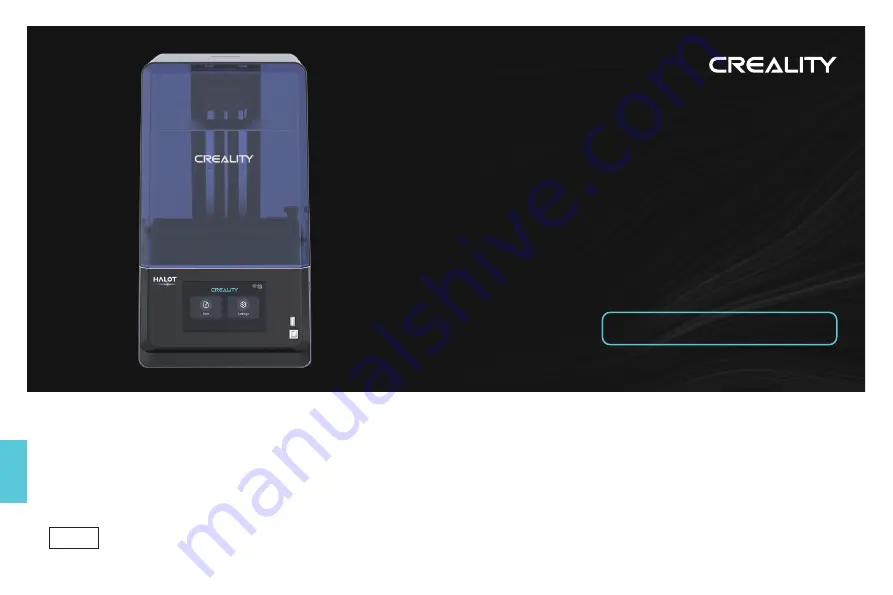
HALOT-ONE PLUS
Create reality,achieve dreams
Page 1: ...3D Printer User Manual V1 0 HALOT ONE PLUS Create reality achieve dreams HALOT ONE PLUS...
Page 2: ...ng ways View the accompanied instructions and videos in the U disk Visit our o cial website www creality com to nd relevant software hardware information contact details and operation and maintenance...
Page 3: ...n the printers moving parts leading to burns possible bodily injury or printer damage Please wait after the print is nished please wear gloves to take out the print tools Children under 10 years shoul...
Page 4: ...ntroduction 01 01 Equipment Parameters 02 02 Parts List 03 03 04 05 11 16 06 10 17 17 18 18 Assemble the 3D Printer Use the 3D Printer Troubleshooting Print Method Wiring Connection 19 19 FCC Statemen...
Page 5: ...01 1 Equipment Introduction Hexalobular socket screw Leveling screw Platform plate Resin vat Air lter Power receptacle Power switch USB port Touch screen Limit sensor 9 7 8 10 11 Resin vat xing screw...
Page 6: ...tem 32 bit is not supported Common rigid photosensitive Standard resin High hardness High toughness Dental model resin Integral Light Source wavelength 405nm 100 240V 50 60Hz 100W Rated Power Machine...
Page 7: ...printer x 1 Tips the above accessories are for reference only lease refer to the physical accessories 4 3 U disk x 1 Paper funnel x 2 Power cable x 1 Release lm x 1 6 5 Metal blade x 1 Screwdrivers x...
Page 8: ...04 4 Assemble the 3D Printer Take out the resin vovt align the two tray xing screws with the corresponding holes and tighten them to x as the picture shows Resin vat x 1 9 10 10 Tray xing screw x 2...
Page 9: ...05 4 Assemble the 3D Printer Machine body x 1 Plastic Upper cover x 1 Note put the upper cover on the machine body and the installation is completed...
Page 10: ...06 5 Interface Information Note Check whether the light source is normal The UI interfaceis only for reference the actual UI Settings...
Page 11: ...crews on the left and right sides of the resin vat and take out the resin vat 2 Loose the four screws on the connecting plate on molding platform plate attach calibration card on the printing screen p...
Page 12: ...08 6 Leveling Platform Note The UI is only for reference only and shall be subject to the actual UI...
Page 13: ...the resin vat pour in new resin and then install the resin vat to the machine Caution Resin may cause skin irritation or an allergic skin reaction Please wear gloves before use to avoid direct contac...
Page 14: ...e 14 screws at the bottom of thetray and take out the broken release lm FEP b Then place the release lm between the two steel frames c Finally put the assembled steel frame back into the tray and tigh...
Page 15: ...OX 1 Slicer 2 If the model needs to add support click the upper left icon to set corresponding parameters wait for slice to be nished Select Local Printing to save the sliced le 4 k c i l C 3 Click ic...
Page 16: ...he machine can t be shaken so as not to avoid in uencinga ect the printing quality 2 Print 1 Generate cxdlp leand save the le to U disk ctb ctb 3D objects le name Hide Folder Save type preservation ca...
Page 17: ...interface is for reference only and shall be subject to the actual UI The machine stores the le being printed by default 2 Choose to use parameters 1 Select USB disk les 3 Press Start button 4 Printi...
Page 18: ...2 Select the model 3 Download the model 4 Choos to use parameters 5 Click Start to print 0 05mm 0 05mm 0 1 0 1 Warm Tips Only 2 4GHz WiFi is applicable to the 3D printer and it cannot be connect to 5...
Page 19: ...equipment 9 Print progress 6 Select model set the printer and parameters and click Slice 7 Upon completion of slicing click Printer Notes 1 The steps for adding devices vary for di erent mobile phone...
Page 20: ...printing parameters Click 4 wait for slice to be nished Select Remote Printing for WiFi printing 5 Once the transmission is over select the le on the machine to start printing 1 Open the slicer softw...
Page 21: ...O oRNN oRNM QTN c_TO aNN a NV opSP OM j NN j NM oQVM oQVN QP QTR r a N PR OR PS PM ni NV nNR a r NM r U r T ar PO a PN a U a NM oQUV r R gSNO gNO qm PN oRM N gNN gPM oQTO oaO oaQ oP N opSQ opSO opS PN...
Page 22: ...18 14 Troubleshooting Auto homing Is le identi ed or not Move or not Coupling Attach to the printing screen tightly Fasten coupling 1 Wipe USB disk 2 Format USB disk 3 Replace USB disk...
Page 23: ...not installed and used in accordance with the instructions may cause harmful interference to radio communications However there is no guarantee that interference will not occur in a particular install...
Page 24: ...nce of 20cm between the radiator and your body Le pr sent appareil est conforme aux CNR d Industrie Canada applicables aux apparei ls radio exempts de licence L exploitation est autoris e aux deux con...
Page 25: ...ease refer to the actual machine The nal explanation rights shall be reserved by Shenzhen Creality 3D Technology Co Ltd 18F JinXiuHongDu Building Meilong Blvd Longhua Dist Shenzhen China 518131 O cial...