


Powering Procedures
Powering On
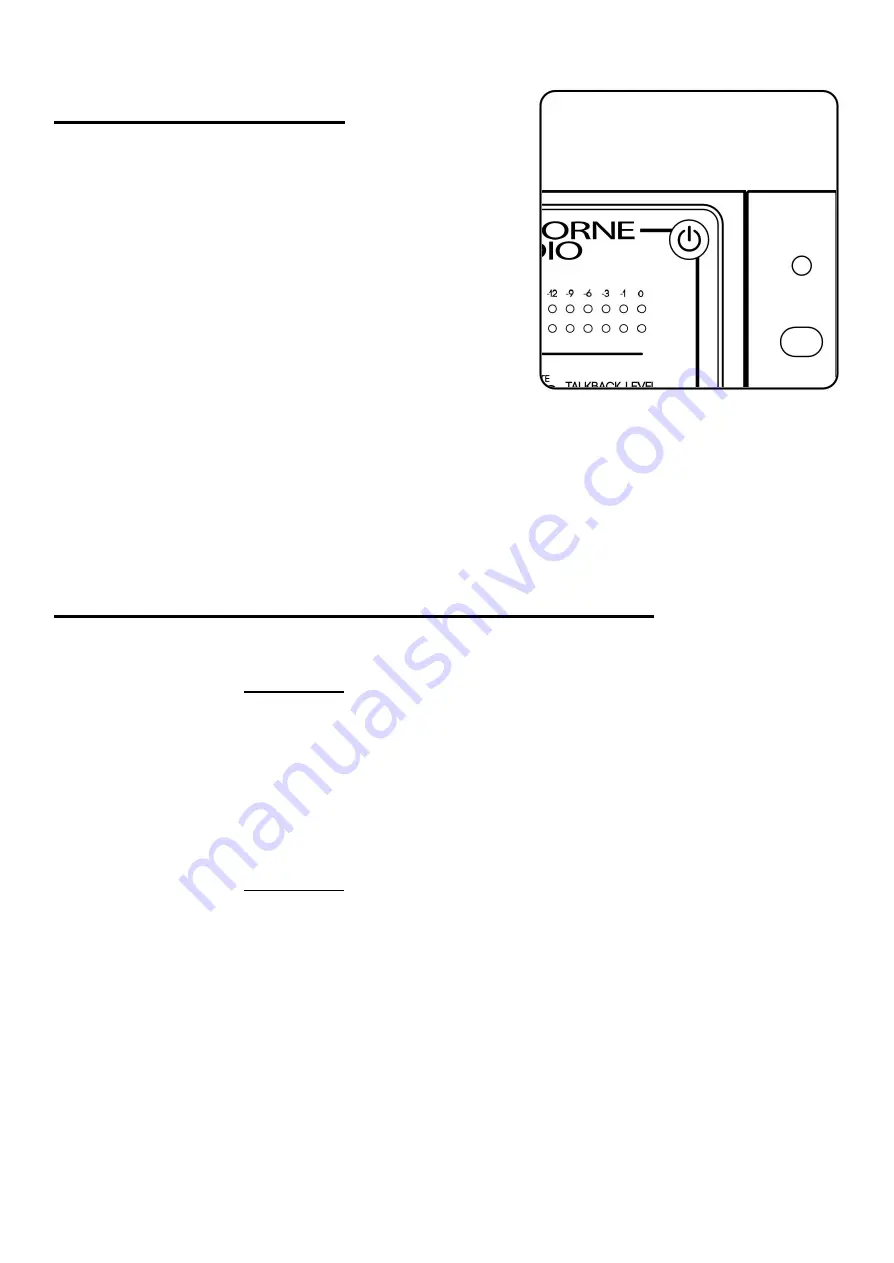
First, make sure your speakers are switched off and any
headphones are disconnected. Briefly tap the power
button located on the top right of 500R8’s front panel.
The power icon will illuminate blue and you will hear soft
‘clicking’ as 500R8’s internal relays actuate. You may now
switch on your external equipment sequentially, leaving
your speakers until last.
Powering Off
First, make sure your speakers are switched off and any
headphones are disconnected. Press and hold the power
button for approximately 3 seconds. The power icon will deluminate and you will hear the soft
‘clicking’ of the relays indicating that the unit has been powered off.
Note:
Please follow these safe powering sequences carefully in order to prevent any
unwanted pops and spikes causing damage to downstream audio components
including speakers and headphones.
Installing and Removing 500 Series Modules
Installing Modules
1. Ensure 500R8 is powered off and the power connector has been removed. Wait 30
seconds before continuing.
2. Firmly touch the metal chassis of 500R8 to discharge any built-up static electricity.
3. Carefully pick up your 500 series module and locate its conductive edge into the
backplane connector of 500R8.
4. Once located, push the module into place and secure the module into the rack using
the supplied 4-40 screws - be careful not to over tighten and strip the screw or thread.
Removing Modules
1. Ensure 500R8 is powered off and the power connector has been removed. Wait 30
seconds before continuing.
2. Firmly touch the metal chassis of 500R8 to discharge any built-up static electricity.
3. Remove the 4-40 module fixing screws and store them in a safe place for future use.
4. Firmly pull the 500 series module to release the module from the backplane connector
of 500R8 and then carefully remove the module from the rack itself.
Note:
Removing or installing modules when any 500 series rack is powered on can
cause irreparable damage to the backplane connector, supporting circuitry,
and the 500 series module. Damage caused when “Hot Swapping” or
installing/removing modules whilst 500R8 is powered on is not covered under
Cranborne Audio’s Warranty.
500R8
Quick Start Guide
Rev02
-Page 6-
©2021 Cranborne Audio Ltd


