


REMOTE OPERATION
~
34
~
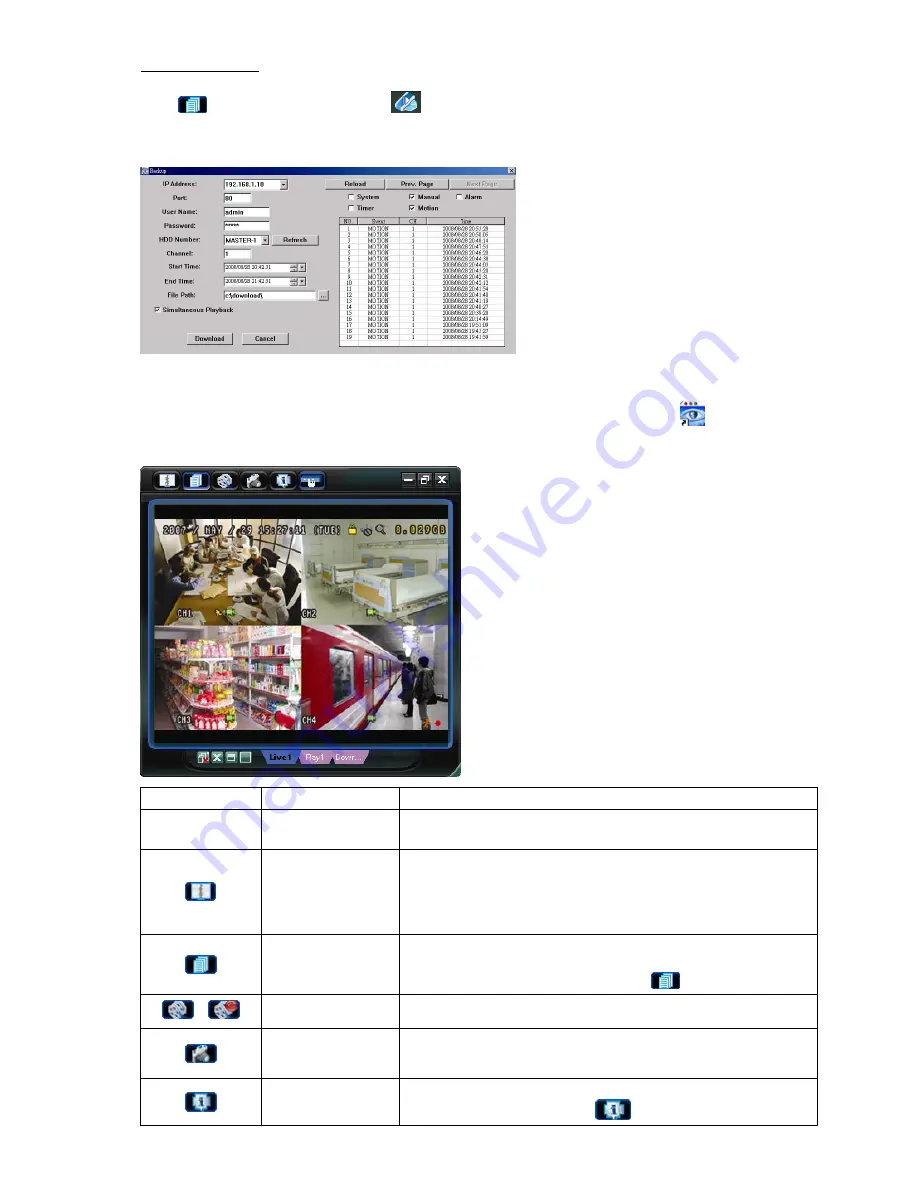
Network Backup
Click “
” (Miscellaneous Control)
→
“
” (Backup) to go into the “Download” page as follows, and you can
select a specific time range or event to make a video backup remotely. For details, please see “Backup” at page
37.
8.1.3 AP Control Panel
After setting up the network information, login user name and password, double-click “
” on the PC desktop
to open and log into the AP control panel. You will see a screen similar to the following with 7 major sections:
Button Function
Description
N/A Image
Display
The place where the images are displayed.
For details, please see “8.1.4 AP Functions” at page 35.
Address Book
Click to show the predefined IP address(es). You can add, remove or search
the IP address to log in the DVR remotely.
Two sub-functions are available for this button: Address Book and Search.
For details, please see “Address Book ” at page 35.
Miscellaneous Control
Click to show the main operation functions: audio volume control, color setting,
backup, DVR setting, upgrade, and find event logs.
For details, please see “Miscellaneous Control
” at page 36.
/
Record
Click to start / stop the manual recording.
Snapshot
Click to take a snapshot of the current view. The snapshot will be saved in the
path you specified in “Record Setting”. Please refer to “Record Setting” at page
38 for details.
Information
Click to show the current network connection details.
For details, please see “Information
” at page 51.


