background image

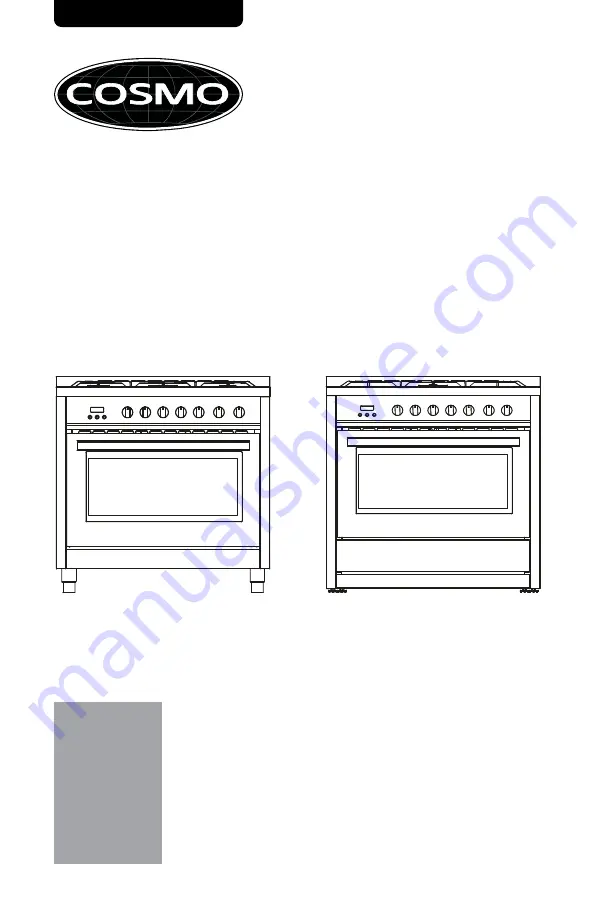
DUAL FUEL RANGE

F965

F965NF

INSTALLATION MANUAL

READ AND SAVE THESE INSTRUCTIONS.
FOR RESIDENTIAL USE ONLY.

PLEASE LEAVE THIS GUIDE WITH THE HOMEOWNER.

PLEASE KEEP THIS GUIDE FOR FUTURE REFERENCE.

IMPORTANT:

INSTALLER:

HOMEOWNER:

36-IN FREESTANDING RANGE

Rev. 22.10 

Summary of Contents for COS-F965

Page 1: ...NSTALLATION MANUAL READ AND SAVE THESE INSTRUCTIONS FOR RESIDENTIAL USE ONLY PLEASE LEAVE THIS GUIDE WITH THE HOMEOWNER PLEASE KEEP THIS GUIDE FOR FUTURE REFERENCE IMPORTANT INSTALLER HOMEOWNER 36 IN...

Page 2: ......

Page 3: ...and testing Our distributors and our service partners are ready to answer any questions you may have regarding how to install use and case for your products We hope that this manual will help you lea...

Page 4: ...uirements 12 Electrical Requirements 13 Gas Supply Requirements 17 INSTALLATION INSTRUCTIONS 20 Unpack Range 20 Install Anti tip Device 21 Install Backsplash 24 Electrical Connection 24 Gas Connection...

Page 5: ...hould occur keep away from the appliance and immediately call your fire department Do not store or use gasoline or other flammable vapors and liquids in the vicinity of this or any other appliance WHA...

Page 6: ...aking sure the anti tip bracket is installed Slide range forward Look for the anti tip bracket securely attached to floor and wall Slide range back so rear range foot is under anti tip bracket WARNING...

Page 7: ...the potential hazard is tell you how to reduce the chance of injury and tell you what can happen if the instructions are not followed In the State of Massachusetts the following installation instructi...

Page 8: ...e instructions provided with any tools listed here Tools Needed Parts Supplied Tape measure Flat blade screwdriver Phillips screwdriver Level Drill Wrench or pliers Pipe wrench 15 16 2 4 cm combinatio...

Page 9: ...le LP kits Gas supply line kit supply line and 2 adapters Optional Parts To purchase these or any other accessories please visit www cosmoappliances com or reference the contact information at the end...

Page 10: ...e located above the surface units should be avoided If cabinet storage is to be provided the risk can be reduced by installing a range hood or microwave hood combination that projects horizontally a m...

Page 11: ...s ANSI A225 1 NFPA 501A or with local codes In Canada the installation of this range must conform with the current standards CAN CSA A240 latest edition or with local codes Mobile Home Installations R...

Page 12: ...e maximum dimensions across all models 1 77 in 45 mm Vent height 27 0 in 686 mm With handle 42 3 in 1075 mm Door fully open 25 0 in 635 mm 35 4 in 900 mm 35 4 in 900 mm To cooktop 1 77 in 45 mm Vent h...

Page 13: ...lor delaminate or sustain other damage GIVEN DIMENSIONS ARE MINIMUM CLEARANCES NOTE Lower Cabinet Depth 13 in 33 cm Maximum 36 in 91 4 cm 18 in 45 7 cm 30 in 76 2 cm 6 in 15 2 cm to right wall 6 in 15...

Page 14: ...vent system in an attic or other enclosed area Use an approved vent cap for proper performance If an alternate wall or roof cap is used be certain the cap size is not reduced and that it has a backdra...

Page 15: ...to a gas pipe DO NOT have a fuse in the NEUTRAL or GROUNDING circuit A fuse in the NEUTRAL or GROUNDING circuit could result in an electrical shock Check with a qualified electrician if you are in do...

Page 16: ...ANSI NFPA No 70 latest edition and all local codes and ordinances A copy of the above code standards can be obtained from National Fire Protection Association 1 Batterymarch Park Quincy MA 02169 Elec...

Page 17: ...grounding plug for your protection against shock hazard and should be plugged directly into a properly grounded receptacle Do not cut or remove the grounding prong from this plug A circuit breaker is...

Page 18: ...k existing electrical supply and gas supply It is recommended that all electrical connections be made by a licensed qualified electrical installer Check with a qualified electrical installer if you ar...

Page 19: ...ith natural gas or after proper conversion for use with LP gas This range is factory set for use with Natural gas The model serial rating plate located on the right side oven door trim has information...

Page 20: ...cal codes permit a new CSA design certified 4 5 ft 122 152 4 cm long 1 2 1 3 cm or 3 4 1 9 cm I D flexible metal appliance connector may be used for connecting range to the gas supply line A 1 2 1 3 c...

Page 21: ...vel not applicable for Canada GAS SUPPLY PRESSURE TESTING Gas supply pressure for testing regulator must be at least 1 2 5 cm water column pressure above the manifold pressure shown on the model seria...

Page 22: ...ke 4 cardboard corners from the carton Stack one cardboard corner on top of another Repeat with the other 2 corners Place them lengthwise on the floor behind the range to support the range when it is...

Page 23: ...ket and screws from the parts bag NOTE The anti tip bracket must be securely mounted to the subfloor or wall The flooring s thickness may require longer screws to anchor bracket to subfloor Tip Over H...

Page 24: ...an additional 3 8 to 1 2 3 Using the anti tip bracket as a template mark the two holes for either a Floor Wood Floor Concrete or Wall installation as shown 4 Drill two pilot holes where marked Follow...

Page 25: ...nd then insert the lag bolts through the anti tip bracket and into the floor or wall The bolts must be properly tightened as recommended for the hardware 1 Remove the anti tip wall anchor hooks and sc...

Page 26: ...UPPLY CORD WARNING Electrical Shock Hazard Disconnect power before servicing Use a new 40 amp power supply cord Plug into a grounded outlet Failure to do so can result in death fire or electrical shoc...

Page 27: ...toward you to remove cover 3 Remove the knockout for the 40 amp supply cord and assemble a UL listed strain relief in the opening 4 Feed the power supply cord behind the black horizontal cross brace a...

Page 28: ...t the red and black wires from the power cord to the outer terminal block posts with 10 32 hex nuts with the corresponding red and black wires from the range 3 Firmly tighten hex nuts NOTE For power s...

Page 29: ...0 cm nut driver to connect the end of the disconnected green ground wire to the center terminal block post where the opposite end is connected with one of the 10 32 hex nuts 3 Connect the neutral whi...

Page 30: ...nnect the flexible conduit from the oven to the junction box using a U L listed conduit connector The Grounded Neutral and Ungrounded Neutral Graphics on the following pages and the instructions provi...

Page 31: ...l codes and ordinances Direct wire strain relief Terminal block access F965NF only 1 Disconnect power 2 Remove the terminal block cover screws located on the back of the range Pull the cover down and...

Page 32: ...ground from the neutral at free end of conduit Use grounding terminal or lead to ground unit Connect neutral terminal or lead to branch circuit neutral in usual manner Failure to do so could result in...

Page 33: ...Wires Green Wire Cable from Oven UL Listed Conduit Connector Black Wires Cable from Power Supply a b c d e f g h 1 Disconnect ground from neutral at free end of conduit 2 Connect the GROUND green wire...

Page 34: ...ational approved gas supply line Install a shut off valve Securely tighten all gas connections If connected to LP have a qualified person make sure gas pressure does not exceed the maximum pressure li...

Page 35: ...Propane gas to Natural gas must be done by a qualified installer TYPICAL FLEXIBLE CONNECTION b c e a d d Adapter provided Gas Pressure Regulator Gas Supply Line Adapters From Gas Supply Line Kit Gas...

Page 36: ...In addition the nozzle on the gas pressure regulator needs to be reversed See GAS CONVERSION section for detailed instructions NOTE All replaced orifices must be left with the consumer including the i...

Page 37: ...dium 1 Open the manual shutoff valve in the gas supply line The valve is open when the handle is parallel to the gas pipe 2 Test all connections by brushing on an approved noncorrosive leak detection...

Page 38: ...le Ring Burner Auxiliary Burner Semi Rapid Burner Rapid Burner Correctly Positioned Incorrectly Positioned Cap Base ig lame Low lame 4 Place burner grates over burners and caps 5 Plug in range or reco...

Page 39: ...RE NO REGULATION OF THE PRIMARY AIR MAX MIN a OFF b Adjustment Screw Control Knob Stem a b 1 Light the burner and turn the knob to the lowest setting MIN 2 Pull and remove the control knob 3 Insert a...

Page 40: ...eave a 1 2 5 cm gap between the back of the range and the back wall 2 Check that the range is level by placing a level on the oven bottom If needed use a wrench to adjust the height of the leveling le...

Page 41: ...he floor The range foot is not engaged in the anti tip bracket Proceed to Steps 3 and 4 IMPORTANT If there is a snapping or popping sound when tilting the range the range may not be fully engaged in t...

Page 42: ...personnel authorized gas company personnel authorized service personnel Failure to do so can result in death explosion or fire Tip Over Hazard A child or adult can tip the range and be killed Install...

Page 43: ...this work assumes the gas conversion responsibility Convert Gas Pressure Regulator Regulator Cap Retainer Pin Natural gas position 1 Turn manual shutoff valve to the closed position 2 Unplug range or...

Page 44: ...ps and the burner base 3 Remove the natural gas orifices with a 9 32 7 mm nut driver 6 Turn the retainer pin upside down and place it back into the regular cap The regular cap is now positioned for us...

Page 45: ...e ratings and sizes for proper placement Orifice Chart for Surface Burners F965 F965NF Burner Placement LP Orifice Size mm NG Orifice Size mm Burner Rating Rapid Front Left 0 91 1 45 9 500 BTU Auxilia...

Page 46: ...tion section in the Installation Instructions section for proper connection of the range to the gas supply Refer to Complete Connection section to complete this procedure Refer to the Adjust Flame Hei...

Page 47: ...ATEE EST REQUISE POUR BENEFICIER DE LA GARANTIE IMPORTANTE No regrese este producto a la tienda Si tiene alg n problema con este producto por favor contacte el ayuda al cliente COSMO al 1 888 784 3108...

Page 48: ...MEMO...

Page 49: ......

Page 50: ...king efforts to improve the quality and performance of our products so we may make changes to our appliances without updating this manual Electronic version of this manual is available at www cosmoapp...

Reviews: