background image


How To Install the Corsair Airflow Pro


Airflow Pro Introduction 


The Corsair® AirFlow Pro™ mounts above the Corsair AirFlow 2 fan, and connects to 
any Dominator® memory that supports DHX Pro technology to provide a dynamic 
display of memory activity and temperature for up to six modules. 

Corsair's signature LED peak meters are used to reflect memory activity by DIMM and 

memory rank. In addition, LEDs in the center of the display adjust their color based 
on the measured temperature of the DIMM. The Corsair Airflow PRO adds function 

and flash to any build. 
 

Features: 

 

RGB Temperature Monitoring LEDs 

 

Activity LEDs with support for up to six modules 

 

Easily installs on top of Corsair Airflow 2 fan 

 
Requirements: 

 

Dominator Memory with DHX Pro technology (DOMINATOR Modules with part 
numbers starting with CMP and CMT) 

      Corsair Airflow 2 fan SKU # CMXAF2 

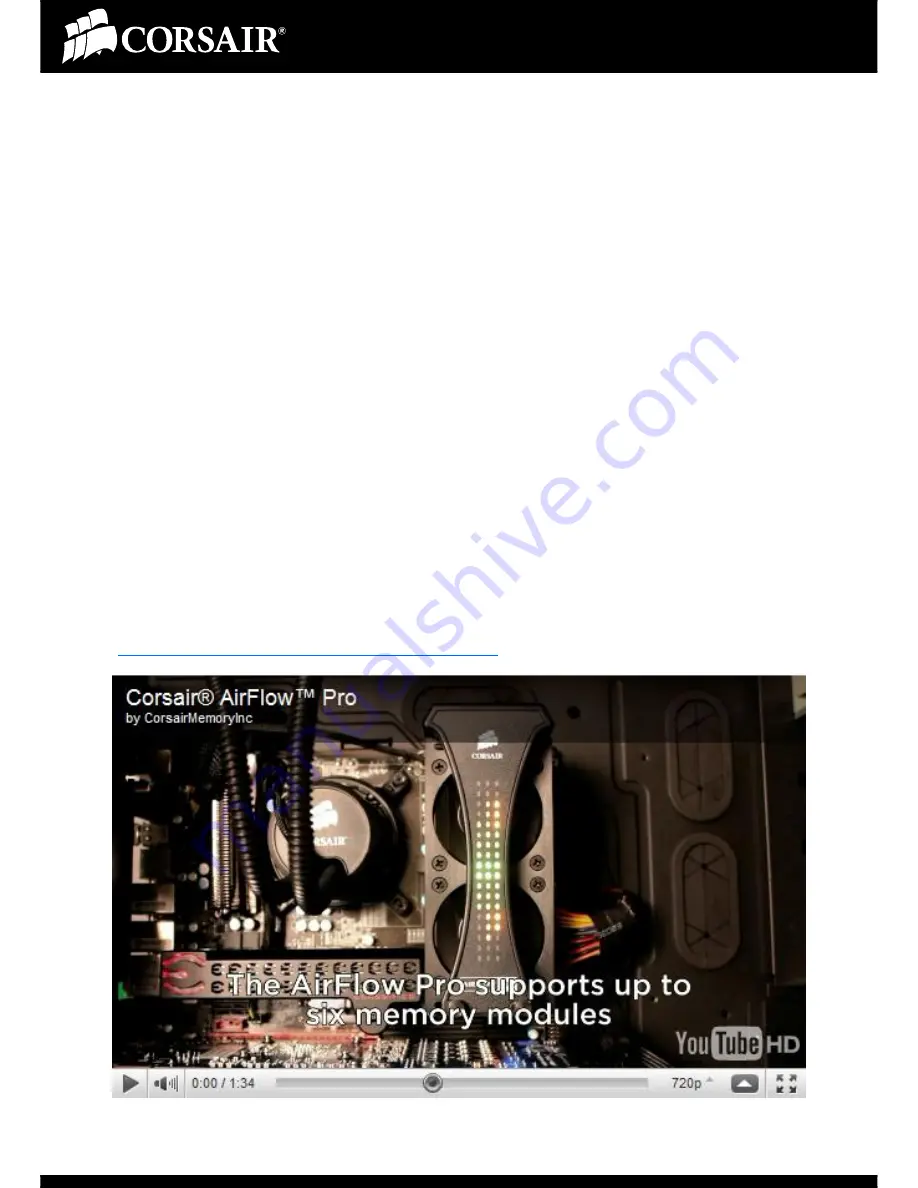
Watch a video of the Airflow Pro in action.


Summary of Contents for AirFlow Pro

Page 1: ...ember 2010 H o w T o I n s t a l l t h e C o r s a i r A i r f l o w P r o D y n a m i c M e m o r y D i s p l a y An illustrated guide to installing the Corsair Airflow Pro Dynamic Memory Display unit using compatible Corsair DHX Pro equipped modules ...

Page 2: ...memory activity by DIMM and memory rank In addition LEDs in the center of the display adjust their color based on the measured temperature of the DIMM The Corsair Airflow PRO adds function and flash to any build Features RGB Temperature Monitoring LEDs Activity LEDs with support for up to six modules Easily installs on top of Corsair Airflow 2 fan Requirements Dominator Memory with DHX Pro technol...

Page 3: ...le in the fan clip It is referenced in steps 2 and 3 You will need to replace 1 set of the thumb screws with the new screws included in your Airflow Pro mounting hardware See the illustration below The new Air flow Pro screws are hollow and threaded as seen on the left The stock screws are solid knurled thumb screws seen on the right Be sure to use the included washers on both sets of screws ...

Page 4: ...art num bers starting with CMP and CMT The con nector is pictured left The best method we have found is to install the individual ribbon signal cable to each module as seen circled in red here Then install the modules to the appropriate slots on your motherboard The cables can then easily be routed up through the hole in the fan clip and then connected to the Air flow Pro unit ...

Page 5: ... module you can then mount the cooling fan The cables can be routed through the end of the fan through the hole in the fan clip as seen here Then invert the Airflow Pro unit and attach the ribbon ca bles to any of the 6 ribbon ca ble connectors indicated by the red arrow Also attach the power connector circled in red ...

Page 6: ...rcles The bottom portion has 2 mounting holes shown inside the small red circles Use your 2 remaining knurled thumb screws to attach the Airflow Pro to the 2 bottom hollow screws that hold the bottom retention clip You will now also need to connect the power connector for the unit to an available 4 pin molex power connector After this connection is made your Airflow Pro unit is fully installed and...

Page 7: ... Dominator Memory http www corsair com products memory_home aspx Corsair Airflow Pro You Tube Video http www youtube com watch v uPnNIGKVQzo December 2010 Corsair Memory Incorporated All rights reserved All trademarks and regis tered trademarks are the property of their respective owners in the United States and or other countries ...

Reviews: