WARNING
• Do not expose this product to rain or moisture to preserve the life of your
product.
• Do not disassemble this unit. To prevent electric shock, do not remove cover.
• The device should be situated so that its location or position does not
interfere with its proper ventilation. For example, the unit should not be
situated on a bed, sofa, rug or similar surface that may block the ventilation
openings.
• The device should be situated away from sources of high heat such as radiators
or stoves.
• We strongly suggest using a clean, dry, non-alcohol cotton swab to clean the
glass surface periodically to produce a clear image.
• The USB cord for the device should be unplugged from the computer when the
unit is left unused for a long period of time.
• Do not overload the USB connections on your computer. If you have too many
devices connected to your computer such as a wireless mouse, Media player,
Mobile phone or other USB powered devices, there may not be enough power
for the film scanner to operate properly.
• The user should not attempt to service the device beyond those means
described in the operating instructions. All other servicing should be referred to
a qualified person.
CLEANING
• Clean the scanning plate using the brush provided. Insert the brush through
the slot on the side of the slide scanner with the cleaning pad facing down and
wipe the soft brush across the scanning plate surface.
DISPOSAL
• Dispose of all paper, cartons and plastic in accordance with your local recycling
regulations. At the end of the product’s lifespan please dispose of it at an
authorised household waste recycling centre.
Uploading your images to your PC or MAC using the USB cable
1. Connect the USB cable to your computer and then press the POWER button
on the slide scanner.
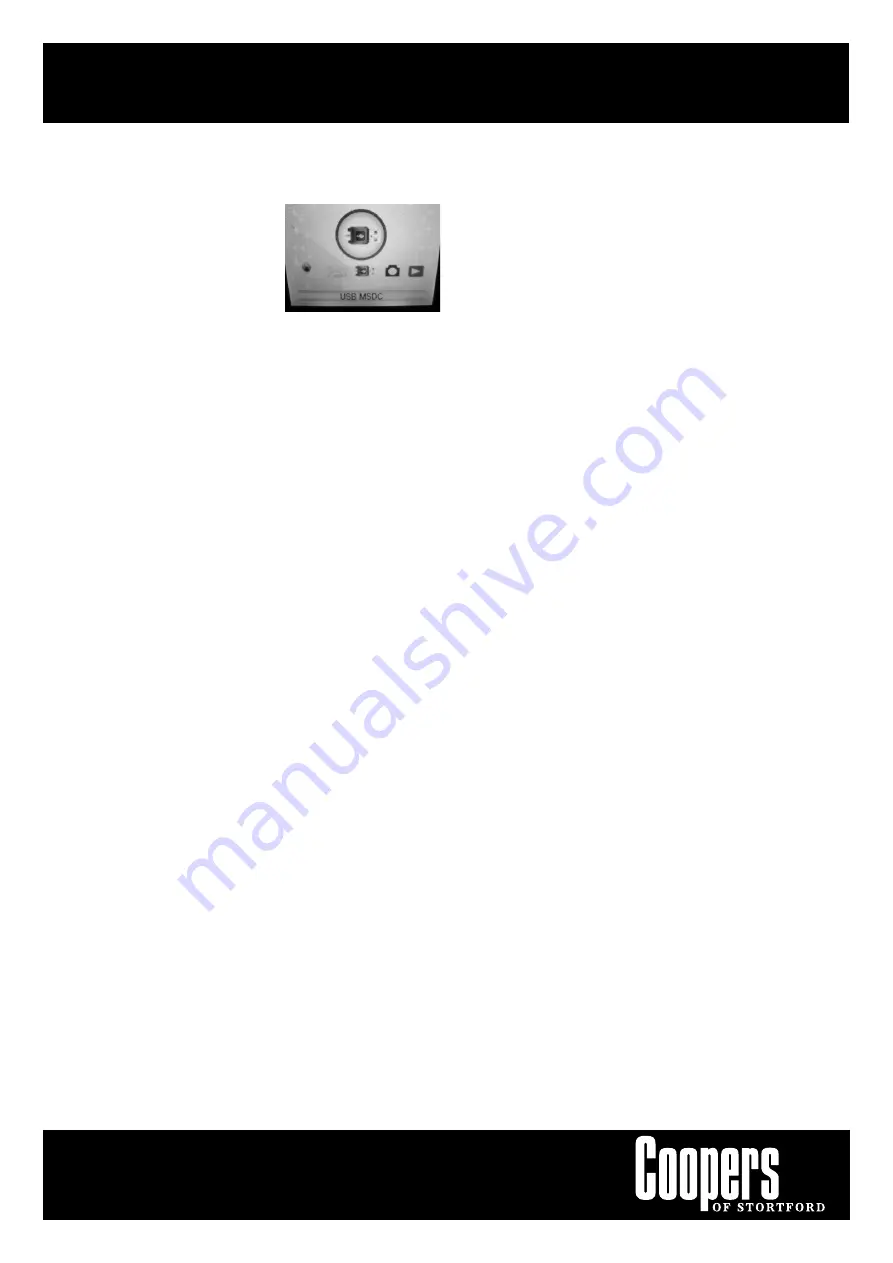
2. Press the MENU button and using either the
left (MIRROR) or right (FLIP) buttons select
the USB MSDC icon.
3. Press the SCAN OK button, the slide scanner
screen will go black when communication is
established with your computer.
4. You should now see a message pop-up on your computer monitor alerting
you that a new device is attached. Select the open from this prompt and you
are now free to preview, edit and print your scanned images on your
computer.
Connecting the Slide Scanner to a Television
To connect the slide scanner to a television, attach the AV cable to the back of
the slide scanner and insert the yellow AV connector into the yellow AV socket
on your television. Select the AV channel on your television (note: many TV sets
have several AV channels, the exact channel may vary depending on the number
of devices connected to the television) and the screen shown on the slide
scanner will now appear on the television screen instead of on the slide scanner
itself.


