


13
7 Installing the Software onto a Computer
• Installing the Software
For Windows® Users:
PC
IMPORTANT!
MAKE SURE YOU INSTALL ALL THE SOFTWARE FROM THE CD SUPPLIED BEFORE YOU CONNECT YOUR CAMERA TO A COMPUTER AND TRANSFER
PICTURES FROM YOUR CAMERA TO THE COMPUTER.
IMPORTANT! (For Windows® 98SE)
On Windows® 98SE Mass Storage function needs to install the eMovie2 Driver. After the installation, please restart the Windows before connecting the
camera to the PC.
IMPORTANT!
To experience higher performance in graphics and sound when you’re watching video clips on your PC, it is recommended to install the DirectX ver. 8.0
or above. It can be downloaded from http://www.microsoft.com/directx
IMPORTANT! (For Windows® ME, 2000, XP)
Directly plug-in the camera to transfer and play the pictures, video clips or audio clips. No need to install the driver. But if you want to use NetMeeting™
function, please install the driver first.
IMPORTANT! –
If the computer requests you to install the Windows® system disk during the software installation, place the Windows® CD into
the computer CD-ROM drive or insert the eMovie2 driver CD to the CD-Rom drive. If eMovie2 driver CD is inserted, please set the path to “CD-Rom
drive \software\Driver\Sysfile”. The computer will install the necessary files from the CD automatically. When the Windows® software appears to have
finished the operation, close the Windows® screen. Remove the Windows® CD and store safely.
NOTE:
Microsoft® NetMeeting™ is already bundled with Windows® 2000 and XP OS. Users using Windows®
2000 or XP do not need to install this software from the CD-Rom.
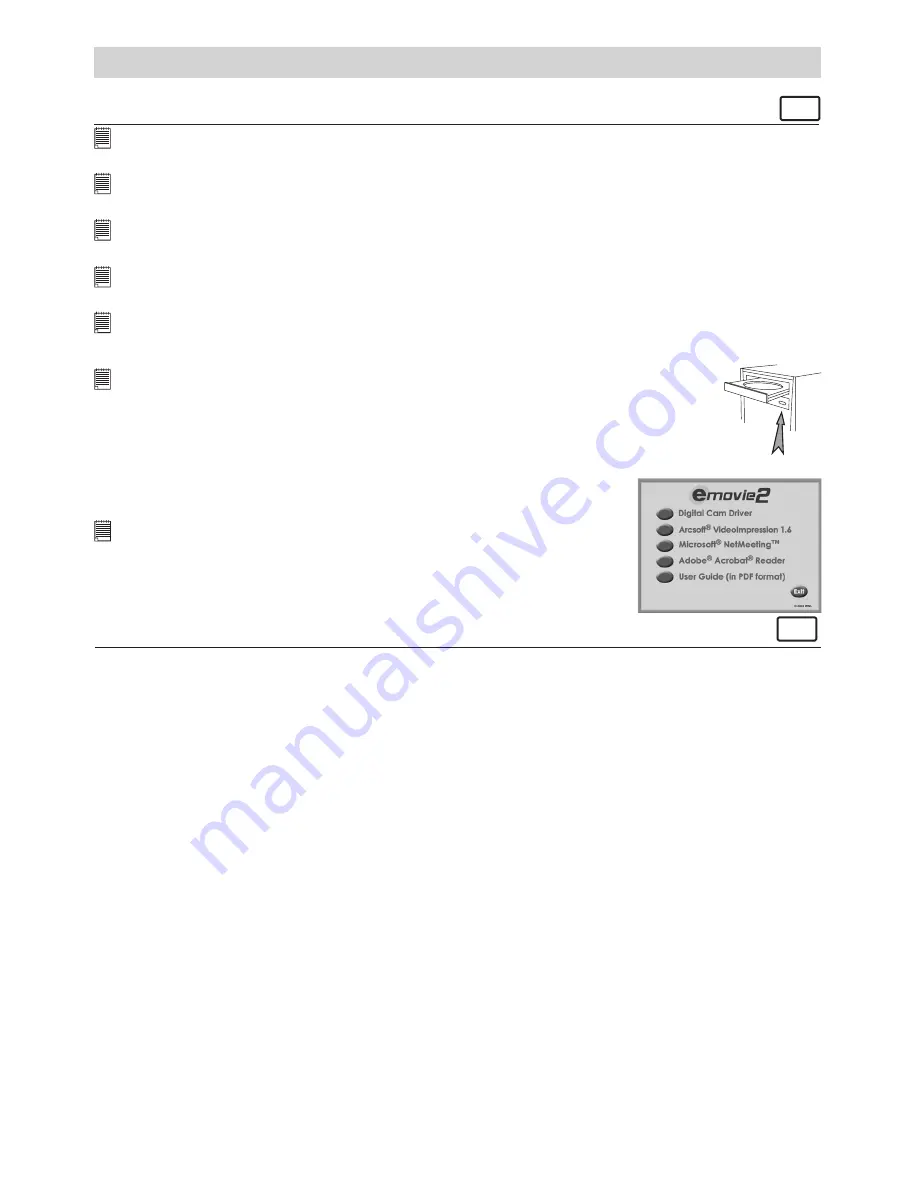
Open & Close
1. Before you begin, close all other software applications open on your
computer.
2. Insert the CD supplied into the computer CD-ROM Drive.
3. The CD User Interface Screen will automatically launch.
4. With the mouse, click on each software interface button in turn and follow
the on screen instructions.
NOTE:
If the setup screen doesn’t appear after loading the CD, then you can manually start it by double-clicking the
“My Computer” Icon on your desktop, then double-clicking the icon for the CD-ROM drive. When the CD-ROM
window opens, double-click the file “INSTALL-E.EXE” .
For Macintosh® Users:
MAC
1. Before you begin, close all other software applications opened on your computer.
2. Insert the CD supplied into the computer CD-ROM Drive.
3. Double click the CD-ROM icon “Digital Video”.
4. Install the software included.
• Software Included with Your Camera
The
eMovie2
software CD contains the following software:
Digital Cam Driver
Easy to use, just plug the camera to a computer and use it as a removable disk. Use the Arcsoft
VideoImpression 1.6 software to create and edit new videos using existing video and images files – making
desktop video presentations for home, business, and the web.
ArcSoft VideoImpression™ 1.6
Movie Making Software
ArcSoft VideoImpression™ is an easy-to-use video and image editing software program. The program
enables users to create and edit new videos using existing video and image files - making desktop video
presentations for home, business, and the Web.
Microsoft® NetMeeting™
Web Cam software
NetMeeting™ provides the most complete conferencing solution for the Internet and corporate intranet.
Powerful features let you communicate with both audio and video, collaborate on virtually any Windows-
based application, exchange graphics on an electronic whiteboard, transfer files, use the text-based chat
program, and much more. Using your PC and the Internet, you can now hold face-to-face conversations
with friends and family around the world.
Adobe® Acrobat® Reader
.PDF File Reading Software
Adobe® Acrobat® Reader lets you view and print Adobe Portable Document format (PDF) files on all major
computer platforms, as well as fill in and submit Adobe PDF forms online.