6
When there is an alarm condition, the siren will sound for a maximum
of five minutes. It will then remain quiet and the Control Unit will
reset. If an additional alarm occurs or if a sensor remains in an alarm
state, the Control Unit will again sound the siren for a maximum of
five minutes.
The siren can be activated and deactivated at the Control Unit. See
section 4.3 for details.
2.5 Phone, Power and Siren Connections
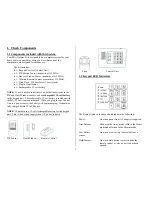
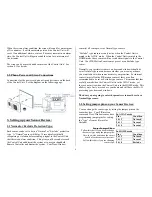
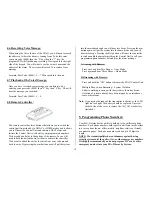
Connections for the power cord, phone line and siren are on the back
of the Control Unit. See the diagram on the following page.
3. Setting up your Sensor Devices:
3.1 Normal or Exclude Protection Type:
Each sensor can be set to be in a “Normal” or “Exclude” protection
type. A “Normal” sensor will delay 30 seconds after initially
recognizing a violation before sending a signal to the Control Unit
that there is an alarm condition. This gives you 30 seconds to reach
the Control Unit and disarm the system or to use your handheld
Remote Controller and disarm the system. Your Door/Window
sensor(s) all come pre-set as Normal type sensors.
“Exclude” type sensors are only active when the Control Unit is
armed in the AWAY mode. When the Control Unit is armed in the
HOME mode, these sensors will not send alarm signals to the Control
Unit. Your PIR Motion Sensor comes pre-set as an Exclude type
sensor.
Generally, your perimeter sensors on doors and windows should be
set as Normal type sensors because whether you are away or home,
you want to know when someone enters your premises. For internal
sensors (most often the PIR motion sensors), these are often
recommended to be set as Exclude type sensors. This means that they
are fully armed when the Control Unit is in the AWAY mode, yet
they are not active when the Control Unit is in the HOME mode. This
allows you to freely move above your home and still have the MA-D
protecting your doors and windows.
The door you are going to enter the premises via must be set as a
Normal type sensor.
3.2 Setting jumper pins on your Sensor Devices:
You can change the sensor type by setting the jumper pins on the
sensor devices. Your PIR motion
sensor and Door/Window sensor have
programming jumper pins for setting
the "type" of sensor (Normal or
Exclude).
Sensor Jumper Chart
Follow this chart if you wish to change
the sensor type using the jumper pins.
Note, the words printed on the circuit
board of each sensor are incorrect.
Follow this chart if you are changing
sensor type.
In AWAY mode
Pins Condition
1 & 2
Not used
2 & 3
Normal
3 & 4
Normal
In HOME mode
Pins Condition
1 & 2
Not used
2 & 3
Normal
3 & 4
Exclude


