


Follow these steps to configure a wireless setup:
a
If you don’t see the network you want, select
Other
.
b
At Network Name, select to add the
SSID
or name of the wireless network when the
keyboard appears.
c
At Security, select
None
,
WEP
, or
WPA
.
d
At Password, type the
password
given to
you by the person who set up the customer’s
wireless network (Control4 Dealer).
e
Select
Connect
. Notice that the IP settings
change.
4
The IP address is set to
DHCP
by default. If you
need to set a static IP address, complete the
following steps; otherwise, you are finished with
these steps.
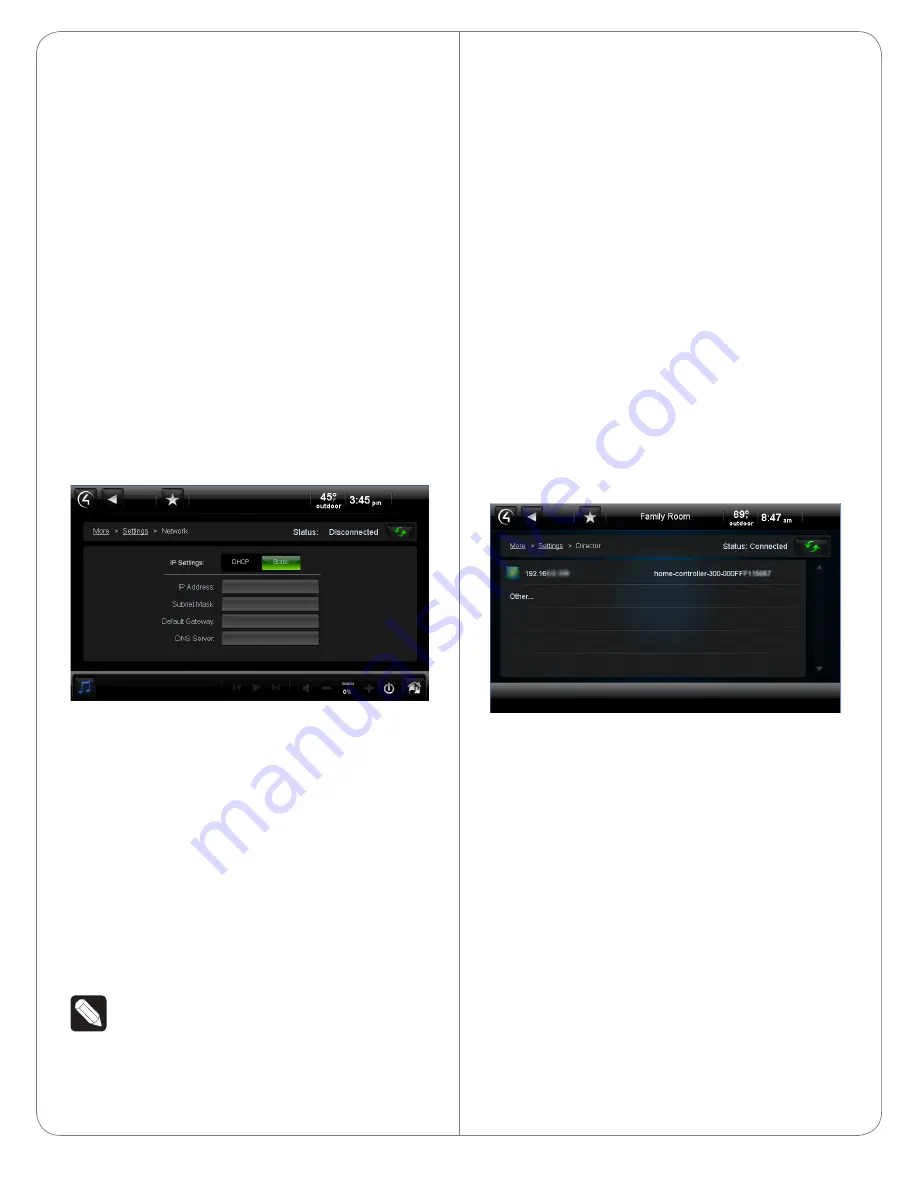
a
On the Network page, tap
Static (see Figure
8)
.
Figure 8. Static IP Address
b
Select each box one at a time, and type the
address: IP Address, Subnet Mask, Default
Gateway, Preferred DNS, and Alternate DNS.
c
When the keyboard appears, type the
address, and then tap
Done
.
d
Tap
OK
to return to the Network page.
You can now connect to a Control4 Director running
on a Control4 device on the network.
Connect to Director from the Touch
Screen
NOTES:
(1) The Touch Screen’s controls are
auto-populated by a project on the Controller
to which it connects. If the subsystem buttons
are not lit, and no default room displays on
the Touch Screen, you are not connected to
a Controller. (2) Ensure that the devices are
added to Composer and identified in the
project. See “Configure in Composer” for
details.
1
On the Home page, tap
More
>
Settings
.
2
Tap
Director
.
3
If the Director page does not display, the Director
view has probably been disabled; you must
provide a password to enable it.
• If you need the password, contact your Control4
Dealer if you are the Installer.
• If you have the password, tap
Config
>
Disable
View
, enter the password, and then tap
Director
to deselect it. Tap the
Director
button again, and
view the Director page.
4
In the Director list of IP addresses, tap on your
Controller’s IP address. The screen displays your
current connections (Figure 9).
Figure 9. Controller Address
5
Verify that the Name, IP Address, and default
location (room) display on the Touch Screen to
ensure all of the correct connections.
Configure in Composer
Using Composer Pro, add the driver for the 7”
Portable Touch Screen with Camera to your project.
See
Composer Pro Getting Started
on the Control4
Dealer website
for details.
1
Start Composer and connect to a Director.
2
Add the Touch Screen object to the project:
a
In the System Design View (default view)
project tree (left pane), highlight the
room
where the Touch Screen resides.
5


