English
English
Congratulations on your purchase of
the New RollerMouse Free
RollerMouse Free lets you work with your hands and arms in the
optimal zone in front of the keyboard. The risk of discomfort and
RSI (Repetitive Strain Injuries) is minimized. Centralized
pointing and clicking creates a varied work mode allowing use of
both hands, reducing tension and stress while using your
computer. Also, there is no device to grip. You can use a flat,
extended hand to navigate, allowing you to reduce the stress
through your Carpal Tunnel.
RollerMouse Free comes with smart default key settings and can
be adapted to your individual needs. The mousing action is done
easily with just two or three fingers on the rollerbar, with light,
small movements. RollerMouse Free lies completely still, which
allows you to relax your shoulders and arms and only use your
hands and fingers when using the mouse and the keyboard.
To feel the difference, try it for yourself - let your shoulders and
arms relax more and more as you realize you still have full
control of your work with less reaching and effort.
Connection / Installation
USB connection for PC systems with Windows XP or Vista
and Apple systems with OS X.
1. Connect your RollerMouse to your computer through any
available USB-port.
2. Let your computer automatically detect the device and auto
install the built-in drivers required.
End Detection
When using your RollerMouse, you will find that sometimes the
rollerbar has reached its maximum position to the right or left,
although the mouse pointer has not reached the edge of the
screen. RollerMouse has built-in end detection that re-aligns the
rollerbar’s reach and adjusts the rollerbar to match the desired mouse
pointer position. In comparison, this is equivalent to lifting and
moving a traditional mouse on the desk to allow more movement.
In order to activate the end detection of the rollerbar, move it
to either end position and continue to push it outward until
you feel a slight click.
The cursor moves in the same direction, out to the edge of
the screen.
RollerMouse Free – Welcome Tour
Welcome to the Roller Mouse Free, an innovative and safe way of
working with your computer. RollerMouse Free is designed to
keep your hands and arms in the optimal work zone. You benefit
from the complete elimination of the potentially harmful habit of
reaching for and working with a conventional mouse.
Placement
–
Place your RollerMouse so that the rollerbar and
button area are located centrally in front of you and that the
keyboard is lined up so that the center of your body and index
fingers are aligned with a line through the G and H keys.
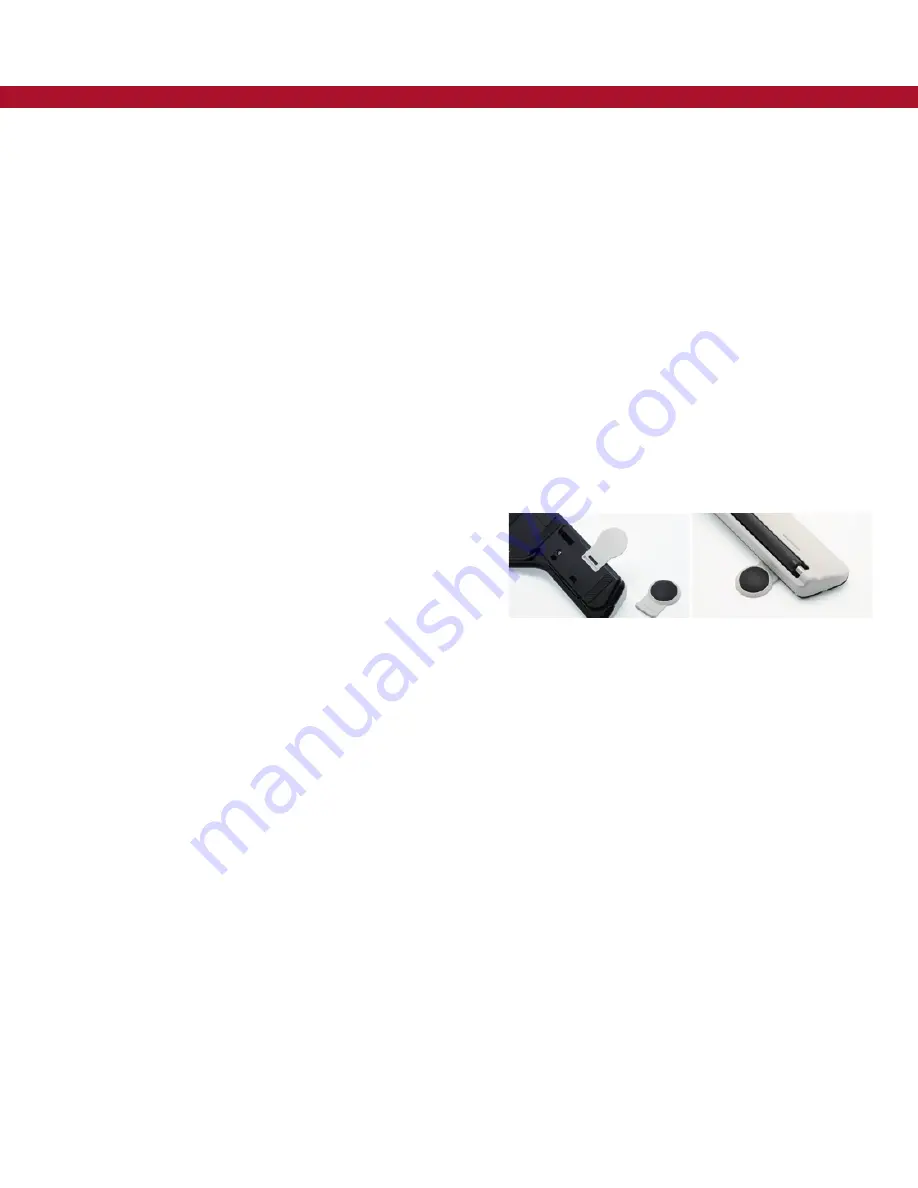
If you have a very thin keyboard, you may want to attach the
included keyboard raisers to lift the front edge of your keyboard.
Fit the keyboard raisers in the slots provided on the underside of
your RollerMouse.
Cursor control
– Find the rollerbar. It is a dark grey rubberi-
zed bar that is the part of the RollerMouse closest to your
keyboard. Try rolling the bar up and down and watch the
computer cursor move, then try left and right. Great, you are
already getting the hang of it. Now try a little driving test using
the roller bar. Imagine writing your first name with the mouse
pointer on the screen.
Basic Buttons & Clicks
– Now all you need to do is learn
the button click actions. There are more buttons than you may
be used to, but they are designed to make using your computer
easier and less cumbersome.
The
left button
is for a
left click
. Move the cursor to the start
button and left click on it so that the menu opens. Then move
the cursor off the menu and
press down on the roller bar
, which
also performs a
left click
, and the menu will close.
The
right button
is for a
right click
. Move the cursor up into the
desktop background and right click. A menu drops down. To close
the menu, move the cursor a bit and left click.


