fm
G
enie
/
MicroMLxS
/
MLxS
fm
G
enie
/
MicroMLxS
/
MLxS
2
FMG14FMLXS fmGenie/MLxS Fastrack Guide – Version 2.0
FMG14FMLXS fmGenie/MLxS Fastrack Guide – Version 2.0
fm
G
enie
/
MicroMLxS
/
MLxS
fm
G
enie
/
MicroMLxS
/
MLxS
3
1
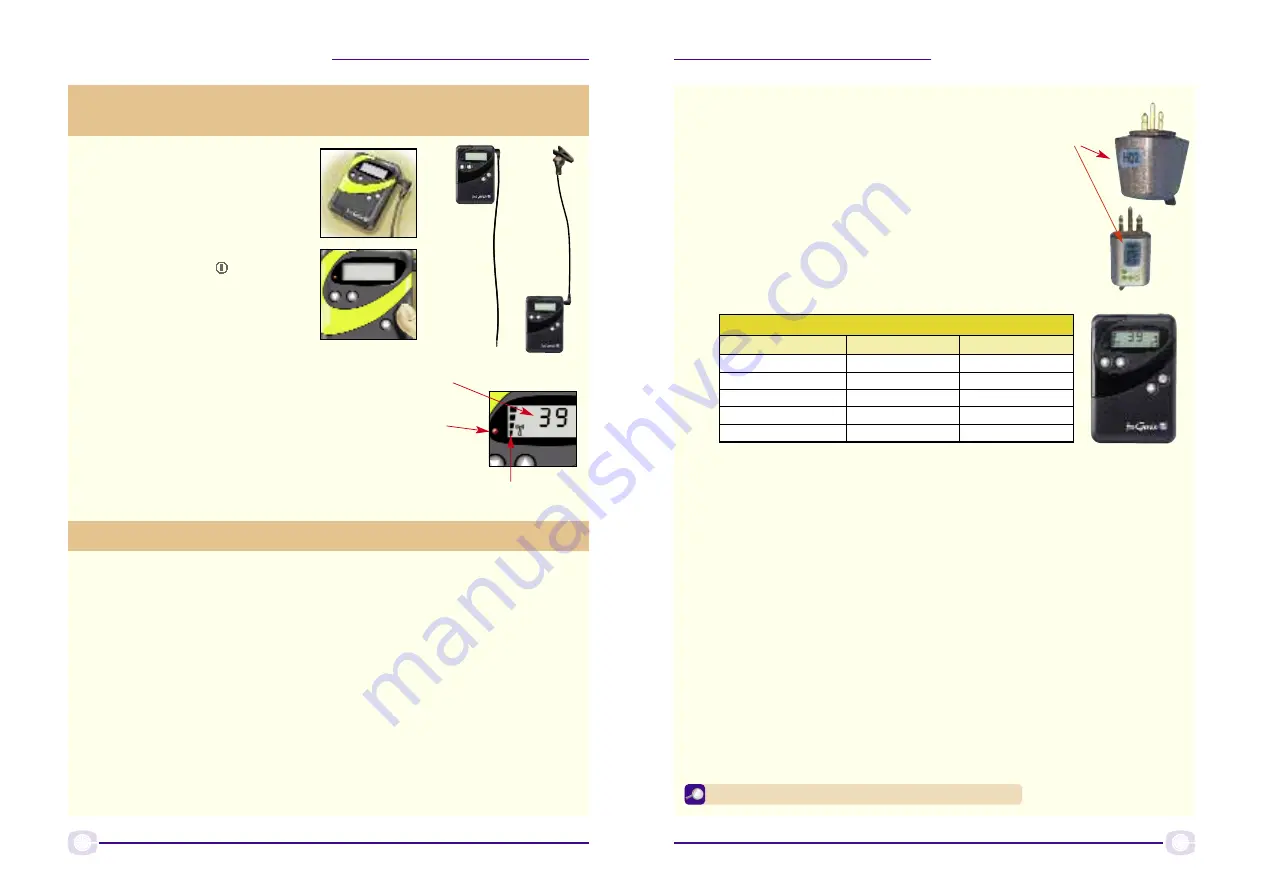
Connect either an aerial or
lapel microphone into the
fmGenie transmitter external
microphone socket (Ext mic).
Part 2a
fmGenie transmitter
– connecting up and turning on
Part 2b
Setting the channels
2
Turn on the transmitter by
pressing and holding the
ON/OFF button
until the
display turns on and the alert
indicator flashes.
...or
with a
lapel mic
Either with
an aerial
to use the
internal
mic ...
3
Set the channel number of
the fmGenie transmitter to
the channel used by your MLxS.
Remember that the H prefix MLxS channel
number will differ from the fmGenie channel
number – see next page.
Channel
number
Alert
indicator
Aerial bars
2
To set the fmGenie transmitter default channel to match an
MLxS, follow the instructions on page 11 of this Fast Track
guide
– but you must choose the correct channel scheme first or
you will get an E1 error message.
European channel frequencies
All new fmGenies are now supplied on the 50KHz channel grid.
If your MLxS is channel no. H02 or H06 then do nothing except set your
fmGenie to the correct channel:
MLxS on H02=fmGenie on 39. MLxS on H06=fmGenie on 63.
For use with any other MLxS channel numbers
: you will need to
adjust your fmGenie to the pre-2004 UK channel scheme by changing
the under flash switch settings 1 & 2 to ‘DOWN, DOWN’ – then choose
the appropriate fmGenie channel from the table opposite. See page 12
of this Fast Track.
Pages 36 and 84 – fmGenie User Guide (3rd Edition)
An MLxS is a multi-frequency device which has a fixed default channel.
The MLxS returns to this default channel when the hearing aid is turned
off or the connection is broken – sometimes simply as the result of an
intermittent shoe.
An fmGenie transmitter works well with MLxS receivers; however, unlike
with Campus S, SmartLink or EasyLink transmitters, an fmGenie cannot
re-sync the MLxS to a different channel.
For the majority of users this should not be a problem – a wallpilot can
be used to change a group of MLxS users for sessions such as group
assemblies.
If frequent channel changing is required for an MLxS then an fmGenie
transmitter may not be the best choice!
4
Check that there are 4 aerial bars on the
left. (3 bars = normal range and 4 bars = long
range). The transmitter should be set to long range
for use with MLxS receivers – see page 11 to change.
The fmGenie transmitter and the MLxS receiver
both have to use the same frequency channel.
1
Check the channel number shown on the side
of your MLxS receiver and then set your fmGenie
transmitter to the appropriate fmGenie channel.
It is the actual frequency that is being matched
rather than the channel numbers.
Eg: MLxS channel H02 is using the frequency
173.400 MHz so it needs to be used with an
fmGenie transmitter set to channel 01.
MLxS
channel
number
Frequency channel coding comparisons
MHz
fmGenie
MLxS
173.400
39/01
H02
174.120
11
H16
174.415
15
H20
174.600
63/17
H06
174.770
19
H08
As a multichannel device, the MLxS can be programmed to receive on any of
the permitted fm channels, however we advise maintaining a channel
separation of 5 channels to avoid the possibility of cross channel interference
from a nearby transmitter. See page 7 of this Fast Track for more
information on reprogramming.


