All trademarks are used for reference purposes only.
Thanks again for choosing our s
ecurity
camera!
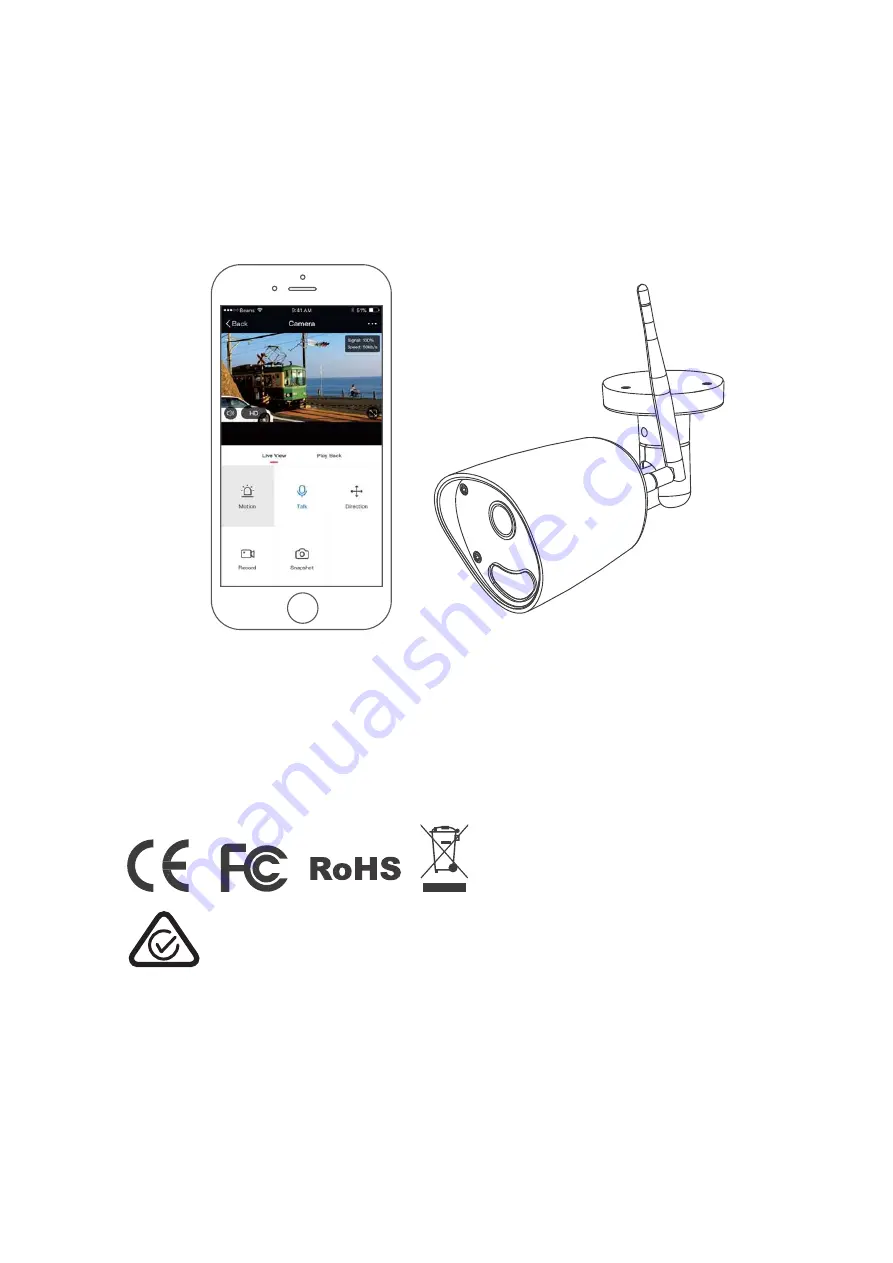
You’re done!
Congratulations! Your camera is set up and ready to go.
E4651
Page 1: ...Quick Start Guide OUTDOOR SMART SECURITY CAMERA Model CSH ODCAM ...
Page 2: ...Thank you for choosing our security camera Getting started is easy What s Included Security Camera Antenna Alignment Sticker Power Adapter Wall Mount Screw Sets x4 x1 Tight Line Waterproof Kit Quick Start Guide ...
Page 3: ...Product Details 1 Connection Preparation Make sure that the security camera and phone are within range of your router Antenna Micro SD card slot Microphone Light sensor Lens Infrared lights ...
Page 4: ...a is only working under 2 4G Wi Fi and does not support 5G Wi Fi 2 Download the App and create an account For the best experience please download the Connect Smarthome APP to your smartphone from App Store or Google Play or you can also scan the QR code below the APP icon will be displayed after installed successfully ...
Page 5: ...3 Insert the Micro SD card optional Unscrew these two screws at the back of the camera Unscrew these screws ...
Page 6: ...r to the camera by DC12V 1A Power Adapter 4 Connect the power to the camera Reset Button RJ45 Port DC Take away the cover and insert the SD card gently Restore the cover with screws for waterproof Micro SD card slot 2 ...
Page 7: ...en instructions Click Add Device or on the right corner to add device Then click Security Sensor to select Smart Camera Click the button to confirm if the indicator is red and blinking quickly then input the correct working wifi password to proceed Point the QR code to the camera lens for 15 20cm When the indicator turns to blue and blink quickly click for next step If failed please reset and go b...
Page 8: ...ou can mount it to the wall 6 Place or Mount Your Camera To mount your camera to the wall Fasten the mounting screw into the wall and then mount the camera from the screw If you re mounting the camera to drywall be sure the plastic drywall anchors that are provided ...
Page 9: ...Mounting on Wall Mounting on Ceiling ...
Page 10: ...All trademarks are used for reference purposes only Thanks again for choosing our security camera You re done Congratulations Your camera is set up and ready to go E4651 ...
Page 11: ...eplace the product as per their store refund or warranty policy Step 2b If your place of purchase cannot be contacted then you can contact Laser Customer Service with details of your defective Laser Product Phone 02 9870 3388 or Email support laserco com au or online www laserco com au warranty click on Consumers End Users Our business address is at 1 6 8 Byfield Street North Ryde NSW 2113 Step 3 ...