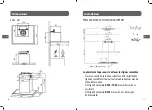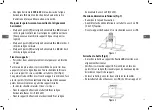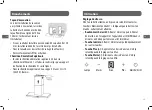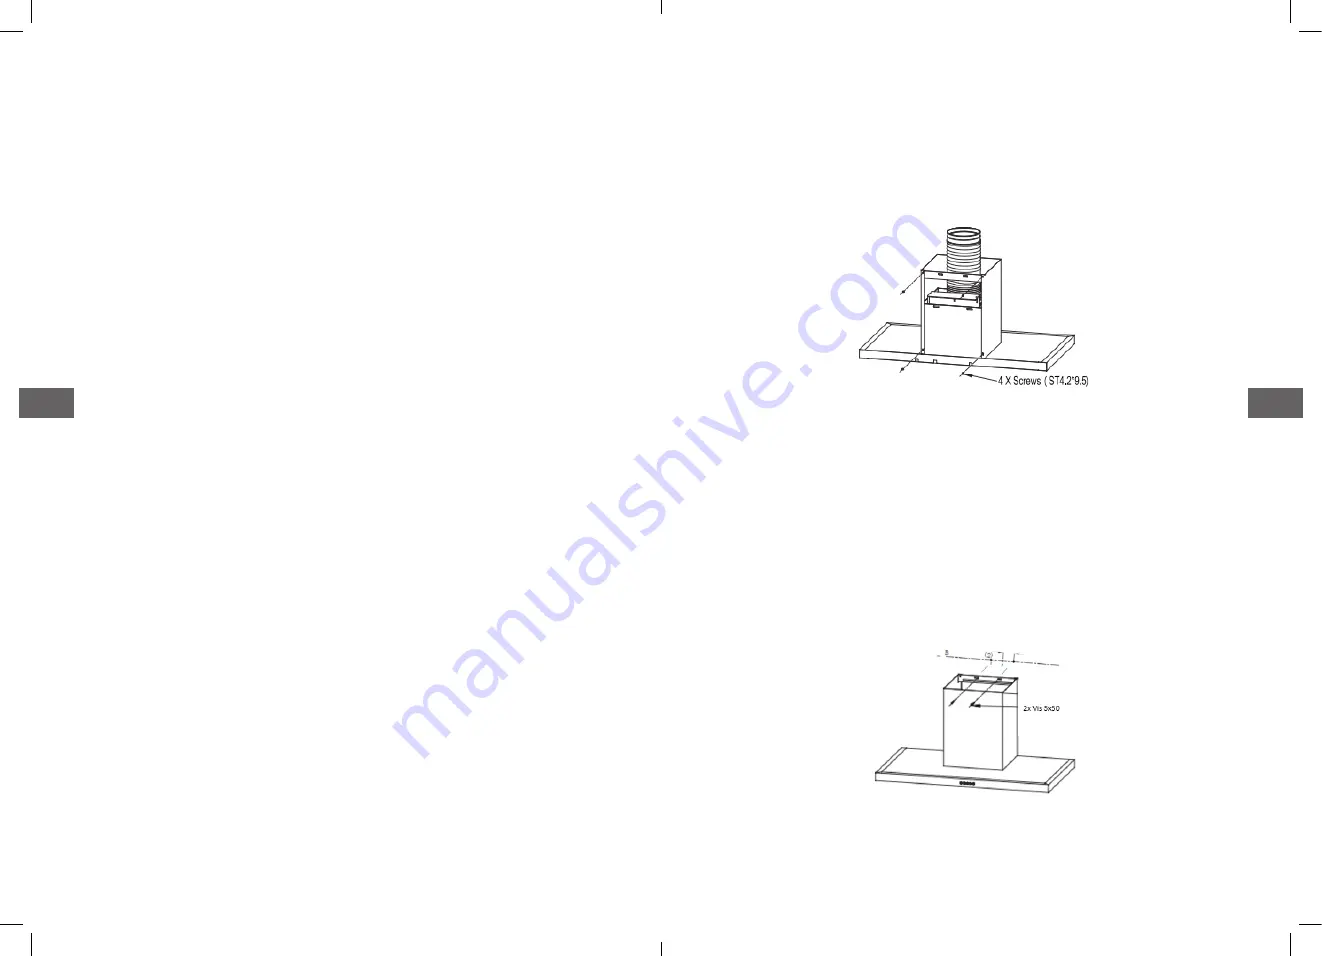
Lower decorative chimney (Fig. 1)
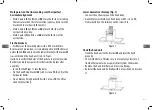
• Connect the exhaust pipe on the hood body
• Assemble lower chimney on hood body with 2 screws
12
,
• Fix bracket
21
on the chimney with 2 screws
12
�
Figure 1
Figure 2
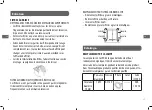
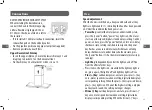
Hook the hood unit
• Hook the hood unit to the bracket
20
and level the hood
properly�
• Check if the holes of bracket 21 are precisely at points (2) on
line B otherwise mark new points directly from the bracket�
• Remove the hood, drill holes and insert wall plugs�
• Reinstall the hood and fix firmly with 2 screws 5x50 on bracket
21�
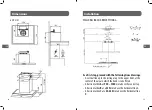
Mark points on the lines making sure their perfect
horizontal alignment
• Mark 3 points
(1)
on
A
line, at
80
mm at both sides, including
the central mark on the reference line (you may better use the
bracket 20 to mark easily the points)
• Mark 2 points
(2)
on
B
line, at
60
mm at both sides of the
vertical reference line�
• Mark 2 point
(3)
on
C
line, at
60
mm at both sides of the
vertical line�
Fix the brackets:
• Drill holes at the marked points with a Φ10 mm drill bit�
By measure of precaution, it is recommended to drill the holes at
points
(2)
on
B
line only once the lower chimney with bracket
21
is assembled on the hood unit� (refer to Fig�2)�
It allows to verify if the holes of the bracket are precisely on-line
B otherwise mark new points directly from the bracket after
assembly�
• Insert the Wall Plugs 11 into the holes�
• Fix the hood fixing bracket
20
with 3 screws
10
(5 x 50) at the
horizontal line
A
�
• Fix a Chimney fixing bracket
21
with 2 screws
10
(5 x 50) at
the horizontal line
C
�
31
30
GB
GB

