Copyright
®
2007 by Conceptronic – All rights reserved
www.conceptronic.net
Page 5 of 7
Scheduled recording
You can set a scheduled recording to let the CM3G/P/PP start recording at a specified date/time.
1.
Select “
Scheduled recording
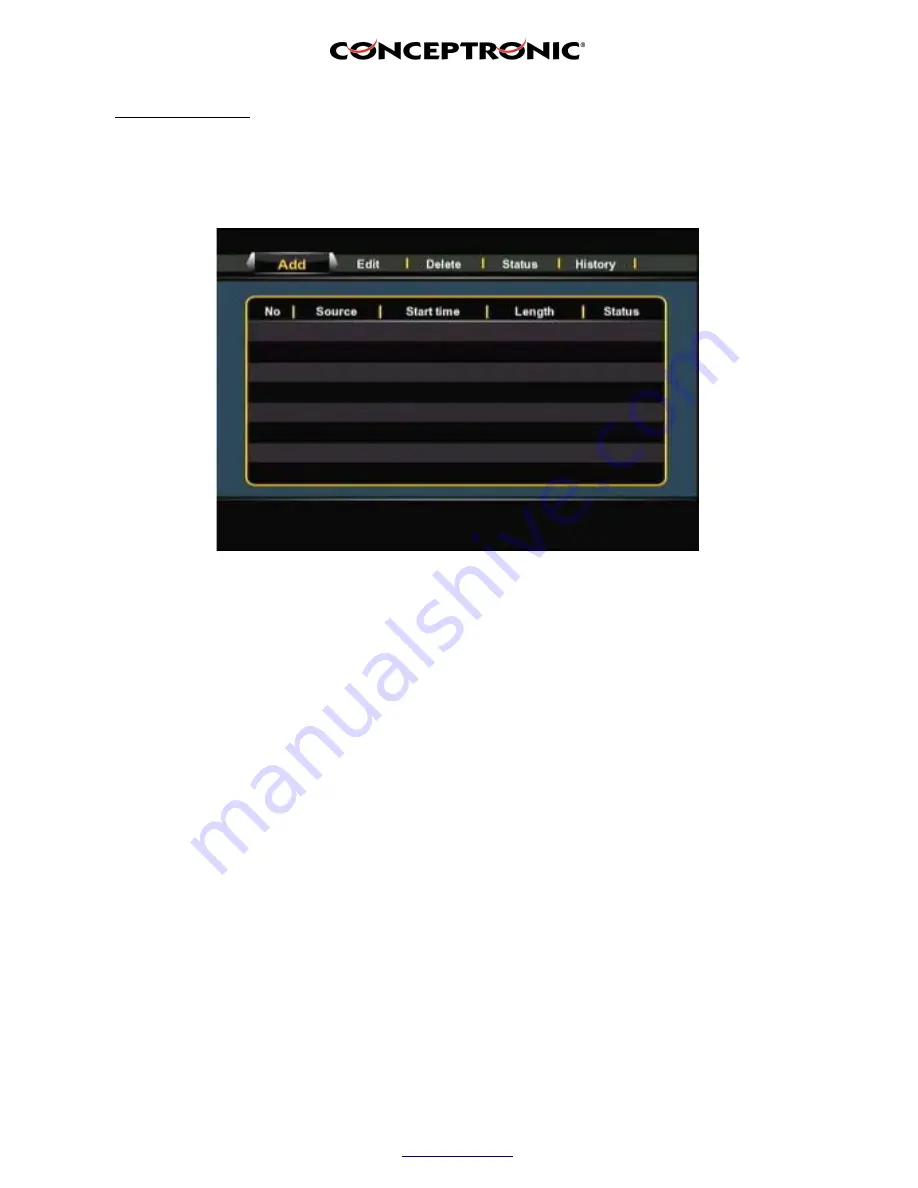
” at the initial menu. The following image will be shown on your screen:
The Scheduled Recording menu shows 5 options, which can be selected with the left and right navigation
buttons (
8
) of the remote control:
Add:
Add a new scheduled recording.
Edit:
Edit an existing scheduled recording.
Delete:
Delete a scheduled recording.
Status:
Change the status of the scheduled recording list.
History:
Display the scheduled recording history list.
2. Select “
Add
” and press “
Enter
” on the remote control to create a new scheduled recording.
By default, the ‘
Source
’ field is selected.
All options can be changed with the up and down navigational buttons (
8
), and you can select another
field with the left and right navigational buttons (
8
).
3. Choose
“VIDEO1”
as source of the recording.
4. Set the correct date for your recording.
5. Set the correct start time for your recording.
6. Set the length of your recording.
7. Set the repeat option for your recording. You can select the following options:
‘
Once
’, ‘
Everyday
’, ‘
Mon-Fri
’, ‘
Mon-Sat
’, ‘
Sun
’, ‘
Mon
’, ‘
Tue
’, ‘
Wed
’, ‘
Thu
’, ‘
Fri
’ or ‘
Sat
’.
You can Skip the ‘
Device
’ field, since you can only record on the internal harddisk.


