High Brightness Professional Monitor User Manual
Page 2
Quick Start Guide
This section of the guide is to allow swift set up and use of the unit. Please refer to the main part of
the User Guide for full information on use of the unit.
Please follow the steps detailed below:
1
Unpack unit and place in desired location.
2
Take the power lead from the accessories bag, connect power lead and plug into mains outlet.
The unit will power ON automatically (if it doesn’t please ensure the “AC Switch” is in the on
position). After powering up the screen will start to play some pre-loaded sample content.
3
Collect the files you wish to display and make sure they are supported by the unit (see Section
2.1)
4
On a PC copy the files you want to play onto an empty USB drive. These should be in the root
directory (without putting them into a folder). Remove USB from PC.
5
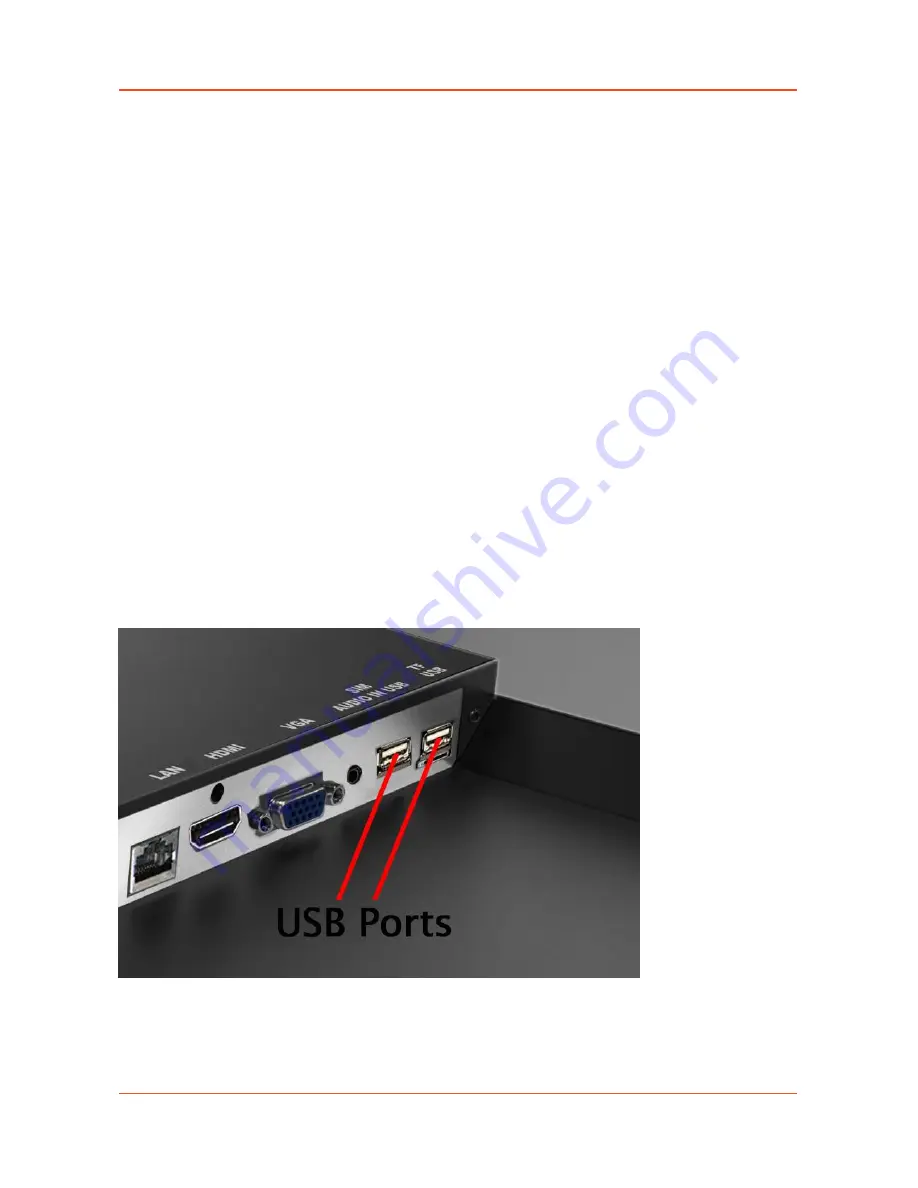
Insert USB drive into the one of the USB ports located on the rear of the unit (see Figure 1).
The screen should indicate that it is copying the files onto the unit. Please note that all files
currently stored in the unit will be deleted. Once completed, the screen will display a message
to remove the USB drive.
6
Remove the USB drive and the unit will reboot and play the stored files in a loop.
Figure 1 Position of USB ports


