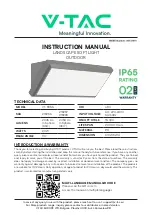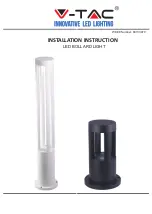
Item # 1000000000/1000000000
1000000000/1000000000
1000000000/1000000000
1000000000/1000000000
1
Model # 56704111/56705111
56703111/56702111
56703112/56702112
56703113/56702113
Hardware Included
Part
description
Quantity
AA
Mounting Screw
6
BB
Wire Connector
3
CC
Drywall Anchor
6
DD
Safety Cable
2
EE
Pins
6
FF
Location Paper
1
GG
Lever
1
Use and Care GUIde
4ft x 10In (4ft x 15In) slIM flUshMoUnt wIth nIGht lIGht
AA
BB
note
:
Keep your receipt and these instructions for proof of purchase.
warnInG
:
RISK OF ELECTRIC SHOCK. Ensure the electricity to the wires you are working on is shut off. Either remove the
fuse or turn off the circuit breaker before removing an existing light fixture or installing the new one.
If you are unfamiliar with electrical installations, we recommend you contact a qualified electrician to do the installation.
InSTallaTIOn
note
:
Select a suitable location that can support the weight of the fixture. Determine the method for mounting the fixture
before drilling, based on the type of ceiling.
note
:
Two people are recommended for the installation of this light fixture.
1. Refer to the arrow position of fixture plate (A) and using the lever (GG) to remove the external frame (B).
PacKaGe cOnTenTS
Part
description
Quantity
A
Fixture Plate
1
B
External Frame
1
C
Safety Cable
1
A
B
C
CC
EE
FF
GG
2. Using pins (EE) to fix the location paper (FF) on the
installation surface where you desired, mark the 6 holes
position by pencil. Remove the paper, drill 6 holes using
Φ
6mm driller, insert the drywall anchors (CC).
note
:
do not need drill hole on wooden surface.
DD
FF
CC
EE
GG
A
B
GG
CC


