Installation Steps
Installation Steps
06
07
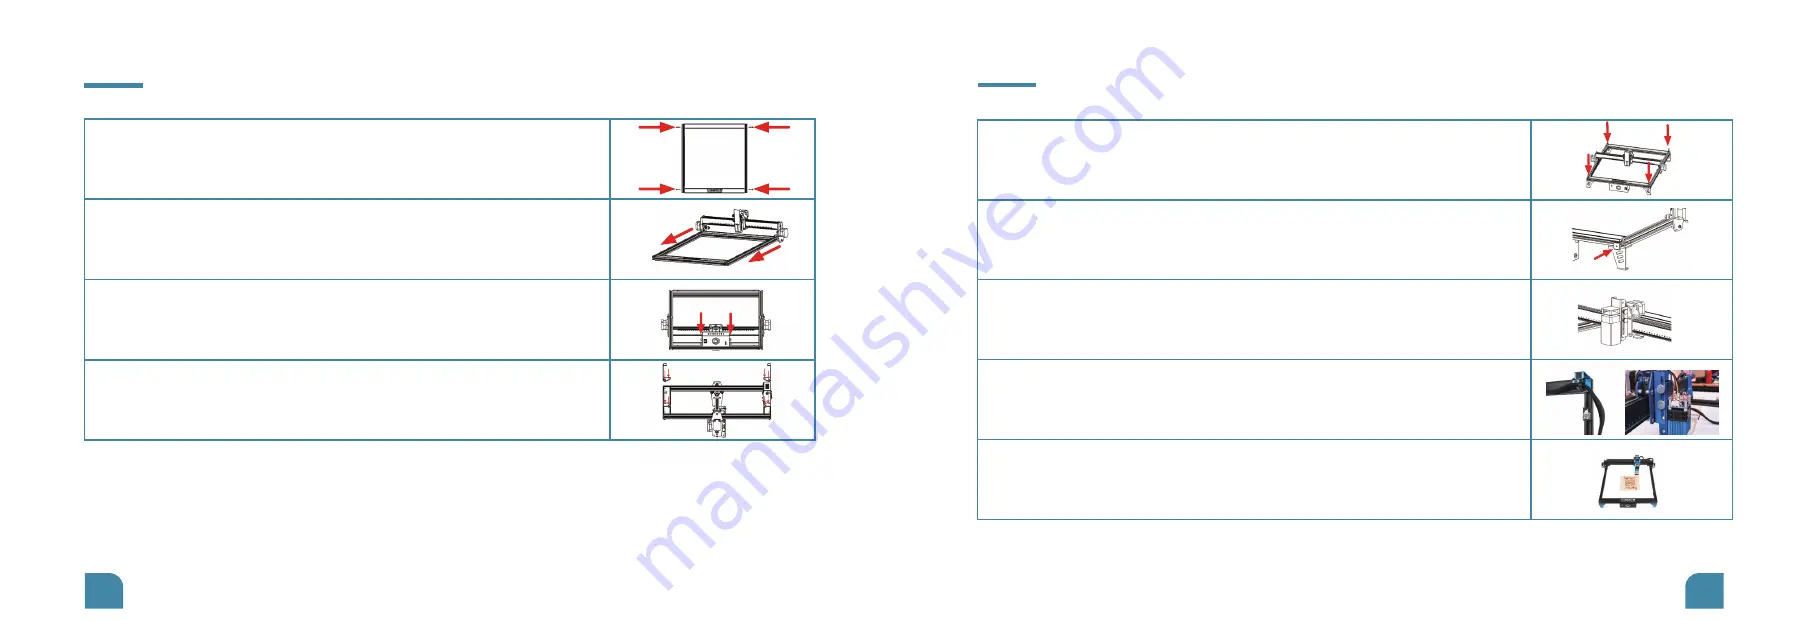
1. Take out all four profiles and use four M5*25 screws for fixing
to complete the gantry installation.
2.Take out the X-axis kit and embed it into the gantry along the
V-slot of the Y-axis.
3.Use 2 M5*8 screws to fix the motherboard cover to the front
of the gantry.
4.Take out the 4 support feet and install them using 8 M5*8
screws and 4 M5 T-nuts.
5.Take out 2 belts, put the belts through the two pulleys and the timing
pulley, and fix them with 2 M5*8 screws and M5 square nuts.
6.Take out the 4 profile covers and install them on the profile end faces
at the front and rear ends of the gantry.
8.Connect the cables of the laser module and the Y-axis limit switch, then
attach the fixing mount to the right front support foot and fix the cables.
9.Assembly completed!
7.Take out the laser module, remove the focus slider, use 3 M3*6 screws
then fix the laser module to the focus slider and install the focus slider and
laser module along the original path.


