USE AND MAINTENANCE MANUAL
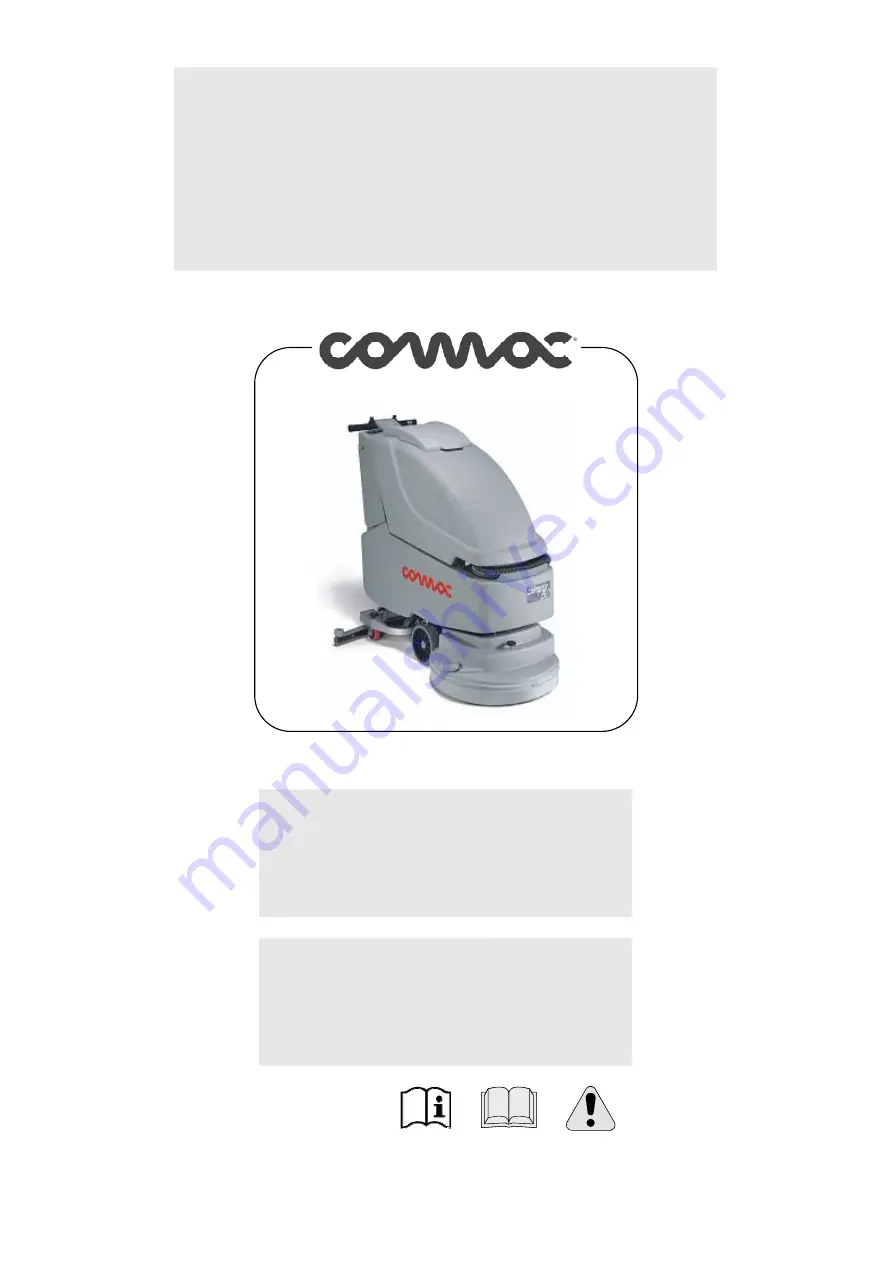
SIMPLA 500E
ED. 05-2010
EN
ORIGINAL INSTRUCTIONS Doc. 10024476 Ver. AA
Page 1: ...USE AND MAINTENANCE MANUAL SIMPLA 500E ED 05 2010 EN ORIGINAL INSTRUCTIONS Doc 10024476 Ver AA...
Page 2: ...ntained in this document is prohibited by law The company reserves the right to make any technical and or supply modifications The images are for reference purposes only and are not binding in terms o...
Page 3: ...BLING THE BRUSH 11 WORK 12 PREPARING TO WORK 12 OVERFLOW DEVICE 13 FORWARD MOVEMENTS 13 BRAKE 13 AT THE END OF THE WORK 14 DAILY MAINTENANCE 15 CLEANING THE RECOVERY TANK 15 CLEANING THE SUCTION FILTE...
Page 4: ...this purpose Even the best machines will only work well if used correctly and kept in good working order We therefore suggest you read this instruction booklet carefully and read it again whenever dif...
Page 5: ...symbol Indicates the brush motor switch Symbol denoting suction motor Indicates the suction motor switch Symbol denoting squeegee rise fall Indicates the squeegee lever Symbol denoting brake Used abo...
Page 6: ...dicates the handlebar height adjustment lever 0 1 Indicates the master switch Hooking symbol Indicates the hooking points and the load direction Open book symbol Used to tell the operator to read the...
Page 7: ...symbol Read carefully the sections marked with this symbol for the safety of the operator and the machine Indicates danger of gas exhalation and leakage of corrosive liquids Indicates the danger of f...
Page 8: ...on greater than the one shown on the plate U When the machine is parked disconnect the power supply cable from the socket and engage the parking brake U The machine is designed to carry out the washin...
Page 9: ...mm C 1250 mm A C B 2 HOW TO UNPACK THE MACHINE 1 Remove the outer packaging 2 The machine is fixed to the pallet with wedges which block the wheels 3 Remove these wedges 4 Use a chute to get the machi...
Page 10: ...he same level so the squeegee can work parallel to the floor 2 1 6 ADJUSTING THE SQUEEGEE INCLINATION During working operation the rear rubber is slightly tilted backwards by about 5mm in a uniform wa...
Page 11: ...detergent To avoid the production of foam before starting to clean put a minimum quantity of antifoam liquid into the recovery tank Never use pure acid 10 ASSEMBLING THE BRUSH 1 With the base up inse...
Page 12: ...iness and the speed used 7 Release the lever 2 and lower the base 8 Lower the squeegee by means of the lever 3 9 Check the parking brake 4 is released 1 4 3 2 10 The machine starts moving when the man...
Page 13: ...ons FORWARD MOVEMENTS The traction of these machines is obtained by means of the brush which working slightly inclined is able to drag the machine forwards To move the machine insert the power supply...
Page 14: ...rn off the suction motor switch 5 7 Bring the machine to the place provided for draining the water 8 Disconnect the plug from the power supply 9 Engage the parking brake 6 5 4 10 Pull out the pipe on...
Page 15: ...solutions 3 Lift the recovery tank cover 1 4 Unthread the suction cap 2 by rotating it anticlockwise 5 Remove the filter and relative protection 6 Rinse everything with a water jet 1 CLEANING THE SUC...
Page 16: ...move the nozzle and clean it 4 carefully clean the inside of the squeegee 5 carefully clean the squeegee rubbers 6 reassemble all the elements DISASSEMBLING THE BRUSH This machine is fitted with an au...
Page 17: ...must 1 unthread the squeegee tube from the sleeve 2 push the release lever and unthread the small right hand column 3 disassemble the squeegee from its support 4 loosen by two turns the wing nuts bloc...
Page 18: ...reassemble the tube repeat the above mentioned operations in the reverse order ATTENTION Do not wash the tube running between the suction unit and the suction cap CHECKING THE BRAKE Every week check...
Page 19: ...uest and according to needs see CHOOSING AND USING THE BRUSHES THE SQUEEGEE DOES NOT DRY PERFECTLY 1 Check the squeegee rubbers are clean 2 Adjust the inclination of the squeegee see SQUEEGEE under MA...
Page 20: ...20 DISPOSAL ATTENTION The product must be disposed of in the appropriate differentiated waste collection at the end of its useful life...
Page 21: ...s with small joints On uneven floors or those with deep joints it is advisable to use softer bristles which can enter the gaps more easily Remember that when the bristles are worn and therefore too sh...
Page 22: ...ar equipment Part 2 Immunity Regulation for product family 13 EN 55022 Devices for information technology Radio interference characteristics Limits and measurement methods 14 EN 61000 6 2 Electromagne...