CLEANING THE WATER SYSTEM FILTER
In order to clean the water system's filter, do the following:
1.
Tighten the tap outflow; turn the tap control lever on the left-hand side of the operator seat in a clockwise direction (
Fig.21
).
2.
Go to the left-hand side of the front of the machine and loosen the detergent solution filter cap (
Fig.22
).
3.
Remove the cartridge from the filter body and rinse under a jet of running water, and use a brush to eliminate any impurities, if necessary.
4.
Once the filter cartridge is clean, repeat the operations in the opposite order to reassemble all the parts.
CLEANING THE VACUUM TUBE
Careful cleaning of the vacuum hose guarantees better cleaning of the floor as well as a longer vacuum motor life. Proceed as follows to clean the
vacuum hose:
1. Extract the vacuum tube from the vacuum nozzle on the squeegee body (
Fig.1
).
2. Remove the vacuum tube via the hole on the back of the recovery tank (
Fig.23
).
3. The vacuum hose from the retainers present inside the recovery tank.
4. Rinse the inside of the vacuum hose with a jet of running water.
5. Repeat the operations in reverse order to reassemble all the parts.
EXTRAORDINARY MAINTENANCE WORK
Before performing any routine or extraordinary maintenance operation, proceed as follows:
1. Take the machine to the maintenance area.
NOTE
: the place designated for this operation must comply with current environmental protection regulations.
2. Make sure the machine is in a safe condition (see “
CAUTION
: it is recommended to wear the appropriate PPE (Personal Protective Equipment) for the work to be carried out
.
REPLACING THE SQUEEGEE BODY RUBBER BLADES
Ensuring the integrity of the squeegee body's rubber blades guarantees better floor cleaning and drying results, as well as a longer service life for
the vacuum motor. In order to replace the squeegee body's rubber blades, do the following:
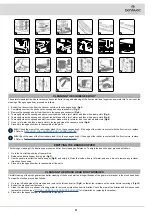
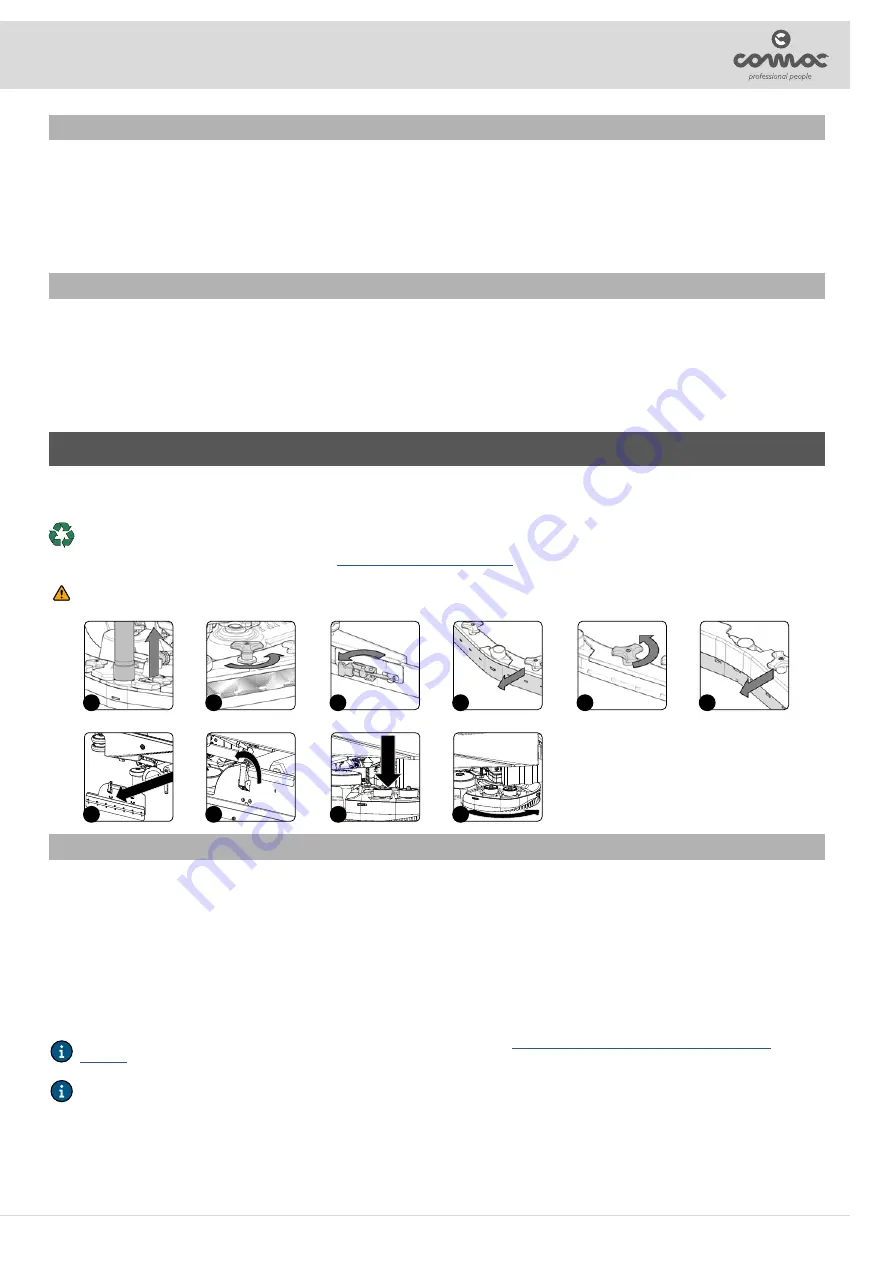
1. Extract the vacuum tube from the vacuum nozzle on the squeegee body (
Fig.1
).
2. Completely unscrew the knobs on the squeegee body pre-assembly (
Fig.2
).
3. Remove the squeegee body from the slits in the squeegee connector.
4. Remove the rear rubber blade compression plate, and release the stopper at the rear of the squeegee (
Fig. 3
).
5. Remove the rear rubber blade from the squeegee body (
Fig. 4
).
6. Completely unscrew the knobs on the squeegee body pre-assembly (
Fig.5
).
7. Remove the front rubber blade from the squeegee's internal body (
Fig. 6
).
8. Repeat the operations in reverse order to reassemble all the parts.
NOTE
: before using the machine, remember to adjust the squeegee body. Read “
ADJUSTING THE SQUEEGEE BODY RUBBER
N.B.
: it is good practice to replace both squeegee blades, to ensure good results when drying the floor.
23
6
3
5
4
2
1
7
9
8
10


