920-0451-00 Rev. A
Page 2 of 6
Set-Up Configuration
1. Select the lightbar series you wish to program.
Older Model Lightbars
a. 800 - RX2700CC and Defender.
b. 950 - RX2700CC Multi-Color and Defender TriCore 2.0.
c. 951 - 21TR Multi-Color and Solex Multi-Color.
New CC Boards
d. 1000 - All single color lightbars.
e. 1050 - RX2700CC Multi-Color & Defender TriCore 2.0.
f. 1051 - 21TR Multi-Color and Solex Multi-Color.
2. In the
Pattern Selection
tab, set up L1; L2; L3; L1 & L2; L1 & L3; L2 & L3; and L1, L2, & L3 for synchronized and unsynchronized.
This option is only available if you are programing a 1000/1050/1051 series. This option is located in the top left corner under
Synchronized.
3. In the
Pattern Selection
tab, set up the L1, L2, L3, L1 & L2, L1 & L3, L2 & L3, and L1 L2 & L3, patterns you wish to use. For
synchronized, there is only Front Rate, Front Sequence, Rear Rare and Rear Sequence patterns to set up. To choose the default
patterns select the “Reset to Default” button in the upper left corner. The Reset to Default button will reset the drop down fields to
the default settings.
4. In the
Takedown/Alley
tab, set up the patterns you wish to use.
5. For the
ArrowStik
tab, set up the ArrowStik configuration.
6. If you are programming a 1000/1050/1051 series,
Arrow Emergency
can be enabled. This is located in the top left corner under
Arrow Emergency
.
Saving Configuration to a File
1. To save the configuration, go to menu tab File -> Save Configuration
2. Key in a file name.
(Tip: Name file by Dept. Name, Unit Number, or Lightbar, etc.)
3. Click on save. (The resulting file will have the extension .c3c)
Loading Configuration File
1. Loading a previously saved configuration file can be done in two ways:
a. Double click the .c3c file (also shows the C3 logo) you wish to load and the SmartPro application will launch with that
configuration loaded.
b. To manually load a file, go to menu tab File -> Load Configuration and select the file you wish to load.
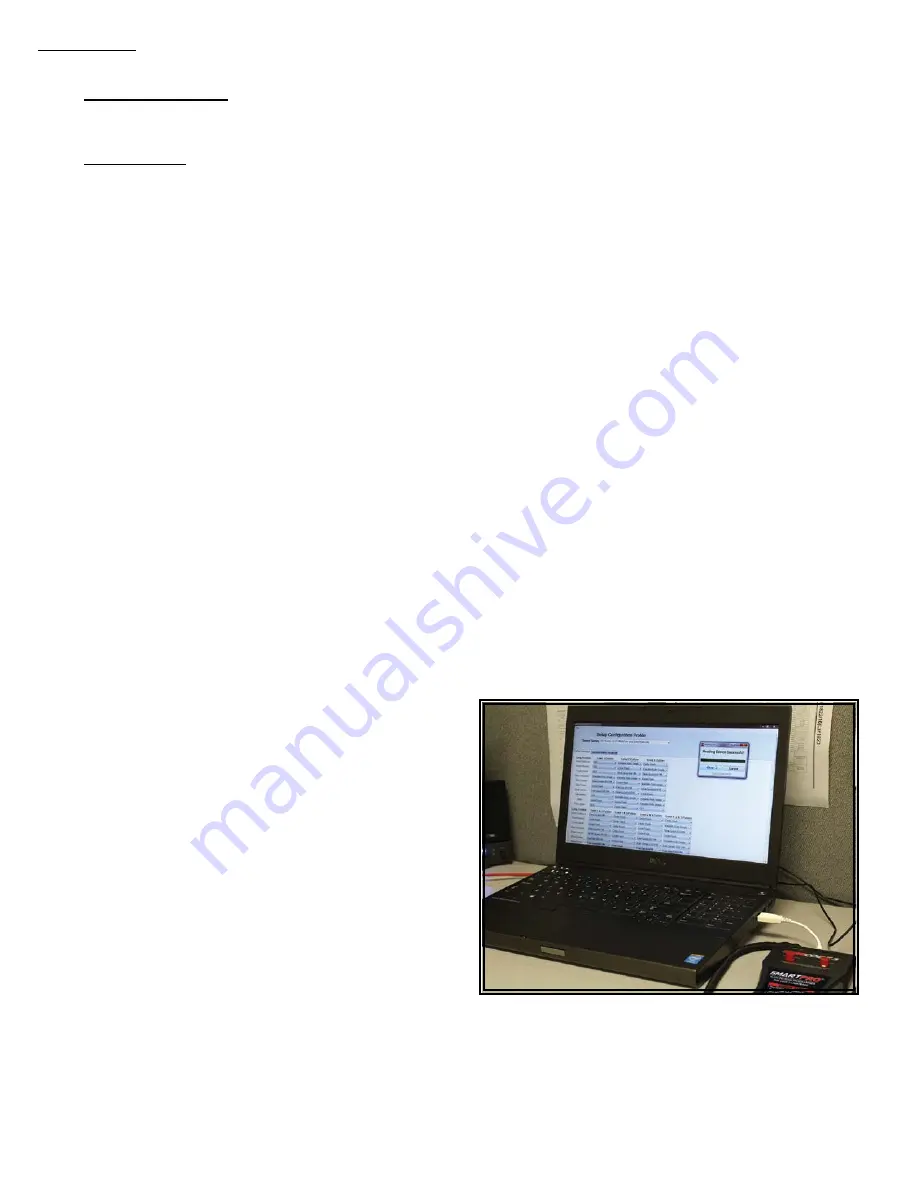
1. To write a configuration to the handheld unit, connect the
USBA end of the micro USB cable into the computer and the
smaller end into the handheld unit.
2. On the PC screen, go to File -> Write Device.
3. A pop up status box should come up showing “Write Device
Success”. If “Write Device Failed” appears, return to Step #1.
4. Once the configuration is loaded to the SmartPro, close the
pop up box. Then follow the “Programming a Lightbar” steps
on Page 3.
1. To read a configuration from the handheld unit, plug the
USBA end of the micro USB cable into the computer and
the smaller end into the handheld unit.
2. Have the SmartPro software file open on your PC.
3. Go to File -> Read Device.
4. A pop up status box should come up showing “Reading Device Success”. If “Reading Device Failed” appears, return to Step #1.
5. Once “Reading Device Success” is completed close the pop up box.
6. The configuration is loaded on your PC screen. This allows you to save the configuration to a file on your PC, or update any flash
modification, etc.
Configuration
Writing a Configuration to the SmartPro Handheld Unit from the PC
Reading a Configuration from the SmartPro Handheld
Unit and Transferring it to the PC


