SLIDESHOW MODE
12
GETTING STARTED
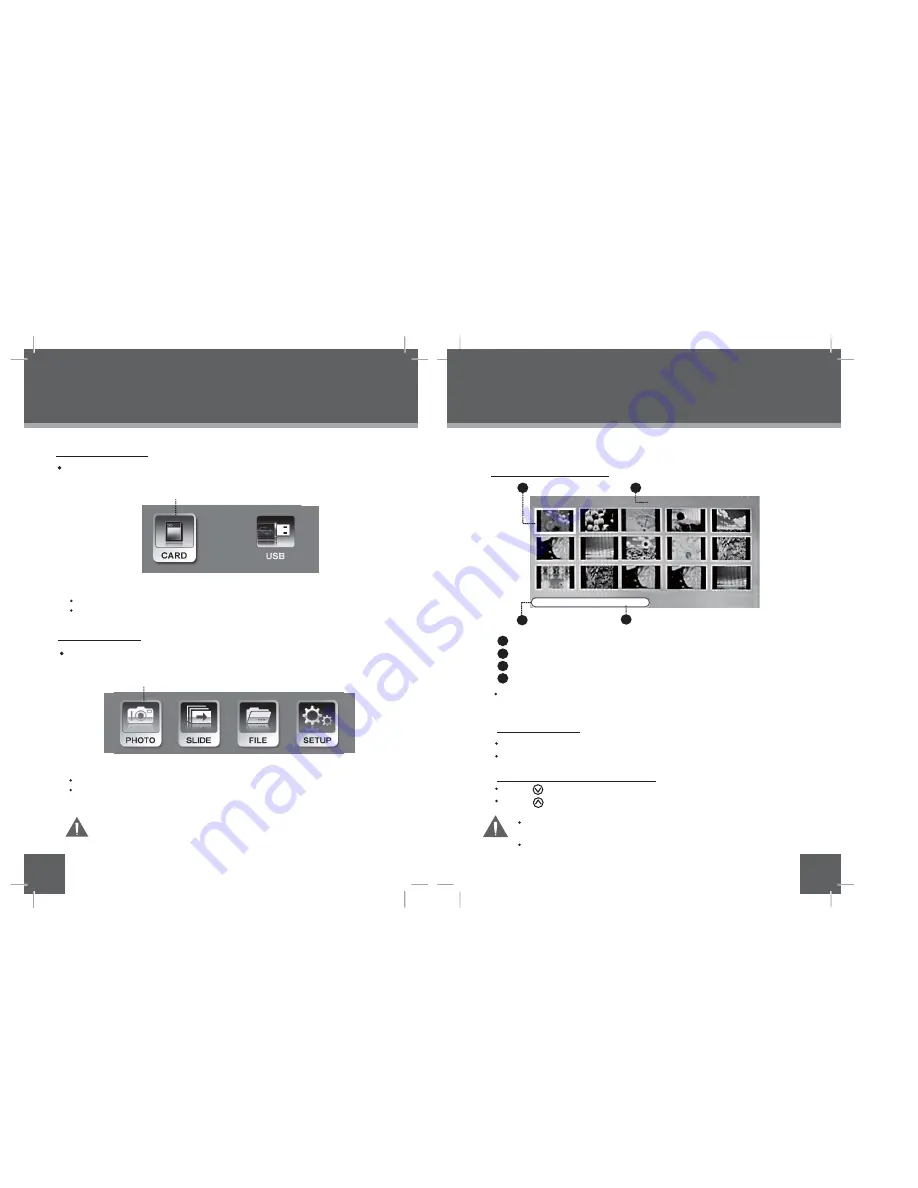
Upon turning on the power, your photo frame will display the “
shown below.
”
MAIN MENU SCREEN
THUMBNAIL MODE SCREEN
ITEM LIST SCREEN
13
The digital photo frame is equipped with a demo slideshow that will
automatically start after 20 seconds, if there is no card inserted.
The demo slideshow will stop when a card is inserted or any button
is pressed.
PHOTO & SLIDE SHOW MODE
Thumbnail Mode
Page:1/2
2
1
2
3
4
with Highlighted Frame: being Selected
Current page number/ Total number of pages
The size of the selected photo
Date Taken (Selected Photo)
1
MAIN MENU
MAIN MENU
Highlighted
Highlighted Icon: Being Selected
Highlighted
Only the Slot and USB Port with an installed memory device may be selected.
ITEM LIST
Highlighted Icon: being Selected
Select the PHOTO, SLIDE, FILE or SETUP and press ENTER to enter its mode.
Select the CARD/USB on MAIN MENU screen and press ENTER to enter the ITEM
LIST shown below:
3
4
2048×1536
2007/ 8 / 14
To adjust the photo silde show interval and Transition Effect,
Please turn to Setup section for operation details.
Select PHOTO / SLIDE on Item List screen and press ENTER to enter
Thumbnail Mode or Slideshow Mode.
Press ENTER to pause slideshow, press it again to resume .
Press MENU to exit
Use the direction button to select a thumbnail and press ENTER to
display it in full-screen ( Photo Mode).
If the photo frame is turned off during the slideshow. With the
card unremoved, the slideshow will resume the next time the
photo frame is turned on.
In THUMBNAIL or SLIDESHOW MODE
Press to rotate the current picture to a 90/180/270 degree angle.
Press to flip the current picture vertically or horizontally.


