Adventure HD 5200 User Manual
01 August 2016
Page 17
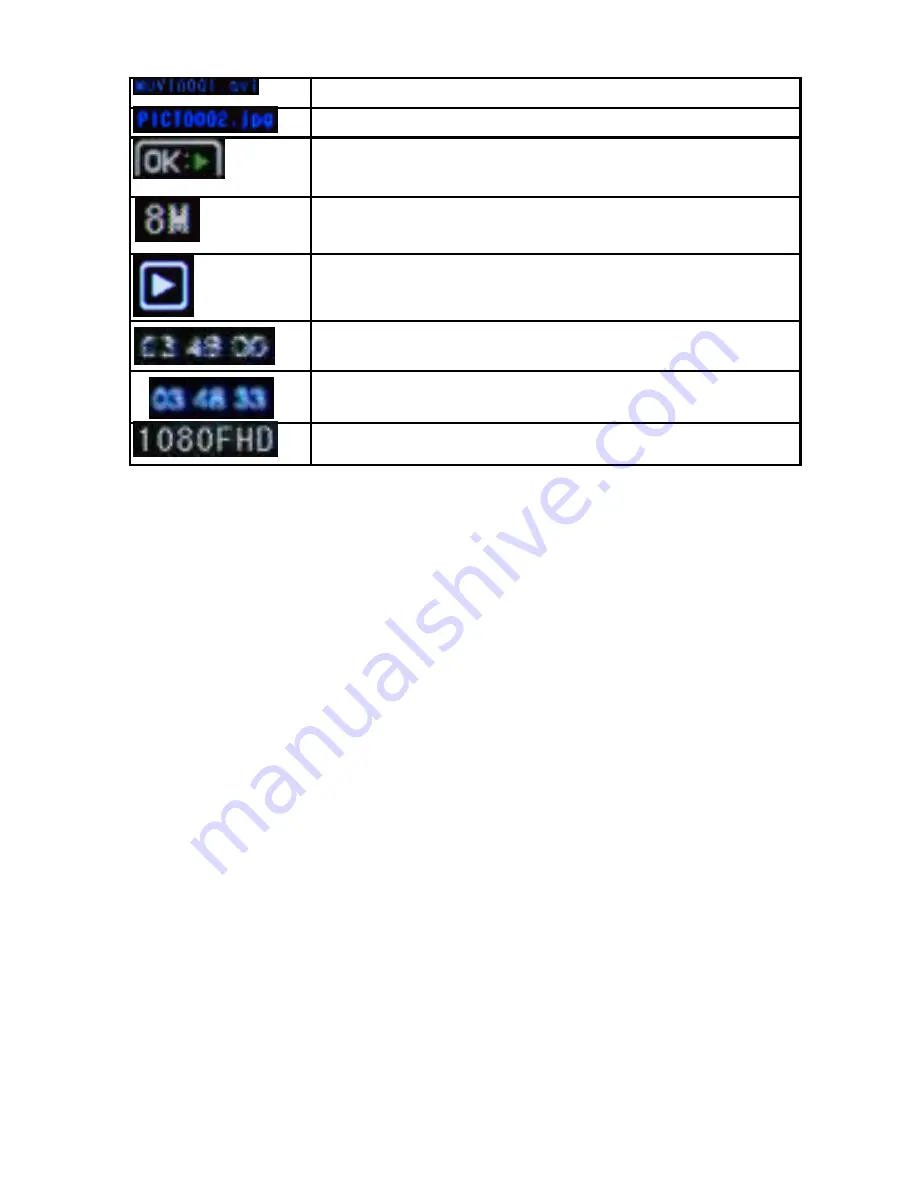
File name of video.
File name of photo.
Press OK button for video playback. Displayed
when reviewing a video file.
Displays the photo resolution the camera is
shooting in.
Indicates photo playback.
Time stamp on video footage.
Time stamp on photos.
Resolution of the video clip.
Connecting to External Devices
Playback on HD TV
Turn the camera on, connect the HDMI port in the camera to the TV
via an HDMI cable (not included) and choose HDMI mode on the TV.
The LCD screen on the camera will turn off automatically and now all
operations and functions can be seen on the TV.
View Files on PC / MAC
Connect the camera to the computer using the included USB cable.
The LCD Screen displays Mass Storage and PC Camera. Press the
left/right buttons to select Mass Storage and the OK button to confirm.
Click on the camera drive and the subfolder DCIM to view videos and
photos.
Webcam – PC Only
Connect the camera to the computer using the included USB cable and
select PC Camera. The camera will connect to your PC and can now be
setup and used as a webcam from the systems menu or from within
programs and applications that use a webcam.


