


2.2
G A U G E S PA G E
11
12
2.2
G A U G E S PA G E
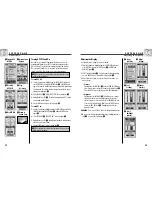
Using the Gauges Page
Compass
Select Options
Bearing
Pointer
Settings
Gauges Page
The Gauges page displays a compass that indicates direction of travel. It can
show the direction you are currently traveling or the direction from your current
position to the next waypoint in your navigation.
Selecting Options
From the Gauges page, press and release the ENTER button to display the
Gauges Page Options menu. Use the ZOOM IN/OUT button to scroll through
the menu sections, then press the ENTER button to go to the highlighted
option. Use the ZOOM IN/OUT button again to highlight your choice, then
press the ENTER button to select it. Press the PAGE button to return to the
main page.
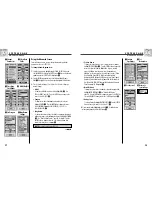
Pointer Options
Highlight and select POINTER to designate the compass display information
about your course
. Highlight and select BEARING to make the compass
indicate the direction to your next waypoint
. Highlight and select COURSE
to make the compass indicate direction to your next waypoint with arrows
that show if you are on course
or left
or right
of course. This
display also shows how many feet or meters off course you are currently.*
Right of
Course
Left of Course
On Course
continued
*See “Using the Nav Data Page,” page 15, to learn about this feature.
Using the Gauges Page
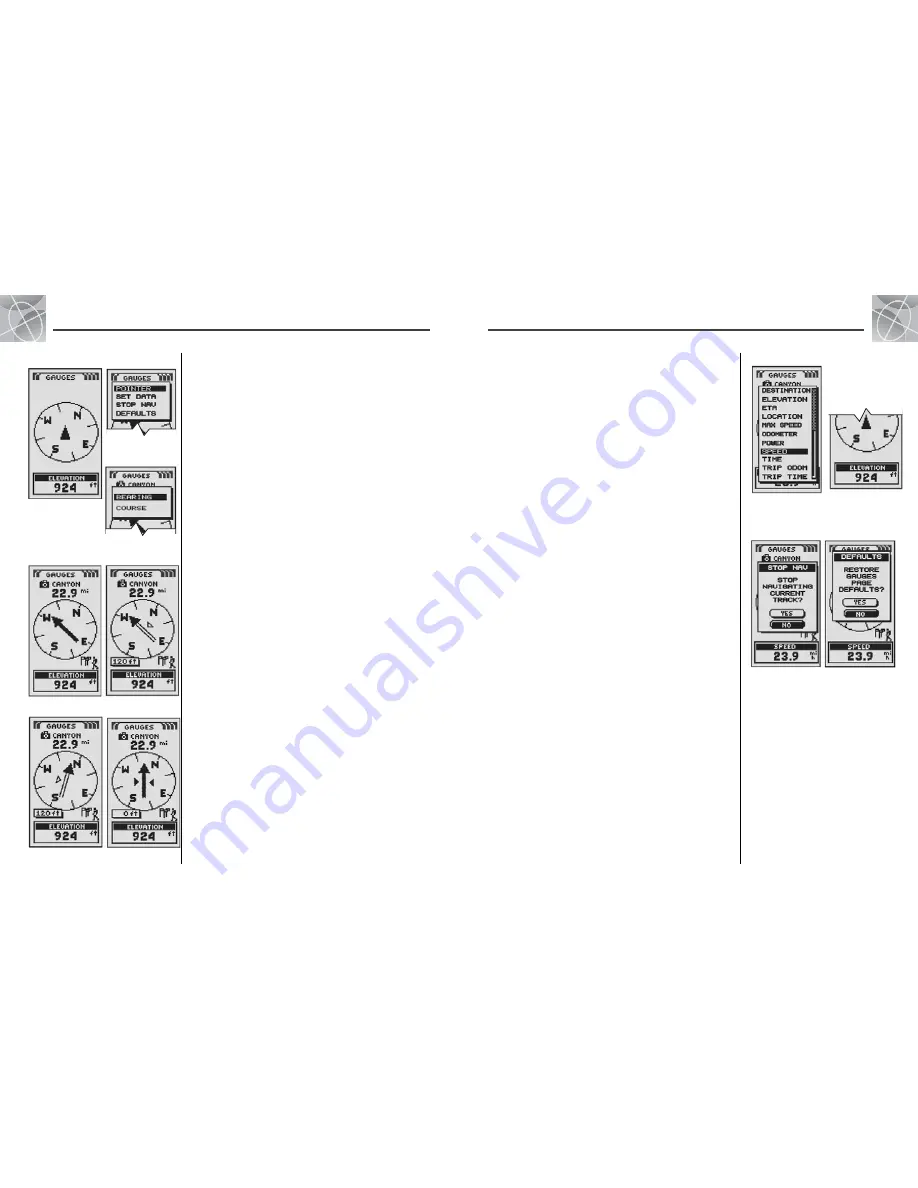
Set Data Option
Highlight and select SET DATA to choose information about your current
position or navigation that you want displayed at the bottom of the Gauges
page. You may highlight and select from the following: Accuracy, Average
Speed, Bearing, Date, Destination, Elevation, ETA, Location, Maximum
Speed, Odometer, Power, Speed, Time, Trip Odometer, Trip Time. (For more
information about the optional data selections, see “Data Descriptions,”
page 4)
Stop Nav Option
To stop the current navigation (GoTo, Route or Track), highlight and select
STOP NAV. Highlight and select YES to stop. Highlight and select NO to
make the current navigation continue.*
Defaults Option
Highlight and Select DEFAULTS to restore all original default Gauges page
settings. Highlight and select YES to restore original settings to Pointer =
Bearing; Data field information = Speed. Highlight and select NO to
maintain all current settings.
*See “Using the Nav Data Page,” page 15, to learn about this feature.
Set Data List
Stop Nav
Yes/No
Restore
Defaults
Yes/No
Data from
Set Data List
Displays on
Gauges Page


