


1. Use the
Network Print Monitor
utility.
2.
Manually specify (using DOS commands or UNIX text-mode commands. This
applies to Windows NT/2000/XP/2003 and UNIX systems).
Note:
The
Network Print Monitor
can only search for the print server(s) over the same
network segment the Windows NT/2000/XP/2003/UNIX computer is located. You
would like to install a print server on a different network segment.
DHCP
The print server supports DHCP feature, allowing the print server to obtain an IP address and
related TCP/IP settings automatically from a DHCP server. While the print server supports
DHCP, we strongly recommend you manually specify a
fixed
IP address to the print server.
By default, the print server’s DHCP function is disabled.
Windows NT LPR Port Printing Installation
1. Click
Start
, point to
Settings
, and select
Printer
.
2. Run
Add Printer
.
3. The Add Printer Wizard screen will appear, Select
My Computer
and click
Next
.
4. Click
Add Port
.
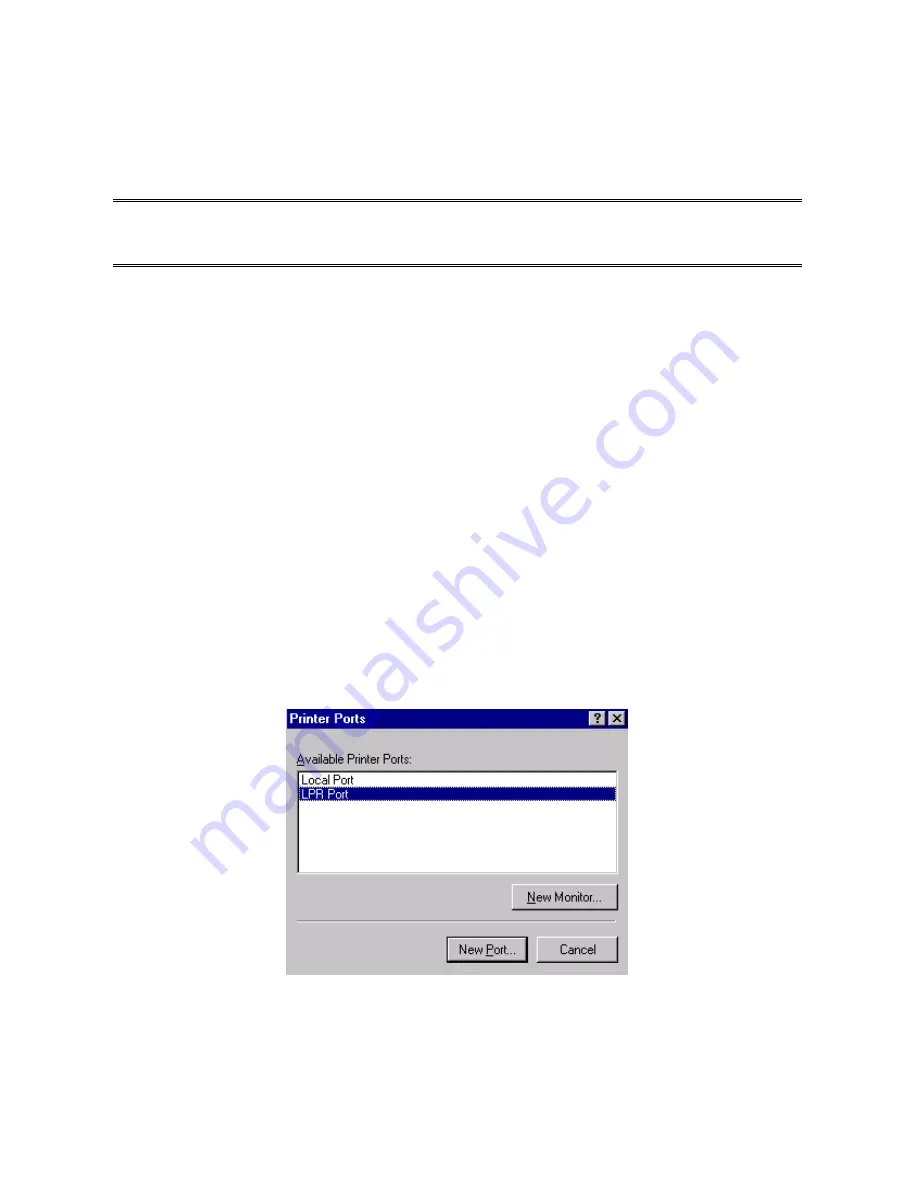
5.
From the Printer Ports box as shown in the following picture, select the
LPR Port
.
6. The Add LPR compatible printers box will then appear as shown in the following picture.
Type in the IP address assigned to the print server in the
Name or address of server
providing lpd
box.
54
Summary of Contents for CNP-102U
Page 11: ...11...
Page 61: ...7 Click Forward button 8 In the Name field type a user defined name click Forward 61...
Page 63: ...15 Done 63...
Page 66: ...4 Click Browse and select the firmware file 5 Click Upgrade 6 Done 66...
Page 74: ...3 Double click it again 4 Now you have to install the printer s driver 74...
Page 75: ...5 Choose it from the Add Printer Wizard 6 Install printer successfully 75...
Page 76: ...7 Now you can find your printer s icon and you can use the SMB printing mode 76...


