Seat Latch and Adjustment
Page 20
2007 Carryall 295 Intellitach and XRT 1550 Intellitach Diesel Vehicle Owner’s Manual
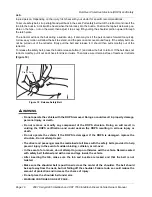
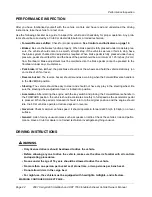
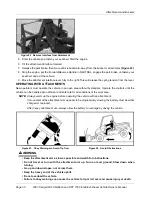
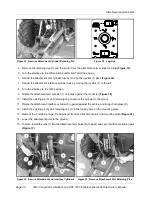
To adjust the headrests
1. Remove the headrest hardware (1)
2. Raise or lower the headrest to the desired height.
3. Install the headrest hardware (1).
4. Hand-tighten the hardware until the headrest is securely attached to the cargo cage.
See following
CAUTION.
CAUT ION
• Using tools to tighten the headrest hardware could result in overtightening. Overtightening
the headrest hardware could result in damage to the cargo cage structure and/or the
hardware.
SEAT LATCH AND ADJUSTMENT
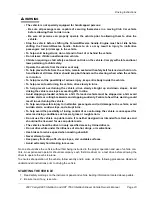
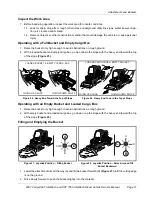
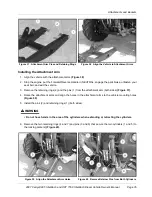
The seats are hinged to allow easy access to the engine compartment. A latch at the rear of each seat bottom
keeps the seat from moving on its hinges while the vehicle is in operation. To disengage the latch, grasp the
seat back and pull firmly in a forward/upward direction until the latch releases. To engage the seat latch, push
down firmly on the seat back until the seat locks into place.
See following WARNING.
ý
WARNING
• Make sure seat hinges and latch are securely engaged before operating vehicle.
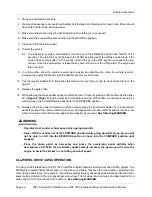
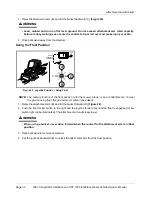
The driver-side bucket seat is adjustable and can be moved forward or backward to accommodate the driver.
To adjust seat, push lever located under the driver seat to the left (towards outside of the vehicle). Position
seat and return lever to its original position.
See following WARNING.
ý
WARNING
• Do not adjust driver-side seat while vehicle is in motion.
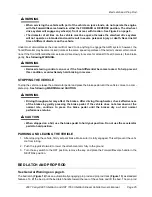
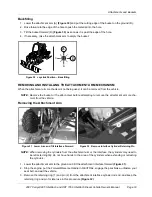
To adjust the passenger-side seat:
1. Remove the seat from the vehicle.
2. Remove the four bolts and washers from the bottom of the seat mounting plate.
3. Align the mounting plate holes with holes in the seat to achieve the desired seat position.
4. Install washers and bolts and tighten to 96 in-lb (10.8 N·m).
5. Install seat in the vehicle.
See preceding WARNING “Make sure seat hinges and latch...”.

