6
Getting Started
Connect all the DMX units together with the DMX Cables.
Set the respectively DMX addresses on each unit connected to the
CLS DMX144. (See the instruction manual for each units.) Plug in a terminator
at the last unit of the DMX line. (XLR contact with a 120 Ohms resistor connected
between pin 2 and 3.)
Connect the power for every unit and the CLS DMX144 Mixing Console.
You are now ready to make your first show with CLS DMX144.
Programming the CLS DMX144.
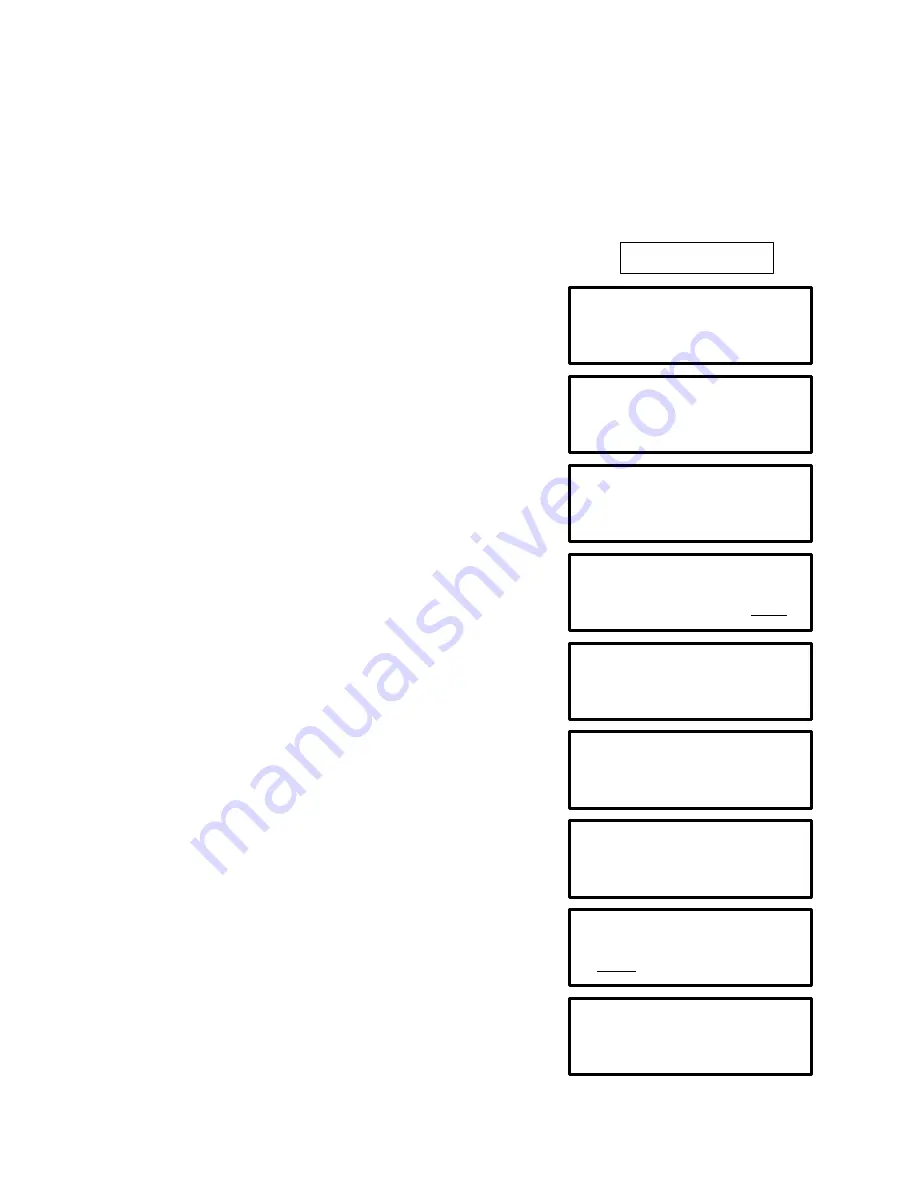
1. The first you see in the display when you
connect the power is the display telling you
the software version. Press one of the F-keys
to remove the startup text.
2. The Display will show you the Mix Mode
screen with No Prg!.
3. Choose a program that you want to start
with by pressing and holding the Prg while
pressing a Flash button. The Display will tell
you what to do. Ex. Flashbutton 1 for prg. 1.
4. The Display will show you that you get a
program and the name of it. You can rename
it later.
5. When you release the buttons, the Display
shows you the Mix Mode screen with a program
name.
6. Choose a group that you want to mix
by pressing and holding the Grp while
pressing a Flash button. The Display will tell
you what to do. Ex. Flashbutton 1 for Grp. 1.
The Leds on selected groups will light up. It is
possible to select more than 1 group, up to 12,
at the same time.
DISPLAY TEXT
DMX 144
Software Ver.1.0
www.CLS.no
Made in NORWAY
MIX PRG:No Prg!
Grp Mem Edit Prg
MIX PRG:No Prg!
Grp Mem Edit Prg
Choose PROG wi-
th flash buttons
Get Prg!PrgName
MIX PRG:PrgName
Grp Mem Edit Prg
MIX PRG:PrgName
Grp Mem Edit Prg
Choose GROUP wi-
th flash buttons
Summary of Contents for DMX144
Page 15: ...15 NOTES...


