


1
1. Precautions for product startup
① Install the bracket on the bottom of cloud frame clockwisely;
② Insert one end of the AC adapter into the standard 110-240V AC power socket, and the other end
into the DC power supply of the slot on the right side of the picture frame;
③ Slowly remove the protective film from the screen.
2. Cloud photo frame software instructions
2.1 Software download
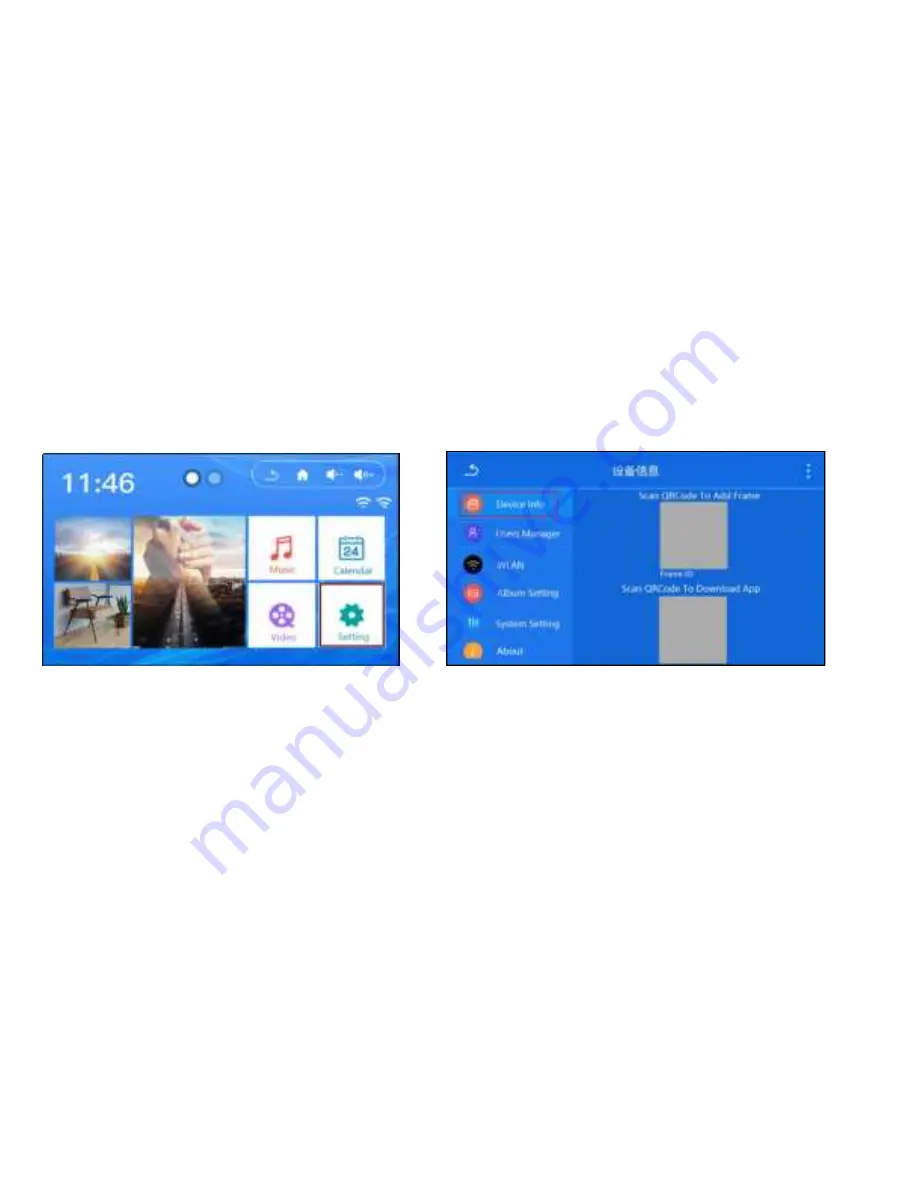
Click the "Setting" icon in the main interface (see Figure 1), enter the setting interface, scan the QR
code under "scan QRCcode To Download App" with the mobile phone (see Figure 2), and wait for the
software installation to be completed.
→
Figure
1
Figure
2
Download APP for Android Phones: search [Cloud Photo Frame] in Google play store, click download
to enter installation interface.
Download APP for Apple Phones: search [Cloud Photo Frame] in Apple APP store, click download to
enter installation interface.
2.2 Software login
① Email verification code login
② User name&password login
*Note: if you are using "cloud photo frame" software for the first time, please log in with the verification
code.
2.2.1 Verification code login
① Open the "Cloud Photo Frame" software and click the verification code to log in;
② Input your own email account and click to get the verification code, check the verification code in the


